How to Level a Gazebo on Sloped Concrete: Your Ultimate Guide
That beautiful new gazebo you bought is sitting in boxes, ready to transform your backyard. There’s just one problem: your concrete patio has a slope. Don’t worry, this is a common issue you can absolutely solve.
Most concrete slabs are sloped intentionally for water drainage. While this is great for your foundation, it’s a major headache for installing a perfectly level and stable gazebo. We’ll show you exactly how to fix it.
You'll Learn About
Why a Perfectly Level Gazebo is Crucial for Safety
Setting up a gazebo on an uneven surface is more than just an aesthetic issue; it’s a significant safety hazard. An unlevel structure puts uneven stress on the frame, joints, and connection points.
This constant tension can lead to warped materials, weakened connections, and ultimately, a risk of collapse. Ensuring your gazebo is perfectly level from the start is non-negotiable for structural integrity and peace of mind.
Understanding Concrete Slopes
Patios and concrete pads are designed with a slight grade, typically about 1/4 inch of drop for every foot. This prevents water from pooling near your home’s foundation, which could cause significant damage over time.
While this slope is essential for your home, it presents the primary challenge for your gazebo project. The first step is to determine exactly how much of a slope you’re dealing with.
Pre-Installation Prep: Your Game Plan for Success
Before you start any leveling, you need a clear plan. Begin by assembling the base frame of your gazebo and placing it in the desired location on the concrete. This will show you exactly where each post will stand.
Use a long level and a tape measure to determine the height difference between the highest and lowest points where the posts will rest. This measurement is critical for choosing the right leveling method.
Essential Tools and Materials
Having the right tools on hand will make this job infinitely smoother. Trying to improvise can lead to frustration and a less-than-perfect result. Prepare your workspace and gather your equipment before you begin.
Here is a breakdown of what you’ll likely need, depending on the method you choose. Proper preparation is the key to a successful and safe installation.
| Tool/Material | Purpose |
|---|---|
| Tape Measure | For measuring the slope and cutting materials accurately. |
| Long Level (4ft+) | To accurately determine the slope across the gazebo base. |
| Hammer Drill | Necessary for drilling into the concrete slab to install anchors. |
| Concrete Anchors | To securely fasten the gazebo to the patio. |
| Adjustable Leveling Feet | An easy-to-install solution for minor to moderate slopes. |
| Lumber or Composite Decking | For building a custom leveling frame for more significant slopes. |
| Circular Saw | To cut lumber for a custom frame. |
| Shims (Pressure-Treated) | For making very minor adjustments. |
Method 1: Using Adjustable Leveling Posts or Feet
For minor to moderate slopes, adjustable leveling feet are often the simplest solution. These are heavy-duty brackets with a threaded bolt and a base plate, allowing you to raise each corner of the gazebo independently.
You attach the main bracket to the bottom of your gazebo posts and then turn the large nut on the threaded bolt to raise or lower that corner until it’s perfectly level with the others. It’s a straightforward and highly effective method.
Step-by-Step Installation
First, securely attach the leveling feet to the bottom of each gazebo post according to the manufacturer’s instructions. Place the assembled gazebo frame onto the concrete slab in its final position.
Starting at the highest point of the slope, place your level on a crossbeam. Adjust the feet on the lower posts, raising them until the gazebo frame reads perfectly level. Once level, you must anchor the base plates of the feet to the concrete using appropriate anchors.
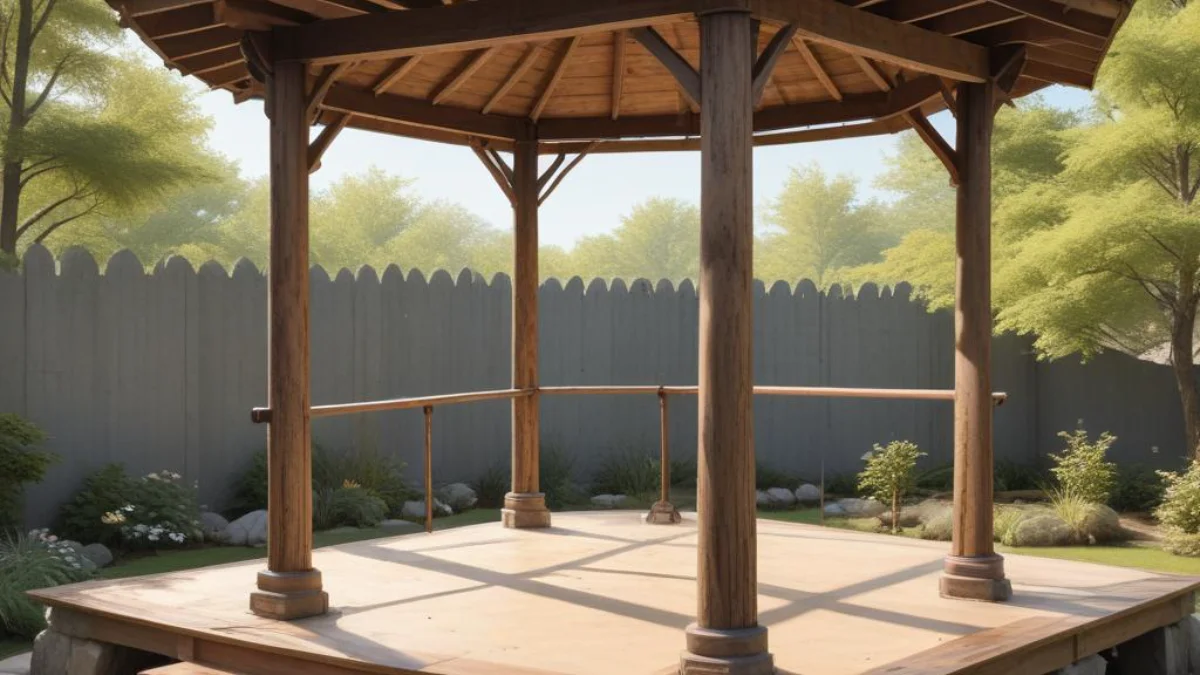
Method 2: Building a Custom Leveling Frame
If you have a more significant slope or prefer a more integrated look, building a custom leveling frame from pressure-treated lumber or composite material is an excellent choice. This method creates a perfectly flat and level foundation for your gazebo to sit on.
This approach essentially involves building a short, sturdy deck that is custom-built to counteract the slope of your concrete. This is the most robust and permanent solution.
Designing and Building Your Frame
First, measure the dimensions of your gazebo’s base. You will construct a frame with these outside dimensions. Using pressure-treated 2x6s or 2x8s is recommended for longevity.
You will cut the pieces for the frame and then begin assembly on the concrete. The side of the frame on the highest point of the slope will rest directly on the concrete, while the other sides will be propped up and shimmed until the entire frame is level. Once level, you secure the frame pieces together and then anchor the entire structure to the concrete slab below.
A solid foundation like this also provides a great base if you ever decide to add walls or think about how to insulate a gazebo for year-round use. A stable, level floor is the first step in any such project.
Method 3: Using Shims for Minor Adjustments
For very slight slopes—typically less than an inch—you may be able to use shims. It’s critical to use the right material. Do not use standard wood shims meant for indoor use, as they will quickly rot and compress.
Instead, use pressure-treated wood shims or high-density plastic shims that are rated for outdoor structural use. The key is to provide broad support, not just prop up a corner on a single thin point.
How to Use Shims Correctly
Place the gazebo post on the low side and slide shims underneath until the structure is level. You need to ensure the entire base of the post is supported by the shims to distribute the weight evenly.
Once level, you must find a way to conceal the shims and the gap, often with a decorative trim piece. While this method can work, it is often less stable and less permanent than using adjustable feet or a full frame.
Securing Your Gazebo is Mandatory
Once your gazebo is perfectly level, the final, crucial step is to anchor it securely to the concrete. Do not skip this step. An unsecured gazebo is a massive safety risk, especially in high winds.
Use a hammer drill to drill pilot holes through the feet of your gazebo posts (or leveling feet) and into the concrete. Then, use expanding concrete sleeve anchors or wedge anchors to bolt the structure firmly to the slab. This ensures your gazebo isn’t going anywhere.
A secure foundation is vital. If your patio has any damage, like cracks or voids underneath, you might first need to learn how to fill an erosion hole to create a solid base before anchoring.
Finishing Touches and Long-Term Care
With your gazebo level and secure, you can add finishing touches. Consider adding a decorative skirting or trim around the base to hide any gaps created by the leveling process. This provides a clean, professional look.
Periodically, you should check that all anchors are still tight and that the structure remains level. Concrete can shift or settle over time, so a quick check once a year can prevent any future issues from developing.
Proper installation ensures you can enjoy your outdoor space without worry. A little extra work now pays off with years of safe, relaxing enjoyment in your new backyard oasis.
Frequently Asked Questions
Why is it important to level a gazebo on sloped concrete?
Leveling your gazebo is crucial for both safety and structural integrity. An unlevel gazebo can put stress on the joints and frame, potentially leading to instability and a risk of collapse, especially in strong winds. A level foundation ensures the gazebo is stable and safe for use.
How can I measure the slope of my concrete patio?
You can measure the slope using a straight board and a carpenter’s level. Place one end of the board at the highest point of the slope and the other at the lowest. Rest the level on top of the board and lift the lower end until the bubble is centered; the distance from the bottom of the board to the concrete surface is your slope measurement.
What are the common methods for leveling a gazebo on a concrete slope?
Common methods include trimming the posts on the higher side of the slope to different lengths or using adjustable post bases. Another option is to use shims or wedges under the lower posts, though this is often considered a more temporary solution. For a more permanent fix, you can build a small, level foundation or platform on top of the sloped concrete.
Can I install a gazebo on a very steep slope?
While it’s possible to install a gazebo on various degrees of slope, steeper slopes present greater challenges and may require more extensive work. For significant slopes, consulting with a structural engineer is recommended to ensure a safe and stable installation. Methods for steep slopes might involve creating a raised, level platform or significant modifications to the gazebo posts.
What tools are needed to level a gazebo on sloped concrete?
The tools you’ll need depend on the leveling method you choose. Generally, you will require a level, measuring tape, a saw for trimming posts, a drill, and appropriate concrete anchors or screws. Depending on the approach, you might also need shims, adjustable post bases, or materials to build a leveling platform.
How do I ensure the gazebo is secure after leveling?
Once your gazebo is level, it’s essential to securely anchor it to the concrete to prevent movement, especially from wind. This typically involves using concrete anchors or bolts to fasten the gazebo posts to the patio. Always follow the manufacturer’s instructions for anchoring your specific gazebo model.