How to Insulate a Gazebo for Year-Round Comfort: Stop Your Gazebo From Being Unusable!
Is your beautiful gazebo sitting empty and unloved for half the year? You’re not alone. Many homeowners invest in a gazebo for blissful summer afternoons, only to see it become a frigid, forgotten space once the temperature drops. This common problem transforms a valuable outdoor asset into a seasonal decoration, but it doesn’t have to be this way.
The core issue is a lack of insulation. Without it, your gazebo is completely exposed to the elements, making it unbearably hot in the summer and freezing in the winter. This guide will provide actionable solutions to transform your gazebo into a true four-season retreat, allowing you to reclaim your outdoor space no matter the weather.
You'll Learn About
Why Insulating Your Gazebo is a Game-Changer
Before diving into the “how-to,” it’s crucial to understand why insulation is so effective. Proper insulation creates a thermal barrier, slowing the transfer of heat. In winter, it keeps the warm air from your heater inside, and in summer, it blocks the sun’s intense heat from turning your gazebo into an oven.
A well-insulated gazebo offers more than just temperature control. It provides a cozy, comfortable extension of your living space, perfect for entertaining, relaxing, or enjoying a quiet moment outdoors. By investing a little time and effort, you can significantly increase the usability and enjoyment of your outdoor structure.
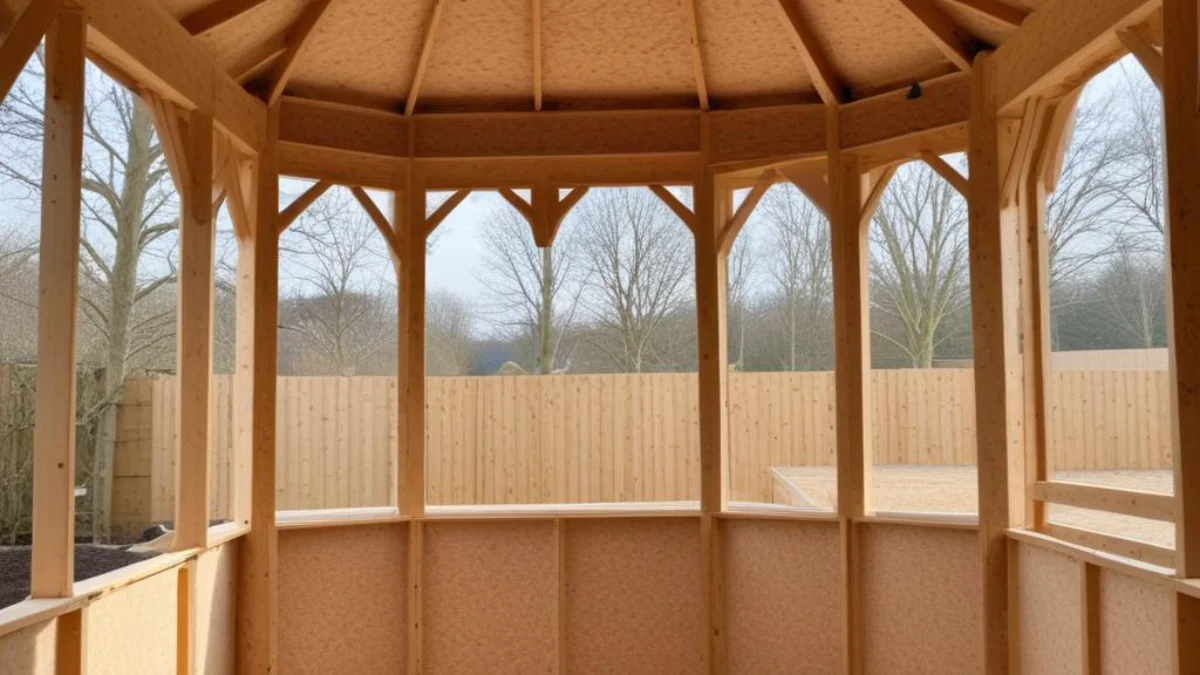
Understanding the Key Areas for Insulation
To effectively insulate your gazebo, you need to address all potential sources of heat loss and gain. Heat rises, making the roof the most critical area to insulate. However, walls and floors also play a significant role in maintaining a stable indoor temperature. A holistic approach that covers all surfaces will yield the best results.
Think of your gazebo as a small house; every surface contributes to its overall thermal efficiency. Leaving one area uninsulated can undermine your efforts elsewhere. For example, even with a perfectly insulated roof, cold drafts can still seep through unsealed walls and floors.
Choosing the Right Insulation Materials
The market is filled with various insulation materials, each with its own set of pros and cons. The best choice for your gazebo depends on its construction, your budget, and your climate. Rigid foam boards are a popular and effective option for both roofs and walls.
Materials like expanded polystyrene (EPS) or polyisocyanurate (polyiso) offer high R-values (a measure of thermal resistance) and are relatively easy to work with. For a more budget-friendly approach, reflective insulation, or radiant barriers, can be effective, especially for blocking summer heat gain in the roof.
Comparing Common Gazebo Insulation Options
Let’s break down the most suitable materials for a DIY gazebo insulation project. Understanding the characteristics of each will help you make an informed decision.
This table compares the key features to consider when selecting your insulation.
| Insulation Type | Average Cost (per sq. ft.) | Pros | Cons | Best For |
|---|---|---|---|---|
| Rigid Foam Board (EPS/XPS) | $0.25 – $2.00 | High R-value, moisture resistant, easy to cut and install. | Can be more expensive, requires careful sealing of seams. | Roof, Walls, Floor |
| Reflective/Radiant Barrier | $0.10 – $0.95 | Excellent at blocking radiant heat, lightweight, affordable. | Less effective at stopping conductive heat loss in winter, needs an air gap. | Roof (especially in hot climates) |
| Spray Foam (DIY Kits) | $3.15 – $7.50 | Creates a superior air seal, fills irregular gaps perfectly. | Can be messy, more expensive, requires protective gear. | Sealing gaps, irregular spaces |
| Insulated Curtains/Vinyl Panels | Varies | Easy to install/remove, adds a layer of insulation and windbreak. | Lower R-value than rigid insulation, less permanent solution. | Walls/Openings |
Step-by-Step Guide: How to Insulate Your Gazebo
Insulating your gazebo is a manageable DIY project. Follow these steps for a successful installation that will keep you comfortable year-round. Preparation is key to a smooth process.
Step 1: Inspect and Seal All Gaps
Before you install any insulation, your first task is to become a draft detective. Carefully inspect your gazebo for any gaps or cracks where air can leak in or out. Pay close attention to the joints where walls meet the roof and floor, as well as around any window or door frames.
Use a quality exterior-grade caulk or expanding foam sealant to fill these gaps. This simple step is one of the most effective ways to improve energy efficiency and prevent uncomfortable drafts. A well-sealed structure is the foundation of a successful insulation project.
Step 2: Insulating the Gazebo Roof
The roof is where most heat exchange occurs. For gazebos with exposed rafters, fitting rigid foam boards between them is an excellent strategy. Measure the space between each rafter carefully and cut the foam board for a snug fit.
Use a utility knife to score and snap the boards to size. Secure the panels in place, ensuring there are no gaps. You can then use foil tape to seal the seams between the boards, creating a continuous barrier against air and moisture.
Step 3: Tackling the Walls
The approach for the walls is similar to the roof. If your gazebo has studs or framing, you can cut rigid foam panels to fit within the cavities. This creates a clean, built-in look once you cover it with an interior finish.
If your walls are solid or you prefer a less permanent solution, consider installing heavy-duty, insulated outdoor curtains or clear vinyl panels. These act as an effective windbreak and add a layer of thermal resistance, making the space much cozier. They are especially useful for gazebos with large openings.
Step 4: Don’t Forget the Floor
A cold floor can quickly make a space feel uncomfortable. The floor is a significant source of heat loss, especially if your gazebo is built on a concrete slab or raised on piers. Insulating the floor from underneath with rigid foam board is the most effective method.
If accessing the underside isn’t possible, laying down thick, weather-resistant outdoor rugs or interlocking foam tiles on the interior floor can make a surprising difference. This adds a layer of insulation and comfort underfoot, making the gazebo more inviting. For a more permanent structure, learning how to run power to your gazebo can also support heated flooring options.
Beyond Insulation: Creating a Cozy Year-Round Haven
Insulation is the first and most critical step, but a few additional touches can elevate your gazebo from a merely usable space to a truly cozy retreat. The right heating and lighting can make all the difference, especially on a chilly evening.
Consider adding an outdoor-rated electric heater, such as an infrared or wall-mounted unit. These are much safer for enclosed spaces than propane heaters, which require significant ventilation. String lights or solar-powered lanterns will add a warm, inviting glow.
Heating Your Newly Insulated Space
Once your gazebo is sealed and insulated, you’ll find it requires much less energy to heat. Electric infrared heaters are an excellent choice because they heat objects and people directly, rather than just the air, providing instant warmth.
When selecting a heater, ensure it is specifically rated for outdoor or gazebo use and follow all safety instructions for placement and clearance. Safety should always be your top priority. If you’ve used an outdoor finish indoors previously, you might be curious about its durability, much like when people wonder if they accidentally used interior polyurethane outside, but outdoor-rated products are always best for safety and longevity in these structures.
Common Problems to Avoid
Proper installation is crucial to avoid issues down the line. One of the biggest mistakes is not addressing moisture control. Trapped moisture can lead to mold and rot, damaging both the insulation and the gazebo’s structure.
When using materials like foam board, ensure all seams are properly sealed with tape. If you live in a particularly damp climate, considering a vapor barrier on the warm-in-winter side of the insulation (typically the interior) is a wise precaution to prevent condensation within the wall and roof cavities.
The Importance of Ventilation
While sealing air leaks is important, some ventilation is still necessary, especially if you plan to use any form of heating. Completely sealing a small space can lead to poor air quality and condensation issues.
If your gazebo is fully enclosed, consider installing a small, operable window or a roof vent that can be opened periodically to allow for fresh air exchange. This is particularly critical if using any fuel-burning heater to prevent the buildup of harmful gases like carbon monoxide. When maintaining your outdoor tools for year-round use, just as you’d select the right tool for the job like in an Echo srm-2620 vs 2620t comparison, choosing the right ventilation is key to safety.
By following these steps, you can successfully transform your seasonal gazebo into a comfortable and inviting year-round outdoor living space. Don’t let your investment sit idle; with a bit of DIY spirit, you can enjoy your gazebo no matter what the thermometer says.