How to Hang String Lights on Aluminum Screen Enclosure: Your Ultimate Guide
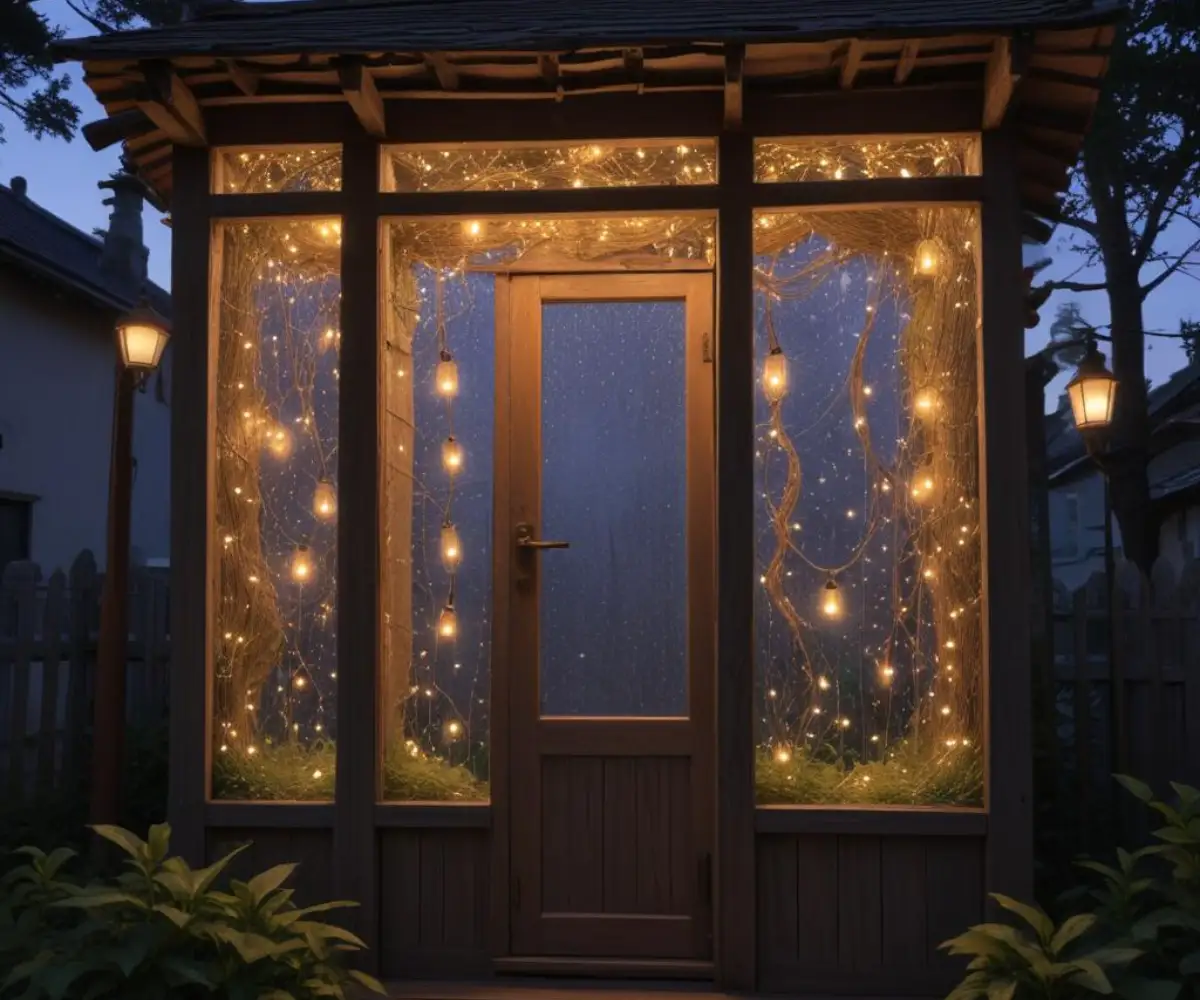
An aluminum screen enclosure, whether it’s a pool cage, lanai, or screened-in patio, is your private portal to the outdoors. It offers fresh air without the nuisance of insects. But when dusk falls, this functional space can be transformed into a magical retreat with the warm, inviting glow of string lights.
The problem is, the very structure that provides this protection—the aluminum frame and delicate screen—seems to forbid any modifications. The fear of drilling a hole in the wrong place, tearing the screen, or causing permanent damage stops many homeowners from even attempting to hang lights. How do you add that beautiful ambiance without compromising the integrity of your expensive enclosure?
This is a common dilemma. You envision a beautifully lit space for evening relaxation or entertaining, but you’re rightfully hesitant to use screws, nails, or anything that could create a lasting problem. Fortunately, you can achieve that stunning look without any drilling or damage. This comprehensive guide will walk you through the safest, most effective, and damage-free methods to hang string lights on your aluminum screen enclosure, turning your practical space into a picturesque oasis.
You'll Learn About
Why Hanging Lights on an Aluminum Enclosure Can Be Tricky
Before jumping into solutions, it’s crucial to understand the challenges. Aluminum screen enclosures are engineered to be lightweight yet durable enough to withstand wind and weather, but they aren’t designed to support extra weight or have their structural integrity compromised. Recognizing the potential pitfalls is the first step to avoiding them.
The Damage Dilemma: Screens, Frames, and Finishes
The most significant concern is causing irreversible damage. The screen mesh is delicate and can easily tear or puncture, which is an open invitation for bugs and an expensive repair. Drilling into the hollow aluminum frame is an even bigger mistake. It not only weakens the structure at that point but also exposes the raw aluminum to moisture, which can lead to corrosion over time, bubbling the paint and creating an eyesore.
Furthermore, most aluminum enclosures have a powder-coated or painted finish. Using screws or improper clips can easily chip or scratch this protective layer, leading to oxidation and rust-like discoloration. The goal is to add beauty, not create a maintenance headache.
The Weighty Issue: Choosing the Right Lights
Not all string lights are created equal, especially when it comes to weight. Old-fashioned incandescent bistro lights with heavy glass bulbs can put significant strain on an aluminum frame. The cumulative weight of a long strand can cause the frame members to sag or bow over time, particularly on wider spans.
It’s essential to consider the total weight of your lights and choose a lightweight option. LED string lights are the superior choice not only for their energy efficiency and durability but also for their significantly lighter weight. The structure is meant to hold up a screen, not heavy decorations.
Weather Woes: Wind, Rain, and Electrical Safety
Your screen enclosure is an outdoor structure, and anything you attach to it must be able to handle the elements. Wind can turn improperly secured string lights into a swinging hazard, causing them to bang against the frame or even tear loose. Rain is an even more critical consideration due to the risk of electrical shock.
Using indoor lights or extension cords is a serious safety hazard. All lighting and electrical components must be specifically rated for outdoor use to withstand moisture and UV exposure. Always plug your lights into a Ground Fault Circuit Interrupter (GFCI) outlet, which will automatically cut the power if it detects a short circuit, preventing dangerous electrical shocks, especially in a damp environment or near a pool.
Before You Begin: The Essential Prep Work
Proper planning is the secret to a flawless and stress-free installation. Taking a few moments to map out your design and gather the right materials will save you time and help you avoid common mistakes. A little prep work ensures your project is a success from the start.
Step 1: Design Your Lighting Layout
First, decide on the look you want to achieve. Do you want to outline the entire perimeter for a clean, defined look? Or maybe a zigzag or grid pattern across the top for more overhead lighting? Sketch out your design to visualize the final result.
Once you have a plan, use a flexible measuring tape to determine the total length of string lights you’ll need. Be sure to account for a gentle sag between hanging points for a classic, professional look. Finally, locate your power source. Knowing where your GFCI outlet is will determine where your light strand starts and ends and whether you’ll need an outdoor-rated extension cord.
Step 2: Choose the Perfect String Lights
As mentioned, lightweight LED string lights are the best option for an aluminum enclosure. They produce very little heat, are often made with shatterproof plastic bulbs, and consume far less energy. Look for commercial-grade lights with a thick, durable cord that can withstand the elements.
Consider the bulb style and color temperature. Edison-style bulbs can provide a vintage, industrial look, while classic round G40 or G50 globe bulbs offer a timeless bistro feel. A warm white color temperature (around 2700K) typically creates the most cozy and inviting ambiance.
Step 3: Gather Your Damage-Free Hanging Supplies
This is where the magic happens. To avoid any damage, you must use mounting hardware that doesn’t require drilling or screwing. Your choice of supplies will depend on the specific design of your enclosure’s frame. Here are the best options to have on hand:
- Plastic Gutter Hooks: Simple S-shaped plastic hooks designed to clip onto gutters are perfect for hanging on the lip of many aluminum frames.
- Outdoor Adhesive Clips: Brands like Command™ make excellent outdoor light clips that use a strong, weather-resistant adhesive that removes cleanly.
- UV-Resistant Zip Ties: A versatile and secure option for attaching light strands to the frame posts or roof supports. Choose releasable ones for easy adjustments.
- Soft Plant Ties or Velcro Straps: These are great for bundling cables or for a less permanent attachment.
- Outdoor-Rated Extension Cord: Make sure it’s the right length to reach your outlet without being pulled taut.
The Best Damage-Free Methods for Hanging Your Lights
With your planning complete and supplies in hand, it’s time to choose the best method for your specific enclosure. Most installations will benefit from a combination of these techniques to handle different parts of the structure.
Method 1: The Magic of Gutter Hooks
Gutter hooks are perhaps the easiest and most effective solution. These simple plastic hooks are designed to slip over the edge of a gutter, but they work just as well on the metal lip that often runs along the top of an aluminum screen enclosure frame. They are incredibly easy to install and reposition.
Simply slide the top of the S-hook over the edge of the aluminum beam. The bottom of the hook then provides the perfect cradle for your string light cable. Space them every 2-3 feet to ensure the lights are well-supported and to create an even scalloped look. This is the go-to method for hanging lights along the perimeter beams.
Method 2: Command™ Outdoor Light Clips
For flat surfaces where a gutter hook won’t work, outdoor adhesive clips are a fantastic alternative. These clips are designed to withstand rain, UV rays, and temperature changes. The key to success with adhesive clips is proper surface preparation.
First, thoroughly clean the area of the aluminum frame with rubbing alcohol to remove any dirt, dust, or pollen. This ensures a strong bond. Then, press the clip firmly into place and hold it for the recommended time (usually 30-60 seconds). It’s crucial to let the adhesive cure for at least an hour before hanging any weight on it. These clips are ideal for running lights down vertical posts or on flat overhead beams.
Method 3: Zip Ties & Releasable Cable Ties
Zip ties are an installer’s best friend. They are perfect for securing lights to the main support posts or any part of the frame where you can wrap something around. For the best longevity, make sure you use black, UV-resistant zip ties, as standard white ones will become brittle and break down in the sun.
Position the light strand and loosely fasten a zip tie around the frame and the cable. Before you tighten it completely, ensure your positioning is correct. Releasable cable ties are even better, as they allow you to easily make adjustments or take the lights down in the off-season without having to cut them.
Method 4: Magnetic Hooks (For Steel Components Only)
This method is less common because most screen enclosures are made entirely of aluminum, which is not magnetic. However, some enclosures may use steel fasteners, screws, or corner brackets. You can test this easily with a simple refrigerator magnet.
If you do find magnetic spots, a powerful neodymium magnetic hook can be an instant and incredibly strong hanging point. This is a great damage-free option but is entirely dependent on the materials used in your specific enclosure. Don’t rely on this method without testing first.
Step-by-Step Installation Guide
Now, let’s put it all together. Follow these steps for a safe and beautiful installation that will have your lights up in no time.
- Clean the Frame: Take a cloth and some rubbing alcohol and wipe down all the surfaces on the aluminum frame where you plan to attach adhesive clips or hooks. A clean surface is essential for a secure hold.
- Attach Your Fasteners: Based on your design, begin placing your hooks and clips. Use gutter hooks along the top edges and adhesive clips or zip ties on vertical posts and flat beams. Space them about 24-36 inches apart.
- Hang the Lights (Unplugged!): Never hang lights while they are plugged in. Start at the end of the strand closest to your power outlet. This prevents you from running out of cord just a few feet from the outlet.
- Secure the Strand: Drape the light cable from one fastener to the next. Avoid pulling the strand tight. A gentle sag, often called a “catenary curve,” looks more professional and puts less tension on the cable and your mounting points.
- Manage Excess Cable: Once all the lights are hung, neatly run the remaining power cord to your outlet. Use a few extra adhesive clips or zip ties to secure the cord along a post to keep it tidy and prevent a tripping hazard.
- Plug In and Admire: Connect the lights to your GFCI-protected outdoor outlet. Step back and enjoy the beautiful, warm glow you’ve added to your outdoor living space.
Pro Tips for a Professional-Looking Installation
A few extra touches can elevate your lighting from good to great. These tips will help you achieve a polished look that seems like it was done by a professional.
Achieving the Perfect “Sag”
A perfectly taut string light cord can look sterile and put too much stress on your fasteners. The key to a high-end bistro look is a consistent, gentle sag between each hook. To achieve this, after you hang a section, step back to check the drape. Adjust as needed before moving on to the next section to ensure the look is uniform across the entire length.
Hiding Wires and Extension Cords
Visible, messy cords can detract from the overall aesthetic. Try to run your main power cord down a corner post or along a less visible beam. You can use outdoor-rated cord covers that match the color of your enclosure to make them blend in seamlessly. Always ensure any extension cord connections are protected from direct rain.
Connecting Multiple Strands Safely
If your design requires more than one string of lights, it’s critical to know the manufacturer’s limit. Every set of string lights will specify the maximum number of strands that can be safely connected end-to-end. Exceeding this limit can overload the wiring, creating a fire hazard. If you need to cover a large area, you may need to run separate strands to different outlets or use a heavy-duty extension cord with multiple taps.
| Hanging Method | Best For | Damage Risk | Ease of Use | Relative Cost |
|---|---|---|---|---|
| Plastic Gutter Hooks | Perimeter beams with a lip or edge | None | Very Easy | Low |
| Outdoor Adhesive Clips | Flat surfaces, vertical posts | None (if removed properly) | Easy (requires prep) | Low-Medium |
| UV-Resistant Zip Ties | Support posts, cross beams, tight spots | None | Very Easy | Low |
| Magnetic Hooks | Any steel components (fasteners, brackets) | None | Easiest (if applicable) | Medium |
Common Mistakes to Avoid (And How to Fix Them)
Even with the best intentions, mistakes can happen. Here are the most common errors homeowners make and what to do to prevent or fix them. Proper installation is crucial for long-term enjoyment and safety, much like how taking care to hang lights on a steep roof requires specific safety protocols to prevent accidents.
Drilling Into the Frame
We’ve said it before, but it bears repeating: do not drill, screw, or nail into your aluminum frame. It compromises the structural integrity and the weather-resistant finish. If you’ve already made this mistake and have a small hole, clean it thoroughly and seal it with a small dab of clear, outdoor-rated silicone caulk to prevent water from getting in and causing corrosion.
Maintaining the integrity of your home’s structures is always a top priority. A small hole in a frame might seem minor, but it’s similar to how ignoring a gap between the chimney and house can lead to much larger water damage issues over time. It’s always best to address these things promptly.
Using Indoor Lights and Cords
This is a major safety risk. Indoor lights and extension cords are not built to withstand moisture or UV radiation. The insulation can quickly degrade, exposing live wires and creating a serious risk of fire or electric shock. If you’ve used indoor lights, take them down immediately and replace them with a properly rated outdoor product.
Overloading the Structure
Even with damage-free methods, hanging excessively heavy decor can still be a problem. Stick to lightweight LED lights. Distribute the weight evenly by placing your hanging points close together—no more than three feet apart. If you notice any bowing or sagging in the aluminum frame, the lights are too heavy, and you need to remove them and choose a lighter option.
Frequently Asked Questions (FAQs)
Here are answers to some of the most common questions about hanging lights on a screen enclosure.
How can I hang lights without any clips or hooks?
For a more rustic or temporary look, you can try gently wrapping the light strand around the support beams. Be careful not to wrap them too tightly, as this can abrade the cord and the frame’s finish over time. This method works best for thicker, more structural posts.
Can I leave my string lights up all year?
Yes, if you use high-quality, commercial-grade outdoor string lights and UV-resistant fasteners. Cheaper, seasonal lights may not last more than one season. It’s a good idea to inspect them periodically for any wear and tear.
How do I power the lights if the outlet is far away?
Use a single, appropriately sized, outdoor-rated extension cord. Avoid plugging multiple extension cords together. Ensure the cord is rated to handle the wattage of your lights and secure it along the base of the enclosure to prevent it from being a tripping hazard. Protecting your home and family from preventable accidents is always wise, just as you would take steps to protect a corner house from cars if you lived on a busy street.
Will hanging lights attract more bugs to my screen enclosure?
While any light source can attract insects, warm-colored LED lights (often labeled as “warm white” or “yellowish”) are known to attract significantly fewer bugs than cool white or bluish lights. This is one more reason to opt for the cozy glow of warm LEDs.
Transform Your Enclosure into a Backyard Oasis
You no longer need to look at your screen enclosure as a barrier to beautiful outdoor lighting. By choosing lightweight LED lights and using simple, damage-free hanging methods like gutter hooks, adhesive clips, and zip ties, you can safely and securely add a magical ambiance to your space. There is no need for drills, screws, or any modification that could harm your investment.
A little bit of planning and the right supplies are all it takes to transform your patio, lanai, or pool cage from a purely functional area into the stunning centerpiece of your backyard. So go ahead, hang those lights, and get ready to enjoy countless peaceful evenings under their warm, enchanting glow.