How to Hang Lights on a Steep Roof Safely and Securely
The holiday season brings joy, but for homeowners with steep roofs, it also brings a daunting challenge. Figuring out how to hang lights on a steep roof can feel like an impossible and dangerous task.
Many people either give up on decorating their rooflines or take unnecessary risks. The fear of falling is real and justified, but with the right approach, you can create a stunning display without compromising your safety.
You'll Learn About
The Problem: Gravity and a Treacherous Angle
A steep roof, often defined as a roof with a pitch greater than 6/12, presents significant hazards. The sharp angle increases the pull of gravity, making it difficult to maintain your footing and balance.
Shingles can be slippery, especially if they are wet, frosty, or covered in debris. This treacherous surface, combined with the height, creates a high-risk environment for even the most experienced DIY enthusiast.
Risks Beyond Falling
The danger isn’t just about falling off the roof. Improper techniques can cause significant damage to your shingles, gutters, and the underlying roof structure, leading to costly repairs down the line.
Using the wrong fasteners, like nails or staples, can void your roof’s warranty and create entry points for water. This moisture intrusion can lead to leaks, mold, and rot within your home’s structure.
Safety First: Your Essential Steep Roof Protocol
Before you even think about plugging in a string of lights, you must prioritize safety. Never attempt to work on a steep roof alone. Always have a reliable spotter on the ground.
Your spotter’s job is to stabilize the ladder, hand you tools, and be ready to call for help in an emergency. This single precaution is the most critical step you can take.
Weather is a Deciding Factor
Never work on a roof in rain, snow, ice, or high winds. Check the forecast and choose a clear, calm, and dry day for your project. Even a small amount of moisture can make a steep surface incredibly slick.
Morning dew or frost can also create hazardous conditions. It’s best to wait until the sun has had time to completely dry the roof surface before you begin your ascent.
Dress for Safety and Success
Your attire matters significantly when working at height. Wear well-fitting clothes that won’t snag on equipment. Most importantly, wear proper footwear.
Shoes or boots with high-traction, soft rubber soles are essential. These provide the best grip on shingle surfaces and help you maintain a secure footing as you move.
Gearing Up: The Right Tools for High-Angle Decorating
Standard tools won’t cut it for this specialized job. You need equipment designed for safety and efficiency when working on a steep pitch. Investing in the right gear is an investment in your well-being.
The cornerstone of your setup will be a sturdy ladder and, ideally, a fall protection system. Do not cut corners when it comes to the quality of your safety equipment.
Choosing Your Ladder
An extension ladder is a must for reaching the roofline. Ensure it is tall enough to extend at least three feet above the edge of the roof, providing a stable handhold as you transition on and off.
A ladder stabilizer, or stand-off, is a crucial accessory. It attaches to the top of your ladder, providing a wider, more stable base against the house and preventing damage to your gutters.
Fall Protection is Non-Negotiable
For any steep roof work, a personal fall arrest system (PFAS) is strongly recommended. This consists of a full-body harness, a lanyard, a rope grab, and a secure roof anchor.
Roof anchors can be installed temporarily or permanently at the roof’s peak. Always follow the manufacturer’s instructions precisely when setting up your fall protection system. It is your lifeline.
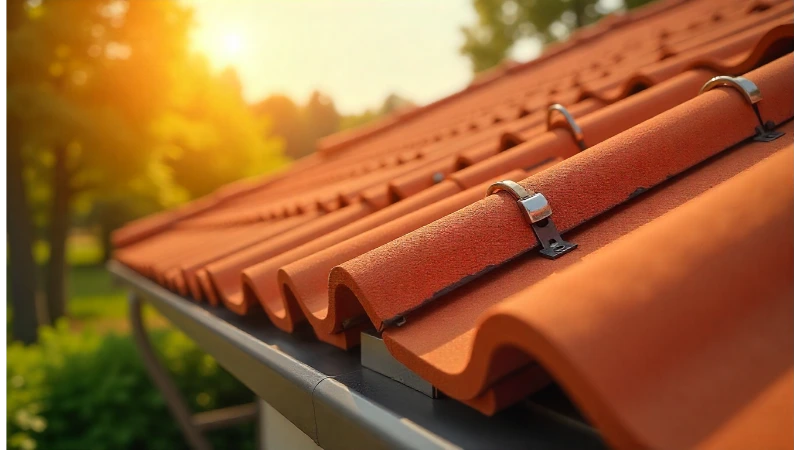
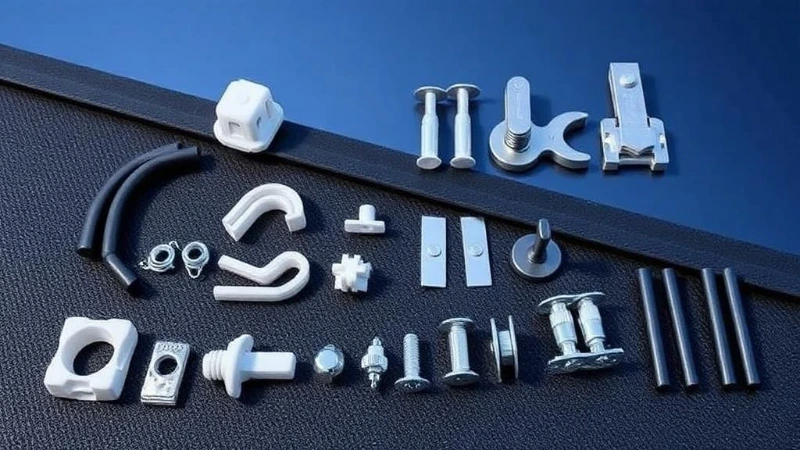
Specialized Light Clips
Forget the old staple gun. Modern light clips are designed to attach lights securely without damaging your home. The type you need will depend on your specific roofline and what you’re attaching to.
Using the correct clips not only protects your roof but also makes the installation and removal process significantly easier and faster. This minimizes your time spent in a high-risk position.
| Clip Type | Best For | Installation Method | Pros | Cons |
|---|---|---|---|---|
| Shingle Tab Clips | Asphalt Shingles | Slides gently under the edge of a shingle. | Non-damaging, easy to install, discreet. | May not be secure in very high winds. |
| Gutter Clips | Gutters | Clips directly onto the front edge of the gutter. | Fast installation, versatile for different light types. | Not suitable for homes without gutters. |
| All-in-One Clips | Shingles, Gutters, Eaves | Can be positioned to grip shingles or gutters. | Highly versatile, good value, can hold C7/C9 bulbs. | Can be bulkier than other clip types. |
| Ridge Clips | Roof Ridge / Peak | Specialized clips that saddle the roof’s peak. | Provides a secure anchor point for outlining the ridge. | Only for use on the roof’s peak. |
The Step-by-Step Guide to Hanging Lights Safely
With your safety plan in place and your gear assembled, you’re ready to begin the installation. A methodical, patient approach is key to a successful and incident-free outcome.
Never rush the process. Work deliberately and always be mindful of your position and your connection to the safety system.
Step 1: Plan and Test from the Ground
Before you climb, lay out your light strings on the ground. Plug them in to ensure every bulb is working. It’s much easier to replace a bulb on the ground than on the roof.
Measure your roofline and compare it to the length of your light strings. This ensures you have enough lights to cover the desired area and helps you plan where your connections and extension cords will run.
Step 2: Set Up Your Safety and Access
Position your extension ladder on firm, level ground. Use the 4-to-1 rule: for every four feet of height to the point of support, the base of the ladder should be one foot away from the wall.
Once you access the roof, install your roof anchor at the peak according to its instructions. Securely attach your lifeline and rope grab, ensuring it is properly adjusted before you begin moving around.
Step 3: The Attachment Process
Start attaching clips to your roofline, beginning at a point closest to your anchor. Attach a clip every 12-18 inches to ensure the light string is well-supported and won’t sag.
Work in small, manageable sections. Once a section of clips is in place, climb back down, attach the light string to the clips you just installed, and then move on to the next section. This minimizes movement on the roof.
Step 4: Powering Up Your Display
Run a heavy-duty, outdoor-rated extension cord from your power source to the starting point of your light display. Ensure the connection point is sheltered from weather and elevated off the ground to prevent water exposure.
Be mindful of the total power draw of your lights to avoid overloading circuits. If you’re concerned about how a large display might affect your power consumption, it’s worth understanding your usage; you might even wonder, can my landlord see my electric bill if you’re in a rental property.
No-Climb Alternatives for Steep Roofs
If the idea of getting on your steep roof is still too intimidating, don’t worry. There are safe and effective alternatives that don’t require a ladder or a harness.
These methods can produce a beautiful result without you ever having to leave the safety of the ground.
The Magic of an Extension Pole
A decorating extension pole is a game-changer for many homeowners. These poles, which can extend up to 20 feet or more, have specialized heads designed to grip a light bulb or clip.
You can pre-clip your lights and then use the pole to lift and attach each clip to your gutters or shingles one by one. While it takes patience, it is an exceptionally safe method.
Hiring a Professional Installer
There is no shame in calling for professional help. Professional holiday light installers have the training, insurance, and specialized equipment to work on steep roofs safely and efficiently.
While it is an added cost, it guarantees a professional result and, more importantly, your personal safety. Get quotes from several insured and reputable local companies.
Common and Costly Mistakes to Avoid
Even with the right gear, simple mistakes can lead to big problems. Being aware of these common pitfalls is crucial for protecting both yourself and your home.
Avoid the temptation to take shortcuts. The few minutes you save could cost you dearly in repairs or injury.
Never Use Nails, Screws, or Staples
This is the cardinal sin of hanging roof lights. Puncturing your shingles creates a direct path for water to enter your home. This can lead to serious structural issues over time.
These penetrations can also cause issues with your chimney flashing, and you don’t want to find out the hard way what happens when a chimney catches fire due to related structural neglect. Always use non-damaging clips.
Don’t Overreach
Whether you’re on a ladder or on the roof, always keep your body centered and balanced. Overreaching to place one last clip is a classic cause of falls. It’s always better to move the ladder or reposition yourself.
Remember to keep your equipment in good working order before you start. There’s nothing worse than getting halfway through a job only to have a tool fail, just like the frustration when a kohler engine stalls after 10 minutes of work.
Post-Holiday Takedown and Storage
Safe removal is just as important as safe installation. Use the same safety precautions and systems when taking your lights down. Choose another clear, dry day for the removal process.
As you remove the lights, check for any damaged bulbs or frayed wires. It’s best to make repairs now rather than discovering them next year. Store your lights and clips in a dry, organized container to ensure they’re ready for the next season.