How to Find Studs Behind Wood Paneling (It’s Easier Than You Think)
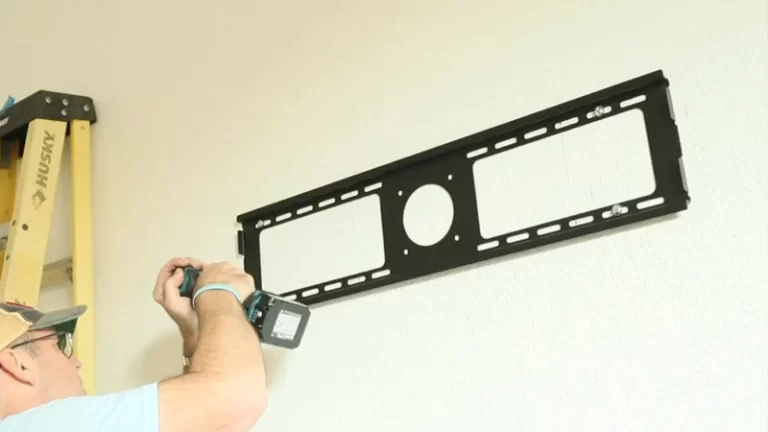
You’ve got the perfect spot for that new flatscreen TV or a heavy antique mirror. But there’s a problem: your walls are covered in wood paneling. Suddenly, a simple task feels like a major construction project, leaving you staring at the wall in frustration, wondering where the hidden framework lies.
This is a common headache for many homeowners. Wood paneling, while adding a certain charm, effectively blinds most standard stud finders and makes traditional methods unreliable. Drilling blindly is a recipe for a wall full of ugly, unnecessary holes and the risk of your prized possession crashing to the floor.
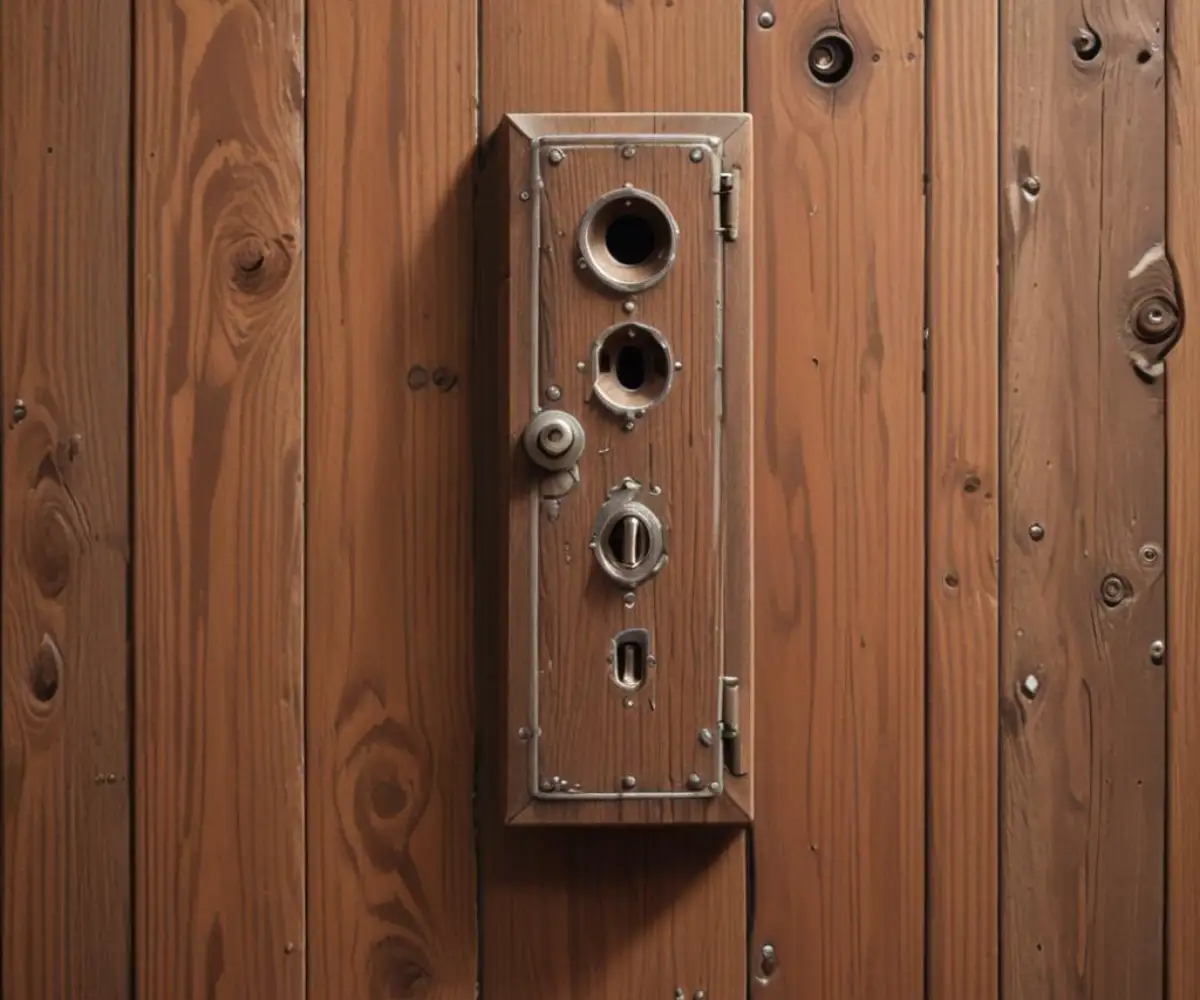
The core issue is that wood paneling adds an extra, often dense, layer that interferes with the sensors in electronic stud finders. It can also hide other wall abnormalities, like horizontal furring strips, that can give false readings. But don’t worry—you don’t need X-ray vision to solve this. This guide will walk you through several foolproof methods to locate those elusive studs with confidence.
You'll Learn About
Why Finding Studs Behind Wood Paneling is So Tricky
Locating studs behind drywall is usually straightforward, but wood paneling presents a unique set of challenges that can stump even experienced DIYers. Understanding these obstacles is the first step toward overcoming them and ensuring your mounting projects are secure.
The primary difficulty comes from the material itself. Unlike thin, uniform drywall, wood paneling can vary in thickness, density, and texture. This inconsistency can trick electronic stud finders, which work by detecting changes in wall density. The tool might mistakenly identify the edge of a wood panel or a knot in the wood as a stud. In some cases, if the paneling is thick enough, the stud finder’s sensor may not be powerful enough to penetrate it and the underlying drywall to get an accurate reading.
Furthermore, older homes with wood paneling might not follow today’s standard construction practices. While most modern homes have studs spaced 16 or 24 inches on center, older properties can have irregular spacing. You might also encounter horizontal blocking or furring strips—pieces of wood installed between the studs—which can give a false positive, leading you to drill into something that can’t support a heavy load.
The Problem with Common Stud Finders
Most electronic stud finders are designed with drywall in mind. They send out a signal and read the feedback to map out the density of the wall. When they encounter the solid wood of a stud, they beep or light up. However, when faced with a wood-paneled wall, these devices often become confused. The entire wall surface may register as dense, causing the finder to indicate a stud everywhere. Deep scan modes can sometimes help, but they are not always reliable on thicker or denser paneling.
Magnetic stud finders, which detect the metal fasteners (screws or nails) that attach the wall covering to the studs, can be a better option. However, their effectiveness depends on the type and number of fasteners used. If the paneling itself was attached with many small nails, a magnetic finder might give you too many hits to pinpoint the actual vertical stud line accurately.
Guaranteed Methods to Find Studs Behind Wood Paneling
Don’t let wood paneling intimidate you. With the right techniques, you can pinpoint studs with precision. We’ll start with the most reliable methods and work our way through several effective alternatives.
Method 1: The Electrical Box Detective
This is one of the most reliable ways to find your first stud, and it doesn’t require any special tools. Electrical boxes for outlets and light switches are almost always mounted directly to the side of a stud for stability. This gives you a definite starting point.
Step 1: Locate an Outlet or Switch. Find the nearest electrical outlet or light switch to where you want to hang your item. Turn off the power to that outlet at the breaker box for safety.
Step 2: Remove the Cover Plate. Unscrew and remove the cover plate. You don’t need to remove the outlet itself. Look inside the box and see if you can tell which side the stud is on. The box will be nailed or screwed directly to it.
Step 3: Measure and Mark. Once you’ve identified which side the stud is on, you’ve found the edge of that stud. A standard stud is 1.5 inches thick. You can now measure from the center of that first stud to find the others. In most homes, studs are spaced 16 inches apart on center, though sometimes you’ll find them at 24 inches.
Method 2: Use a Strong Magnet
This technique bypasses the wood paneling issue entirely by focusing on the metal fasteners used to secure the wall materials to the studs. A powerful neodymium magnet (rare-earth magnet) works best for this. It’s much stronger than a typical refrigerator magnet.
Step 1: Scan the Wall. Tie a piece of string to the magnet or cover it in a thin cloth to prevent it from scratching the paneling. Slowly drag the magnet horizontally across the wall surface.
Step 2: Feel for the Pull. As you move the magnet, you will feel a distinct pull when it passes over a nail or screw head. Mark this spot lightly with a pencil. To confirm it’s a stud line, move the magnet vertically up and down from that spot; you should find a vertical line of fasteners.
Step 3: Map the Studs. Once you’ve found one vertical line of fasteners, you have located a stud. From there, you can measure 16 or 24 inches to the left or right to find the adjacent studs. Use the magnet to confirm their locations.
Method 3: The Tap Test
The classic “tap test” is an old-school method that relies on your sense of hearing. While it can be less precise, it’s a great way to get a general idea of where studs are located, especially when you don’t have tools on hand.
Step 1: Quiet the Room. Turn off any background noise like TVs or radios. You need to be able to hear the subtle changes in sound.
Step 2: Tap and Listen. Knock gently on the wall with your knuckle. As you move across the wall, you’ll hear a hollow, resonant sound in the spaces between studs. When you knock over a stud, the sound will become a dull, solid thud. The change is distinct once you know what to listen for.
Step 3: Confirm Your Findings. Use the tap test to find the approximate locations of a few studs. You can then use a small finishing nail to probe just above the baseboard to confirm the exact location. This small hole is easily filled and won’t be noticeable.
Choosing the Right Tools for the Job
While some methods don’t require fancy gadgets, having the right tool can make the process faster and more accurate. When dealing with wood paneling, not all stud finders are created equal.
If you prefer a high-tech solution, look for a stud finder with a deep scanning mode or one specifically designed for thicker walls. Some advanced models use multiple sensors to get a better reading behind different materials. These can be particularly helpful if your paneling is very thick or installed over another layer like plaster. A great stud finder is a key part of any project, from complex work like figuring out how to install ductwork in existing walls to simpler tasks.
Comparison of Stud Finding Methods
To help you decide which approach is best for your situation, here’s a quick comparison of the methods we’ve discussed.
| Method | Pros | Cons | Best For |
|---|---|---|---|
| Electrical Box | Extremely reliable for finding the first stud. | Requires working near electricity (must turn off power). | Situations where absolute certainty is needed. |
| Strong Magnet | Very accurate, not fooled by wood density, inexpensive. | May not work if adhesive was used instead of metal fasteners. | Most paneled walls, especially if electronic finders fail. |
| Tap Test | Requires no tools, quick and easy. | Less precise, can be subjective and requires a good ear. | Getting a general location before using a more precise method. |
| Deep Scan Stud Finder | Can work through multiple layers, convenient. | Can still give false positives on dense or irregular paneling. | Thinner, more uniform wood paneling. |
Once You’ve Found the Studs: Best Practices for Mounting
Finding the studs is only half the battle. Now you need to securely mount your item. It’s crucial to use the right hardware and techniques to ensure a safe and lasting installation.
First, always drill a pilot hole. This is especially important when screwing into wood studs. A pilot hole that is slightly smaller than the diameter of your screw will prevent the stud from splitting and allow the screw to go in more easily, creating a stronger hold.
Next, choose the right fasteners. For heavy items like large mirrors or televisions, use long lag screws that will penetrate at least 1.5 inches into the stud itself. Remember to account for the thickness of the paneling and any underlying drywall. Understanding how to securely hang heavy objects is critical, whether it’s for a large piece of art or learning how to hang an Anthropologie mirror properly.
What if You Can’t Find a Stud?
In some cases, the stud layout just won’t work with where you want to hang your item. If your object is lightweight (under 10-15 pounds), you might be able to use a hollow wall anchor designed for paneling. However, for anything heavy, this is not a safe option.
For heavy items, if you absolutely must mount between studs, you’ll need to add extra support. This could involve opening the wall to install horizontal blocking between two studs. Another option is to mount a piece of plywood or a decorative board to the wall first, screwing this support piece into the studs, and then mounting your item to the board. It’s also important to know the difference between securing into a stud and other methods; for example, knowing whether you can anchor in a stud (you shouldn’t) is key to avoiding wall damage.
By taking a methodical approach and using these proven techniques, you can confidently locate studs behind any wood-paneled wall. You’ll be able to complete your project knowing that your belongings are hung securely, without turning your wall into a piece of Swiss cheese.