Extend Gas Line for Stove: Your Critical Safety Guide
You’re in the middle of a kitchen remodel, and the perfect spot for your new high-performance gas stove is just a few feet away from the current gas outlet. The problem seems simple enough: you just need to extend the gas line. While it sounds straightforward, this task sits at the intersection of home improvement and high-stakes safety protocols.
Moving a gas line is not like extending an electrical wire or rerouting a water pipe. The inherent risks of dealing with natural gas or propane mean that a tiny mistake can have catastrophic consequences, from slow, poisonous leaks to devastating explosions. This guide is designed to walk you through the critical considerations, safety measures, and steps involved, emphasizing one core principle: safety is non-negotiable.
You'll Learn About
The Unmistakable Dangers: Why This Job Demands Perfection
Before touching a single pipe, it is essential to understand the gravity of working with gas lines. This isn’t a project for guesswork or casual DIY attempts. The risks are significant and demand a professional level of care and knowledge.
Understanding the Risks of Improper Gas Line Work
A faulty gas line installation can lead to immediate and long-term dangers. The most severe risk is a gas leak, which can go undetected and fill a concealed space, creating a volatile situation where a single spark from a static shock or an electrical appliance can trigger an explosion. An improperly installed line is a threat to your home and everyone in it.
Beyond the explosive potential, a slow leak can release natural gas and carbon monoxide into your living space. Carbon monoxide is a colorless, odorless gas that can cause severe illness or death. For these reasons, any work on a gas line must be treated with the utmost seriousness.
Permits and Codes: Your Legal and Safety Obligation
Nearly every jurisdiction requires a permit for installing or modifying a gas line. These regulations are not about bureaucracy; they are about safety. A permit ensures that the work is inspected by a qualified official who verifies that the installation complies with local and international fuel gas codes.
Skipping this step can result in significant fines, void your homeowner’s insurance, and create immense liability in the event of an accident. Always check with your local building department to understand the specific requirements before beginning any work. A licensed plumber will handle the permitting process as part of their service.
Planning Your Gas Line Extension: A Blueprint for Success
Proper planning is the most crucial phase of this project. A well-thought-out plan ensures safety, compliance, and functionality. It involves selecting the right materials for the job and carefully mapping out the new pipe’s path.
Choosing the Right Materials: Pipe, Fittings, and Sealant
The choice of materials is dictated by safety standards and local building codes. You have a few primary options for piping, each with its own set of advantages and specific use cases. Using the wrong material or fittings can lead to leaks and system failure.
Black iron pipe is the traditional and most common material for residential gas lines due to its durability and strength. Corrugated Stainless Steel Tubing (CSST) is a flexible alternative that can be easier to route in complex spaces, but it has specific bonding and grounding requirements to prevent electrical arcing during a lightning strike. Never use galvanized pipe for gas, as the zinc coating can flake off and clog regulators and valves.
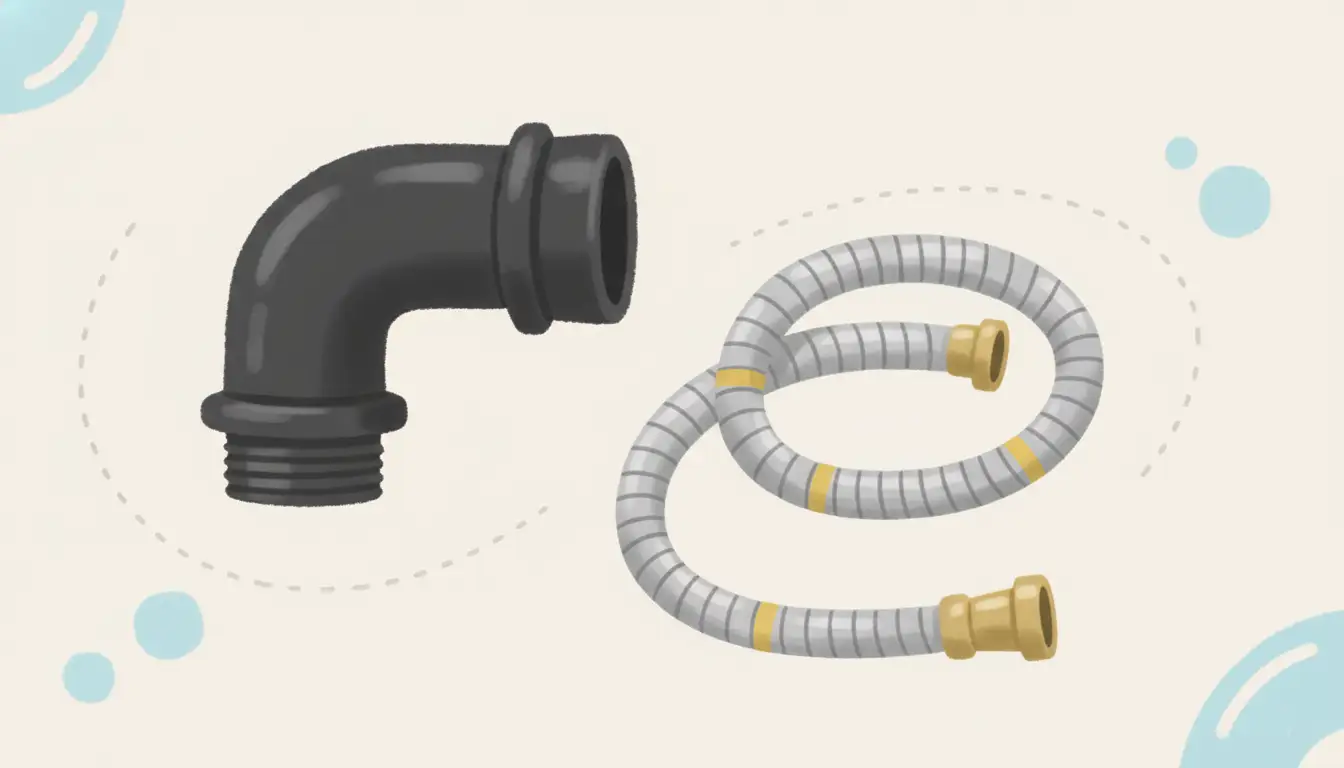
Equally important is the thread sealant, often called “pipe dope.” You must use a sealant specifically rated for natural gas and propane; these are typically yellow in color. This compound lubricates the threads for a tight connection and helps create a perfect seal.
| Component | Description & Key Considerations |
|---|---|
| Piping | Black Iron Pipe is the standard for rigidity and durability. CSST offers flexibility but requires specialized knowledge for safe installation. |
| Fittings | Use fittings made of the same material as the pipe (e.g., black iron fittings for black iron pipe). Ensure they are rated for gas. |
| Shut-Off Valve | A new, accessible shut-off valve must be installed for the appliance. This is typically a 1/4-turn ball valve. |
| Thread Sealant | Use yellow Teflon tape or pipe joint compound specifically rated for gas. Never use white plumbing tape. |
| Flexible Connector | An ANSI Z21.24 compliant flexible appliance connector is used for the final connection from the wall to the stove. Never reuse an old connector. |
Mapping the Route for Safety and Efficiency
The path of your new gas line extension is not a matter of simple convenience. Codes prohibit running gas lines in certain areas, such as through air ducts, chimneys, or unvented spaces. The pipe must be properly supported at regular intervals and protected from physical damage.
When planning the route, consider the shortest, most direct path possible to minimize the number of joints, as each joint is a potential leak point. Ensure the final outlet location allows for the installation of a shut-off valve in an accessible location, typically within the same room and within six feet of the appliance.
The Step-by-Step Guide to Extending Your Stove Gas Line
This section provides a detailed overview of the process. It is intended for informational purposes to help you understand the scope of work, whether you’re assessing a professional’s quote or are a qualified individual undertaking the task. If you have any doubt, hire a licensed professional.
Step 1: Shutting Off the Gas Supply Completely
The first and most critical step is to shut off the gas supply to the entire house. This is done at the gas meter. The shut-off valve is located on the riser pipe coming out of the ground before it enters the meter. Using a pipe wrench, give the valve a quarter turn so it is perpendicular to the pipe.
After shutting it off, you must verify that the gas is off by checking the pilot lights on appliances like your water heater or furnace. It’s also a good idea to understand how to turn gas back on after disconnection, as this process also requires a careful, step-by-step approach once the work is complete.
Step 2: Disconnecting the Existing Line
Once the gas is confirmed to be off, the system needs to be purged of any remaining gas. Open a downstream union or valve to vent the residual gas safely. Now, you can disconnect the section of pipe where the extension will begin. Use two pipe wrenches working in opposite directions—one to hold the pipe steady and the other to unscrew the fitting—to avoid putting stress on the rest of the piping.
Step 3: Assembling the Extension
Measure and cut your new lengths of black iron pipe precisely. After cutting, it’s vital to ream the inside of the pipe to remove any burrs, which could otherwise break free and damage appliance controls. Use a pipe threader to create clean, tapered threads on the ends of your pipe.
Apply pipe dope or yellow Teflon tape to the male threads only, wrapping the tape clockwise. Assemble your fittings, tightening them firmly with pipe wrenches but being careful not to overtighten and crack the fittings. Proper tightening is a matter of feel and experience.
Step 4: Making the Connections
Connect your newly assembled extension to the existing gas line. Again, use two wrenches to ensure you are only tightening the joint you are working on. Install the new appliance shut-off valve at the end of the new line, ensuring it will be easily accessible once the stove is in place.
The final connection from this valve to the stove itself should be made with a new, flexible appliance connector. These connectors are designed to allow for minor movement and are not intended to be used for extensions through walls or floors.
Step 5: The Critical Leak Test
This is the most important step in the entire process. Before turning the main gas supply back on, you must perform a pressure test. This involves capping the end of the new line and attaching a special pressure gauge. The system is then pressurized with air (not gas) to a level specified by local code—often around 10-15 PSI.
The gauge is monitored for a set period (e.g., 15-30 minutes). If the needle on the gauge drops at all, there is a leak that must be found and fixed. To find the leak, apply a soap and water solution to every joint and look for bubbles. Once all leaks are repaired, the pressure test must be performed again until the system holds pressure perfectly.
Restoring Service and Connecting the Stove
After a successful pressure test, you can remove the test gauge and connect the flexible appliance connector. The main gas supply can then be slowly turned back on. Once the main is on, you will need to relight the pilot lights on all your gas appliances.
Check your work one last time by applying the soap and water solution to the new connections with the gas on. If no bubbles appear, you can carefully slide your stove into place, being cautious not to kink or pinch the flexible connector behind it.
When to Call a Professional: Know Your Limits
Working with gas lines is not a standard DIY project. It requires specialized tools, a thorough understanding of codes, and a level of precision where there is zero margin for error. The cost of hiring a licensed plumber, which can range from $200 to over $1,000 depending on complexity, is a small price to pay for safety and peace of mind.
A professional plumber or gas fitter will have the correct tools, liability insurance, and the experience to do the job safely and efficiently. They are legally authorized to perform the work, will secure the necessary permits, and will ensure the installation passes inspection. If you are not 100% confident in your ability, the only right answer is to hire a professional.
Conclusion: A Project Where Safety Supersedes Savings
Extending a gas line for a stove is a project that perfectly illustrates the difference between what can be done and what should be done. While the physical steps may seem manageable, the potential consequences of a mistake are severe. Prioritizing safety, adhering strictly to codes, and recognizing the value of professional expertise are paramount.
By following a meticulous process of planning, careful execution, and rigorous testing, you ensure that your new kitchen setup is not only beautiful and functional but, most importantly, safe for you and your family for years to come.