Defrost Your Freezer Without a Flood: The Ultimate Guide
The thought of defrosting a freezer often brings to mind a scene of chaos. You envision puddles of water spreading across your kitchen floor, a race against time with melting food, and a generally frustrating experience. But it doesn’t have to be this way.
Learning how to defrost a freezer without getting water everywhere is not just possible; it’s a straightforward process when you have the right strategy. This guide will walk you through the entire process, ensuring a clean, dry, and stress-free outcome.
You'll Learn About
Why You Absolutely Must Defrost Your Freezer (And Why It Gets So Icy)
That thick layer of ice clinging to the walls of your freezer isn’t just an inconvenience. It’s an energy thief, making your appliance work harder to maintain its temperature, which in turn drives up your electricity bill.
Excessive ice also robs you of precious storage space and can lead to freezer burn on your food. The main culprit is humidity—every time you open the freezer door, warm, moist air rushes in and freezes onto the cold coils and walls.
A faulty door seal can also be a significant contributor, constantly letting in small amounts of humid air. In some cases, persistent and rapid ice buildup can signal a more serious issue, much like the ones that cause GE side-by-side refrigerator defrost problems.
The Preparation Phase: Your Key to a Mess-Free Defrost
Success in this mission lies in preparation. Taking a few extra minutes to set up your workspace will save you hours of cleanup and frustration later. Think of it as creating a controlled environment for the inevitable melt.
This proactive approach is the absolute cornerstone of a dry and orderly defrosting process. Don’t be tempted to skip these crucial first steps.
Step 1: Empty the Freezer and Safeguard Your Food
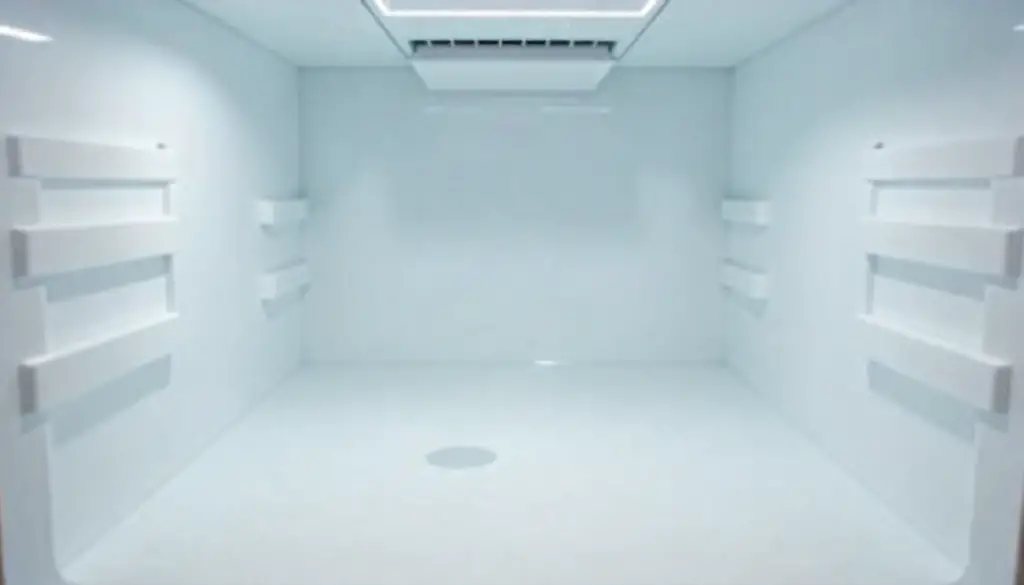
Your first task is to completely empty the freezer of all its contents. This is a perfect opportunity to take inventory, check expiration dates, and discard any items that have succumbed to freezer burn.
Place your frozen goods in coolers packed with ice or reusable freezer packs. If you don’t have coolers, ask a neighbor if you can borrow some space in their freezer for a few hours. Plan ahead and try to defrost when your food supply is low.
Step 2: Power Down for Safety
This step is non-negotiable. Before you do anything else, unplug the freezer from the wall outlet. This eliminates any risk of electric shock and allows the melting process to begin.
If you can’t easily access the plug, go to your home’s circuit breaker and switch off the power to the freezer’s outlet. Safety must always be your top priority when working with appliances and water.
Step 3: Prepare Your Flood Defenses
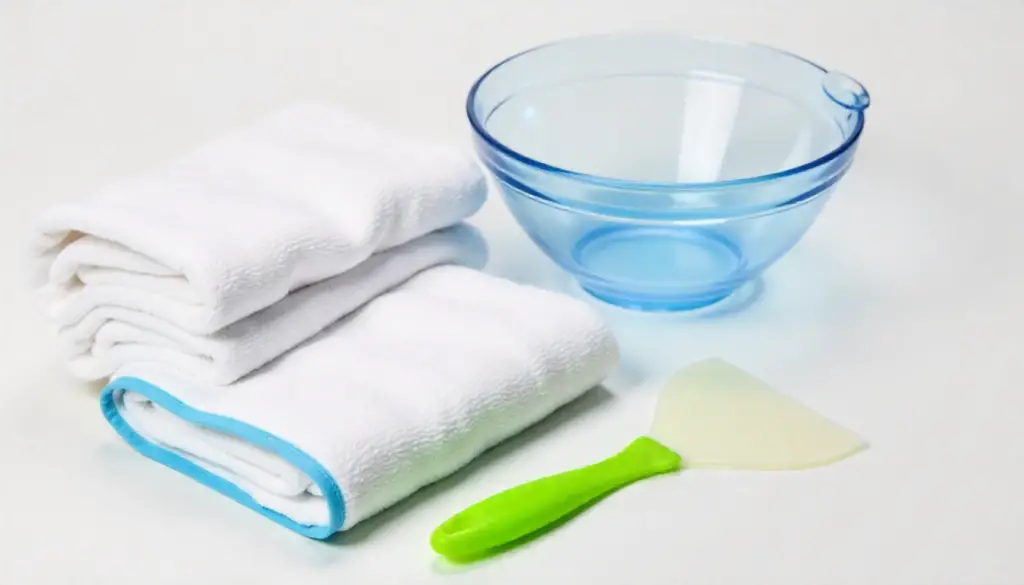
Now it’s time to create your water containment system. Start by laying a thick layer of old towels or absorbent cloths on the bottom of the freezer. This will soak up the initial meltwater.
Place more towels on the floor around the base of the freezer to catch any drips or overflow. For an extra layer of protection, place shallow baking sheets or roasting pans on the freezer’s bottom shelves to catch larger chunks of ice and water.
Having a mop and bucket or a wet/dry vacuum on standby is also a very smart idea, especially for heavily frosted freezers.

The Main Event: Choosing Your Defrosting Method
With your preparations complete, it’s time to start melting that ice. You have several methods to choose from, each with its own advantages in terms of speed and effort. The best method for you will depend on how much ice you have and how much time you can spare.
Below, we explore the most effective and safest techniques to clear out the ice without damaging your appliance or your floors.
Method 1: The Patient Approach (Air Drying)
This is the simplest and safest method of all. All you need to do is prop the freezer door open and let nature take its course. Room temperature air will slowly and gently melt the ice.
While this method requires the least amount of active work, it is also the slowest, potentially taking several hours. It’s an excellent choice if you’re not in a hurry and want to minimize any risk of damage to your freezer’s interior.
Method 2: The Accelerated Method (Hot Water)
To speed things up considerably, you can introduce steam into the equation. Fill a few bowls or pots with very hot or boiling water and place them on top of towels inside the freezer. Close the door to trap the steam.
The warm, moist air will circulate and dramatically accelerate the melting process. You’ll need to replace the water every 15-20 minutes as it cools down, but you can defrost a freezer in an hour or two using this technique.
Method 3: The Fan-Assisted Technique
Another way to speed up the process is to increase air circulation. Place a box fan or a portable fan a few feet away from the freezer, aimed directly into the open unit.
The constant flow of room-temperature air will work much faster than stagnant air alone. For maximum efficiency, you can combine this method with the hot water technique for a very rapid, mess-free defrost.
Method 4: The Scraper’s Gambit (Use with Extreme Caution!)
As the ice begins to melt, you’ll be able to remove large sheets of it. You can gently pry these loose pieces away from the walls using a plastic scraper, a wooden spoon, or a silicone spatula.
It is critically important that you never use a sharp metal object like a knife, screwdriver, or ice pick. Puncturing the freezer’s interior wall can damage the delicate evaporator coils, leading to a refrigerant leak and a very expensive repair, a problem far more severe than common Frigidaire Gallery refrigerator freezer problems.
Managing the Meltwater: The Secret to a Dry Floor
Defrosting isn’t a “set it and forget it” task. Active water management is the real secret to how to defrost a freezer without getting water everywhere. As the ice melts, your towels and pans will start to fill up.
Periodically check on the progress and wring out the saturated towels, replacing them with dry ones. Empty the water collected in your baking sheets and pans. A sponge or a turkey baster can be great for sucking up water from tricky corners.
If you have a wet/dry vacuum, it can make this process incredibly easy and efficient, quickly removing all the meltwater with no mess.
| Defrosting Method | Speed | Effort Required | Risk of Damage | Best For |
|---|---|---|---|---|
| Air Drying | Slow (4-8+ hours) | Low | Very Low | Those with plenty of time who prioritize safety. |
| Hot Water Bowls | Moderate (1-2 hours) | Medium | Low | A good balance of speed and safety for most situations. |
| Fan Assistance | Fast (Approx. 1 hour) | Medium | Low | Quickly defrosting a freezer with minimal risk. |
| Gentle Scraping | Variable | High | High (if done incorrectly) | Removing large, already loosened chunks of ice only. |
The Final Cleanup: Getting Your Freezer Back in Action
Once all the ice is gone, the job isn’t quite finished. Now is the perfect time to give the inside of your freezer a thorough cleaning. This will remove any lingering odors and create a fresh environment for your food.
Create a simple cleaning solution by mixing a tablespoon of baking soda in a quart of warm water, or use a 50/50 solution of white vinegar and water. Use a soft cloth to wipe down all interior surfaces, including shelves, drawers, and the door seal.
The most important part of this step is to ensure the freezer is completely dry before you turn it back on. Use a clean, dry towel to wipe away all moisture. Any remaining water will just turn into frost, starting the cycle all over again.

Preventing Future Ice Ages in Your Freezer
A little preventative maintenance can go a long way in reducing how often you need to defrost your freezer. The key is to minimize the amount of humid air that gets inside.
First, regularly check your door seals. You can do this with the “dollar bill test”: close the door on a dollar bill. If you can pull it out easily, your seal is too loose and may need to be replaced.
Also, try to minimize the time you spend with the freezer door open. Know what you want before you open it. Finally, always allow hot leftovers to cool down completely to room temperature before placing them in the freezer. Proper cooling management is a principle that applies to all systems, from home units to understanding the complexities of walk-in freezer superheat.
Frequently Asked Questions (FAQ)
How often should I defrost my freezer?
You should defrost your manual-defrost freezer whenever the ice buildup reaches about a quarter-inch to a half-inch thick. For most people, this works out to be about once a year.
Can I use a hairdryer to defrost my freezer?
It is strongly not recommended to use a hairdryer. The combination of electricity and melting water creates a significant risk of electric shock. Additionally, the concentrated heat can warp or melt the plastic interior of your freezer.
What’s the absolute fastest way to defrost a freezer without making a mess?
The fastest safe method is a combination of placing bowls of hot water inside and aiming a fan into the unit. Combined with active water management—using towels, pans, and a wet/dry vac—you can have the job done in about an hour with no mess.
A Flood-Free Future for Your Freezer
Defrosting a freezer doesn’t have to be the messy, dreaded chore it’s often made out to be. The key to success is all in the preparation. By setting up your flood defenses and actively managing the meltwater, you can keep your floors completely dry.
Choosing the right method for your situation, whether it’s patient air-drying or a more accelerated approach with hot water and a fan, gives you control over the process. With these expert tips, you have officially mastered how to defrost a freezer without getting water everywhere.


