Hide Your Old Intercom System: 7 Genius Covers You Can DIY
That beige, crackling box on the wall was once a marvel of home technology. Today, that old intercom system is little more than a plastic eyesore, a relic from a bygone era that clashes with your modern home decor. You’re not alone in wondering how to make it disappear without costly and complicated drywall repair.
Fortunately, covering that outdated wall feature is an opportunity for a creative upgrade. With a little ingenuity, you can transform this decor dilemma into a stylish and functional part of your home. This guide will walk you through everything from essential safety prep to brilliant, easy-to-implement cover-up solutions.
You'll Learn About
Before You Cover: The Crucial First Steps
Before you jump into the fun part, a few preliminary steps are essential for a safe and successful project. Rushing this prep work can lead to problems down the line, so take a moment to do it right. Addressing the underlying hardware is just as important as the decorative finish.
Safety First: Powering Down and Securing Wires
Even if the intercom hasn’t worked in years, it could still be connected to your home’s electrical system. Always assume the system is live until you have confirmed otherwise. The first step is to locate the circuit breaker that powers the intercom and switch it off completely. If the intercom’s circuit isn’t clearly labeled, you may need to test breakers until you find the right one.
Once the power is off, carefully unscrew the main intercom unit from the wall. You will see several wires connected to the back. Use a voltage tester to ensure there is no electrical current. After confirming the power is off, you can disconnect the wires and cap each one individually with wire connectors for safety. This prevents any risk of short circuits if the breaker is accidentally turned back on.
To Remove or Not to Remove?
You have two main choices: remove the entire unit or just cover the faceplate. Removing the unit will leave a hole in the wall that you’ll need to address. This approach is best if you’re planning a more permanent solution like a flush wall panel or a built-in feature.
Simply covering the existing faceplate is a less invasive option. This is ideal for renters or for those who want a quick and reversible fix. Deciding on the best approach often comes down to weighing the pros and cons of dealing with the old box itself. For a deeper dive into your options, exploring what to do with an old Nutone intercom system can provide more specific guidance.
7 Creative Ways to Cover Your Old Intercom System
With the safety prep out of the way, it’s time to get creative. An old intercom doesn’t have to be an eyesore. Here are seven innovative ideas to transform that spot on your wall, ranging from simple fixes to impressive DIY projects.
1. The Simple Fix: Paint and Camouflage
The easiest and most affordable solution is to help the intercom blend in. If the unit’s cover is relatively flat, you can paint it the same color as your wall. For plastic covers, lightly sand the surface first to help the paint adhere, and use a primer designed for plastics.
This method won’t make the intercom disappear completely, but it will dramatically reduce its visual impact. It’s an excellent first step for those who want an immediate improvement without a lot of effort or expense.
2. The Artful Disguise: Strategic Decor
Turn a problem into a focal point by using decorative items to hide the intercom. A well-placed piece of art, a framed photo, or even a decorative wall hanging can completely obscure the old unit. To ensure the item sits naturally, you may need to build a shallow custom frame that extends just beyond the depth of the intercom.
Another clever trick is to use a hinged picture frame. This allows you to easily access the unit if needed (for example, if the doorbell chime still runs through it) while keeping it hidden from daily view. This approach adds personal flair and style to your wall.
3. The Functional Cover-Up: Chalkboards and Message Centers
Why just hide the intercom when you can turn it into something useful? A small chalkboard or whiteboard can be mounted directly over the unit. This creates a convenient spot for family messages, grocery lists, or daily reminders.
You can also create a small command center. Mount a magnetic board, a corkboard, or a key holder over the intercom space. This not only conceals the old tech but also adds organization to a busy entryway or kitchen.
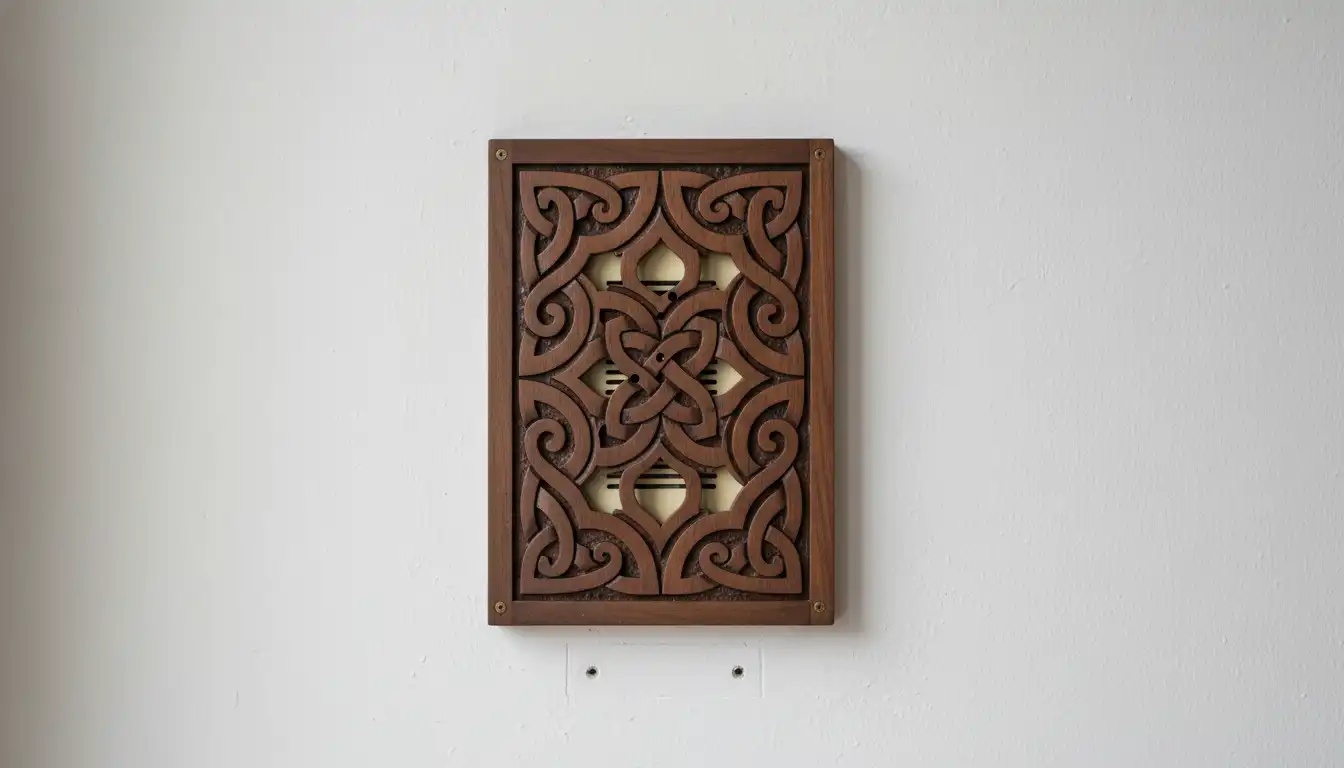
4. The Craftsman’s Choice: Custom Wood Panels & Boxes
For a truly seamless and high-end look, a custom wood cover is an excellent option. You can build a simple, shallow box or a decorative panel from materials like beadboard, shiplap, or reclaimed wood to match your home’s aesthetic. This solution can be stained or painted to perfectly complement your decor.
This approach requires some basic woodworking skills but offers a polished, professional finish. It completely hides the old intercom and adds a touch of custom craftsmanship to your home. Many find this the most satisfying solution, turning an awkward spot into an intentional design element.
5. The Modernist Move: Blank Wall Plates
For a clean, minimalist look, a blank wall plate is an elegant solution. While standard blank plates are too small, specialty oversized plates are available that are designed specifically to cover old intercom holes. These plates offer a subtle, unobtrusive finish that blends seamlessly with the wall.
Before purchasing, carefully measure the dimensions of the intercom unit and the screw hole spacing. A custom-fit plate provides a sleek, modern finish that makes it look like nothing was ever there. This is a great choice if you prefer a less decorative, more integrated appearance.
6. The Architect’s Trick: Integrate with Molding or Wainscoting
A truly professional-grade solution involves integrating the cover into your home’s existing architectural features. If you have wainscoting or wall paneling, you can extend it to cover the intercom area. This makes the cover-up look like part of the original design.
You can create a custom recessed panel or use decorative molding to frame the area. This technique requires more planning and precision but results in a flawless, high-end finish that adds architectural interest and value to the room.
7. The Tech-Savvy Solution: A Smart Home Hub Mount
Embrace the future by using the old intercom’s spot to house new technology. The location is often ideal for a smart home hub, a digital photo frame, or a wall-mounted tablet for controlling your smart devices. The existing wiring, though not suitable for high-power needs, can sometimes be repurposed to power low-voltage devices.
This transforms an obsolete piece of tech into a central hub for your modern smart home. It’s a functional and forward-thinking solution that puts the old space to good use. If you’re considering a full system upgrade, you can find many innovative NuTone intercom replacement ideas that incorporate modern technology.
Comparing Your Options: Which Cover is Right for You?
With so many choices, it can be tough to decide on the best path forward. Each method has its own benefits regarding cost, effort, and aesthetic. This table breaks down the key factors to help you choose the perfect solution for your home, skills, and budget.
| Covering Method | Estimated Cost | Skill Level Required | Primary Advantage |
|---|---|---|---|
| Paint and Camouflage | $10 – $30 | Beginner | Fast, easy, and extremely affordable. |
| Artful Disguise | $20 – $200+ | Beginner | Adds personal style and decorative flair. |
| Functional Cover-Up | $30 – $75 | Beginner | Turns an eyesore into a useful household tool. |
| Custom Wood Panel | $40 – $150 | Intermediate | Offers a high-end, custom, and permanent look. |
| Blank Wall Plate | $25 – $50 | Beginner | Provides a clean, modern, and minimalist finish. |
| Integrate with Molding | $50 – $200 | Advanced | Creates a seamless, architectural-grade solution. |
| Smart Home Hub Mount | $30 – $100 (plus device cost) | Intermediate | Modernizes the space with current technology. |
Future-Proofing Your Fix: Thinking Beyond the Cover
When choosing how to cover your old intercom, think about the future. Opting for a non-permanent, easily removable cover gives you flexibility. This way, if you decide to sell your home or want to use the wiring for a new device later, you can easily access the junction box without damaging the wall.
Even if you’re just covering the unit, ensuring the old wires are safely capped and terminated is a crucial step that many overlook. Handling the wiring of older models, such as the classic NuTone 3003 series, requires care to ensure everything is properly and safely decommissioned behind the wall. This small step ensures your stylish fix is also a safe one.
Common Questions About Hiding Old Intercoms
Many homeowners face the same questions when tackling this project. Here are answers to some of the most common queries to help guide you through the process and avoid potential pitfalls.
Can I just put drywall over an old intercom?
No, you should never simply cover an electrical box with drywall. Building codes require that all electrical junction boxes remain accessible. Covering it creates a fire hazard and makes future electrical work difficult and dangerous. The system must be properly decommissioned and the wires capped inside an accessible box.
How do I know if the intercom system is still powered?
The safest way is to assume it is powered until you have shut it off at the circuit breaker. After turning off the breaker you believe is connected to the intercom, use a non-contact voltage tester on the wires to confirm there is no current. If you are ever unsure, it is always best to consult a qualified electrician.
What if there’s a large hole behind the intercom?
If removing the intercom leaves a large hole, a simple cover might not be enough. For a professional finish, you may need to patch the drywall. This typically involves installing a piece of scrap wood behind the hole for support, cutting a new piece of drywall to fit, and then taping, mudding, and sanding it smooth before painting.