That Awkward Dresser Gap? 10 Genius Ways to Hide It & Reclaim Your Space
You know the one. That strange, often frustrating, space nestled between the back of your dresser and the wall. It’s an innocent enough gap, but it becomes a silent thief, swallowing socks, misplaced coins, jewelry, and every remote control that dares to venture near the edge. This small expanse of dead space is more than just an inconvenience; it’s a black hole for essentials and a major dust bunny convention.
But why does it exist in the first place? Often, it’s due to thick baseboards pushing the furniture out, or simply the design of the dresser itself. Regardless of the reason, this awkward gap poses a perennial challenge to organization and cleanliness in the bedroom. We spend time carefully arranging our belongings only to have small, important items slip into the abyss, leaving us scrambling to retrieve them with a coat hanger or flashlight.
The good news? This common household hurdle doesn’t have to be a permanent fixture in your life. This seemingly minor design flaw actually presents a fantastic opportunity for clever, practical fixes—whether that means implementing a simple DIY solution to bridge the void or using it as a chance to maximize vertical storage. Before you resign yourself to losing another earring to the void, let’s explore how to conquer That Awkward Dresser Gap.
You'll Learn About
The Frustrating Problem of the Gap Behind Your Dresser
You’ve found the perfect dresser and placed it against the wall. But instead of a seamless fit, you’re left with an awkward, noticeable gap. It’s a design dilemma that plagues countless homeowners, making an otherwise polished room look unfinished.
This gap is more than just a visual annoyance. It quickly becomes a black hole for dust, dropped jewelry, and charging cables, creating a hard-to-clean dead zone that serves no purpose.
Why Does This Gap Even Exist?
Understanding the cause of the gap is the first step toward finding the right solution. In most homes, this space isn’t a design flaw but a result of architectural features that prevent furniture from sitting flush against the wall.
The most common culprit is the baseboard, the trim that runs along the bottom of the wall. Other obstacles include chair rails, picture molding, or wall-mounted vents that create an uneven surface. In some cases, the placement of an electrical outlet dictates how far back you can push your furniture.
More Than an Eyesore: The Hidden Problems of the Dresser Gap
While the aesthetic disruption is the most obvious issue, that empty space can create several practical problems. It’s a prime territory for dust bunnies and allergens to accumulate, which can affect your home’s air quality. Items like phones, keys, or earrings can easily fall into the abyss, leading to a frustrating retrieval process.
Furthermore, in a world where space is a premium, this gap represents wasted real estate. For households with pets or small children, it can even pose a minor safety risk. Addressing the gap is about improving your room’s look, functionality, and cleanliness.
Smart Solutions: How to Cover the Gap Between Your Dresser and the Wall
Fortunately, there are numerous creative and practical ways to solve this problem. The best method for you will depend on the size of the gap, your budget, and your personal style. We’ve compiled the most effective solutions, ranging from simple decorative tricks to clever DIY projects.
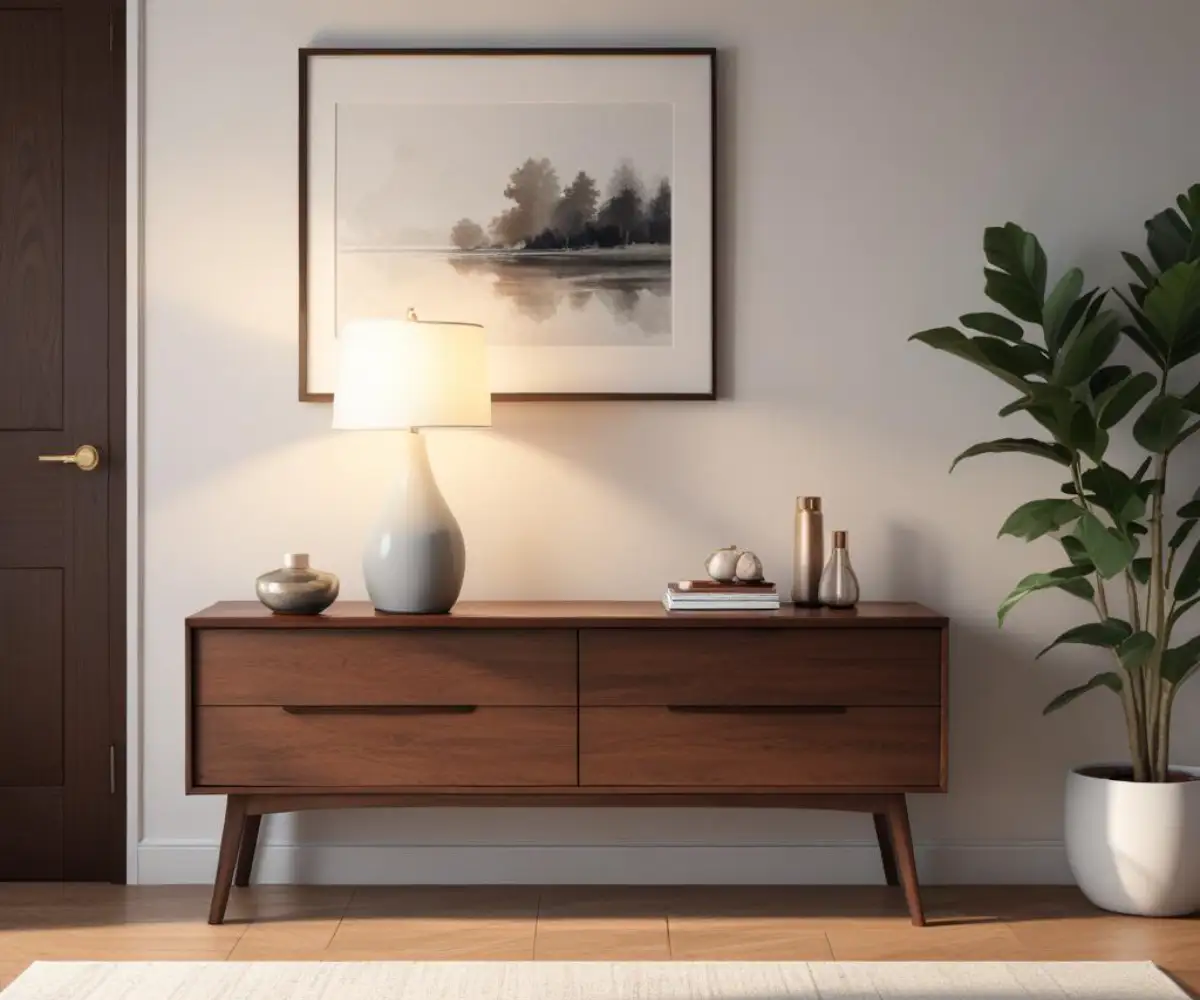
1. The Narrow Console Table: A Classic and Elegant Fix
One of the most popular and effective solutions is to place a slim table in the gap. A narrow console table or sofa table can transform the dead space into a functional and decorative feature. This approach works best for gaps that are at least four to six inches wide.
The key is to find a table that is slightly shorter than the top of your dresser. This creates a beautifully layered look, adding depth and dimension to the room. Use this new surface to hold a lamp, a small plant, a stack of books, or a decorative tray for your keys and wallet.
2. Install a Floating Shelf for a Minimalist Look
For a more modern and minimalist solution, consider installing a floating shelf. You can mount a single shelf level with the top of your dresser to create the illusion of a continuous surface. This is an excellent way to gain display space without adding another piece of furniture to the room.
Paint the shelf the same color as the wall to make it blend in seamlessly, or choose a contrasting finish like reclaimed wood to create a focal point. This is a fantastic DIY project for a weekend afternoon and can be customized to the exact length and depth you need.
3. Build a Custom Ledge or Riser
If you enjoy a bit of woodworking, building a custom ledge is a perfect solution. You can construct a simple three-sided box that fits snugly between the dresser and the wall. This not only covers the gap but also provides a stable surface for decor.
A custom-built riser is also the ultimate way to manage cables. You can drill a small hole in the top to feed lamp cords or phone chargers through, keeping them completely out of sight for a clean, professional finish.
4. Use the Space for Hidden Storage
Why just cover the gap when you can turn it into valuable storage? Slim, rolling storage carts are designed to fit into narrow spaces and can be perfect for wider gaps. Use it to store extra linens, shoes, or books.
Another ingenious idea is to install shallow, wall-mounted bookshelves or spice racks behind the dresser. While not easily accessible, this is a brilliant spot for storing items you don’t need often, such as seasonal decorations or archived documents.
5. The Upholstered Filler Panel: A Soft and Unique Touch
For a truly custom and high-end look, create a slim upholstered panel. This is essentially a custom-cut piece of plywood, wrapped in foam and fabric, that slots perfectly into the gap. It adds a touch of softness and texture, making it an especially great choice for bedrooms.
You can choose a fabric that matches your headboard, curtains, or an accent pillow to tie the room’s decor together. This original solution prevents items from falling while adding a sophisticated design element that looks completely intentional.
Navigating Obstacles Like Outlets and Vents
Sometimes, the gap is caused by an immovable object. The solution isn’t to cover the gap, but to allow the dresser to sit closer to the wall. This requires a more hands-on approach but delivers the most seamless results.
Working Around Electrical Outlets
If an outlet is the problem, pushing a dresser against the plug can damage the cord and create a serious fire hazard. One of the best solutions is to modify the electrical box. For those comfortable with electrical work, you can explore a guide to installing flush-mount wall outlets, which allows the plug to sit inside the wall cavity, giving you those precious inches back.
Another option is to carefully measure and cut a hole in the back panel of the dresser. This allows the dresser to slide back over the outlet, giving you full access to the plugs from inside a drawer or cabinet.
Dealing with Baseboards and Vents
For gaps caused by thick baseboards, the most professional solution is to scribe the dresser’s feet. This involves tracing the profile of the baseboard onto the back of the dresser legs and carefully cutting away the wood so the leg fits around the trim like a puzzle piece. This allows the dresser to sit completely flush with the wall.
If a vent is in the way, blocking it is never a good idea as it can strain your HVAC system. In this situation, you might need to reconsider the furniture placement. However, if you are undergoing a renovation, it is sometimes possible to convert a baseboard diffuser to a floor vent, which can liberate your wall space entirely.
A Comparison of Top Solutions
To help you decide, here is a breakdown of the most popular methods for covering the gap between a dresser and a wall.
| Solution | Best For | Average Cost | DIY Effort |
|---|---|---|---|
| Narrow Console Table | Wider gaps (4-12 inches) and adding decorative surface area. | $50 – $200+ | Low (Assembly Only) |
| Floating Shelf | A clean, minimalist look and customizable sizing. | $25 – $75 | Medium |
| Custom Ledge/Box | Hiding cables and achieving a perfect, seamless fit. | $30 – $100 (DIY) | Medium to High |
| Upholstered Panel | Bedrooms and adding a unique, soft-textured design element. | $40 – $120 (DIY) | Medium |
| Scribing Furniture Legs | Gaps caused by baseboards for a completely flush fit. | $0 (Tools only) | High (Requires Precision) |
| Leaning Mirror or Art | A simple, non-permanent decorative solution. | $40 – $300+ | Very Low |
The Critical Importance of Air Circulation
While the goal is to cover the gap, you should avoid completely sealing it off, especially if the dresser is against an exterior wall. Proper air circulation is vital to prevent the buildup of moisture and the potential growth of mold or mildew. A small amount of airflow is healthy for both your home and your furniture.
Additionally, if you place any electronics on or near the dresser, ensure they have adequate ventilation. Blocking airflow behind a device that generates heat can lead to overheating and damage. Most solutions, like a console table or floating shelf, naturally allow for sufficient air movement.
Connecting the Solution to Your Overall Room Design
Solving the dresser gap issue is an opportunity to enhance your entire room. The choice you make can impact the room’s perceived size and flow. For instance, a floating shelf that matches the wall color can make the space feel larger, while a dark wood console table can add a grounding, traditional touch.
Thinking about how furniture interacts with your room’s architecture is key to great design. This is true whether you are solving a simple gap or considering larger pieces. For example, a common challenge is figuring out if you can fit a canopy bed in a room with an 8ft ceiling; in both scenarios, understanding space and proportion is everything.
Final Thoughts: Reclaim Your Space with Confidence
That awkward gap between your dresser and the wall doesn’t have to be a permanent source of frustration. From simple decorative fixes to clever DIY projects, there is a perfect solution for every home, budget, and skill level. By identifying the cause of the gap and considering your needs, you can transform that dead zone into a stylish and functional part of your room.
Taking the time to address this small detail can have a surprisingly large impact. It’s a finishing touch that makes your space feel more intentional, organized, and complete. So go ahead and reclaim that space—your tidy, polished room awaits.