Smoke Detector Battery Door Won’t Close? Here’s the Fix
That incessant, high-pitched chirp from a smoke detector is a sound every homeowner dreads. It usually means a simple battery change is in order. You climb on a chair, pop open the device, swap the old battery for a new one, and then… the battery door won’t close. It’s a frustratingly common problem that can turn a two-minute task into a major headache. The door might feel stuck, refuse to latch, or simply not align correctly, leaving your home’s first line of defense against a fire temporarily useless.
This situation is more than just an annoyance; a smoke detector with an open battery compartment is a non-functional smoke detector. It leaves your family and property vulnerable. Understanding the common reasons behind this stubborn issue and knowing the correct steps to fix it are essential for maintaining a safe home environment. This guide will walk you through everything you need to know to solve this problem quickly and efficiently.
You'll Learn About
Why Your Smoke Detector Battery Door is Stubbornly Stuck Open
When a smoke detector’s battery door refuses to close, it’s rarely a sign of a major defect. More often than not, the cause is a simple, overlooked detail. From using the wrong type of battery to a hidden safety feature, let’s explore the common culprits that prevent that satisfying click of a securely closed compartment.

The Most Common Culprit: Incorrect Battery Installation
The number one reason a smoke detector door won’t close is incorrect battery installation. Manufacturers design these devices with safety mechanisms to prevent improper use. If the battery is not seated perfectly, the door will be blocked from closing.
First, check the battery’s orientation. Most smoke alarms use a 9V battery or AA batteries. For 9V batteries, the positive (+) and negative (-) terminals are different shapes and must align with the corresponding connectors in the compartment. For AA batteries, you must ensure the flat negative end and the raised positive end are matched to the diagram inside the unit. Some models have a mechanism that physically blocks the door if the batteries are facing the wrong way.
Hidden Safety Mechanisms: The Anti-Closure Tab
Many modern smoke detectors have a small plastic safety tab or lever inside the battery compartment. This feature is designed to prevent you from closing the detector without a battery installed. It’s a clever failsafe, but it can be a source of confusion. When you remove the old battery, this tab may pop up, blocking the door from shutting.
To overcome this, you must press the tab down with the new battery as you install it. The battery itself holds the tab in the retracted position, allowing the door to close. If you’re trying to close the door on an empty compartment, this safety feature will almost always be the reason it won’t latch.
Physical Obstructions and Debris
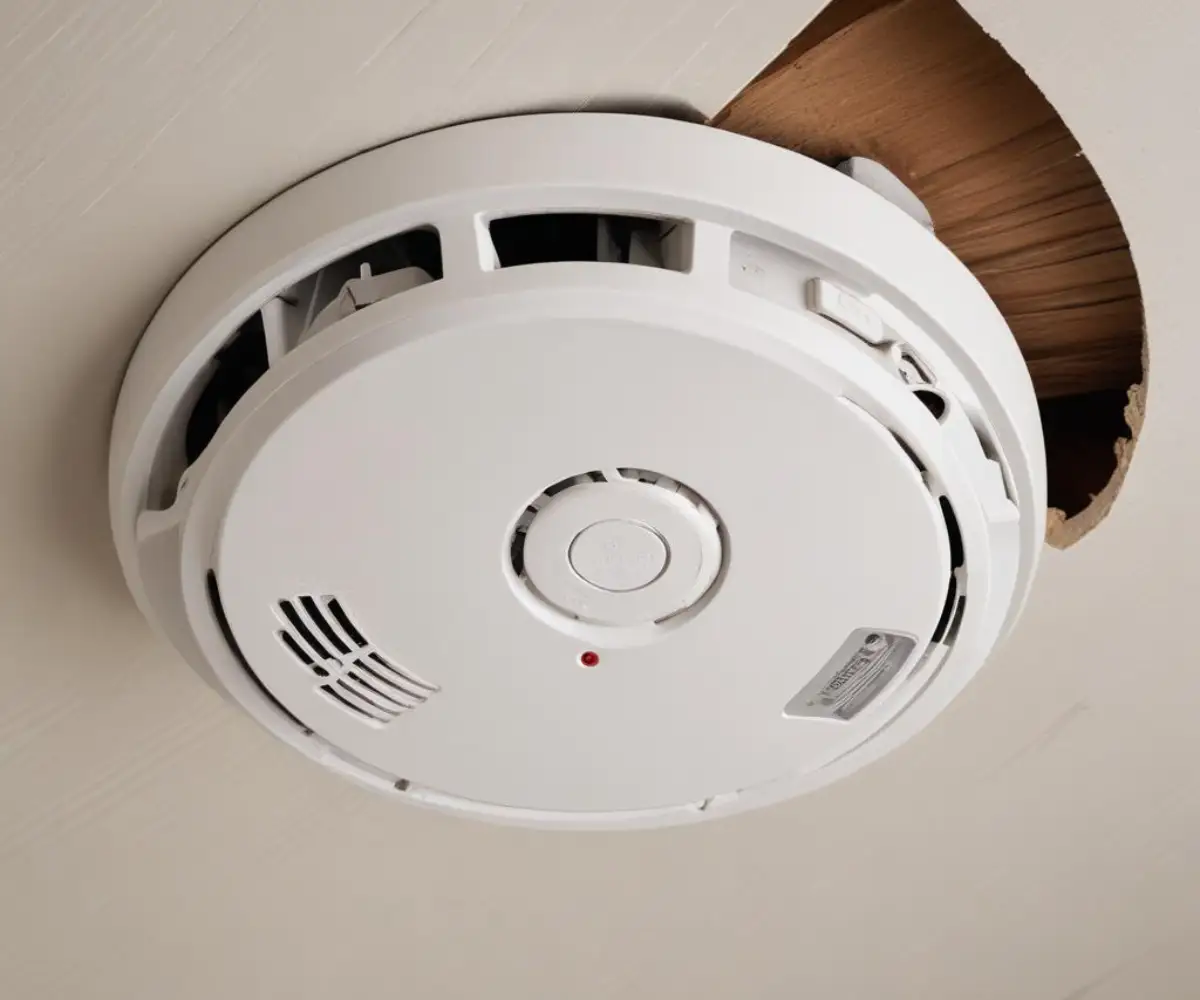
Over time, dust, debris, and even small insects can find their way into the inner workings of a smoke detector. A small particle lodged in the hinge or latch mechanism can be enough to prevent the door from closing properly. In some cases, an old battery may have leaked, leaving behind corrosive residue that obstructs the connection points and the door’s path.
Gently cleaning out the compartment is a crucial step. A quick inspection can reveal if this is the source of your problem. Proper home maintenance, like ensuring there isn’t excessive dust buildup from an unfinished space like a gym in the attic, can help prevent this issue.
Damaged Components: Broken Latches and Hinges
Smoke detectors are typically made of plastic, and with age and repeated battery changes, these plastic components can become brittle and break. A tiny broken piece on the hinge or the small clip that latches the door shut is a common point of failure. If you hear a snap or feel the door go loose, you may be dealing with a broken part.
While a temporary fix with tape might seem like an option, a damaged smoke detector should be replaced as soon as possible. A compromised casing can affect the sensor’s ability to detect smoke properly. The process of removing the detector from the ceiling is often straightforward, much like figuring out how to hang an Anthropologie mirror requires understanding its mounting system first.
A Step-by-Step Guide to Securely Closing Your Smoke Detector Door
Now that you understand the potential causes, it’s time for a practical, step-by-step solution. Follow these instructions carefully to diagnose and fix the issue without damaging the unit. This process will help you get your life-saving device back in working order in no time.
Step 1: Safety First – Deactivate and Remove the Detector
Before you begin, ensure your safety. If your smoke detector is hardwired into your home’s electrical system, you must turn off the power at the circuit breaker. This prevents any risk of electric shock. Once the power is off, remove the detector from its mounting bracket. Most models detach by twisting them counter-clockwise.
If you have a battery-only unit, you can simply remove it from the ceiling. Having the detector in your hands will make it much easier to inspect and work on. This is also a good time to press and hold the test button for about 15-30 seconds to drain any residual charge from the unit’s capacitors.
Step 2: The Battery Check-Up – Are You Using the Right Power?
Double-check that you are using the exact battery type recommended by the manufacturer. While some batteries may look similar, slight differences in size or shape can prevent the compartment door from closing. Never force a battery that doesn’t seem to fit.
Consult the user manual or look for markings on the inside of the smoke detector itself. Using the wrong battery can not only prevent the door from closing but also damage the device or cause it to malfunction during an emergency. It’s crucial to use fresh, high-quality batteries and to check their expiration date.
| Battery Type | Common Use in Smoke Detectors | Key Characteristics |
|---|---|---|
| 9-Volt (9V) | Very Common | Rectangular shape with two terminals on one end. Ensure correct polarity. |
| AA | Common in newer models | Cylindrical. Must be installed according to the +/- diagram in the compartment. |
| CR123A (Lithium) | 10-Year Sealed Units / Smart Detectors | Not user-replaceable in sealed units. Provide long life. |
Step 3: Perfect Placement – Installing the Battery Correctly
This is the most critical step. Pay close attention to the positive (+) and negative (-) indicators inside the battery compartment. For 9V batteries, the hexagonal (male) connector is positive, and the circular (female) connector is negative. They must snap firmly onto the corresponding terminals.
For AA batteries, ensure they are inserted in the correct direction. As mentioned earlier, many alarms have a mechanism that will not allow the door to close if a battery is backward. If there’s a battery reminder tab or lever, make sure the battery presses it down completely as you insert it.
Step 4: The Inspection – Clearing Obstructions and Damage
With a good light source, carefully inspect the battery compartment. Look for any foreign objects. Use a dry cloth or a soft brush to gently remove any dust or debris. If you see signs of battery corrosion (a white, powdery substance), you can clean the metal contacts carefully.
To clean corrosion, use a cotton swab lightly dampened with white vinegar or lemon juice. After cleaning, wipe the contacts with a dry cloth to ensure they are free of moisture before inserting the new battery. While inspecting, also check the door’s hinges and latch for any signs of stress cracks or broken plastic.
Step 5: The Alignment – Ensuring a Smooth Closure
Once the battery is correctly installed and the compartment is clean, try closing the door again. Do not use excessive force. The door should align with the body of the detector and close with a gentle push or slide until it clicks into place.
If it still resists, take the battery out one more time and observe the door’s mechanism as you try to close it. This can help you spot any misalignment in the hinges or latch that wasn’t immediately obvious. Sometimes, the door itself needs to be perfectly straight to engage the locking mechanism.
When the Door Still Won’t Budge: Advanced Troubleshooting
If you’ve followed all the steps above and the battery door remains defiantly open, don’t give up just yet. There are a couple more things to consider before you decide it’s time for a replacement. These issues are less common but are frequent sources of frustration for homeowners.
Understanding Tamper-Resistant Features
Some smoke alarms, especially those used in rental properties, have a tamper-resistant locking pin. This pin locks the battery drawer to prevent unauthorized removal of the battery. If this feature has been activated, you will not be able to open or close the battery door freely.
Typically, you need a small tool like a flathead screwdriver or needle-nose pliers to disengage this lock. Look for a small hole near the battery door. If you see a pin inside, it must be gently pried out to unlock the compartment. Check your alarm’s manual for specific instructions on its tamper-resistance feature.
Is It Time for a Replacement? Knowing the Signs
Even with the best care, smoke detectors have a limited lifespan. Most manufacturers recommend replacing smoke alarms every 8 to 10 years. The manufacturing date is printed on the back of the unit. If your detector is past its prime, it’s time for a new one, regardless of the battery door issue.
An old, failing unit is a serious safety risk. Other signs that it’s time for a replacement include constant false alarms, a unit that chirps even with a fresh battery, or failure to sound during a test. Prioritizing home safety, whether it’s a functioning smoke alarm or ensuring you have properly dealt with an old fireplace, like having a gas fireplace capped off, is non-negotiable.
Final Thoughts: A Closed Door Means a Safer Home
A smoke detector battery door that won’t close is a fixable problem. By systematically checking for the most common issues—improper battery installation, hidden safety tabs, obstructions, and physical damage—you can typically resolve the issue in minutes. Always work safely, especially with hardwired units, and never force a component that doesn’t want to move.
Remember that a functional smoke detector is a cornerstone of home safety. Regular testing and timely battery replacement are vital. If your detector is old or shows any signs of malfunction beyond a stubborn battery door, replacing it is the safest and most responsible choice you can make for your home and family.