Post-Construction Wood Floor Cleaning: Your Don’t-Miss Guide
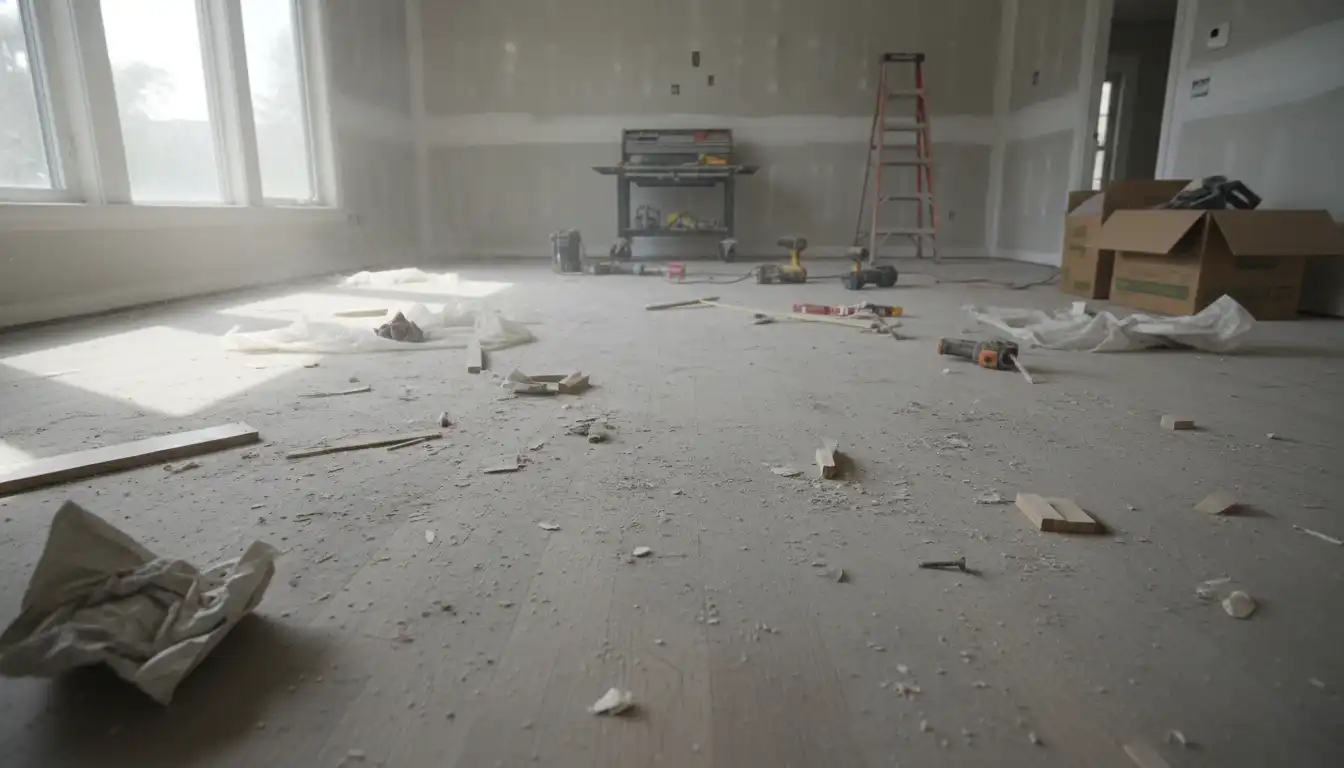
You’ve made it through the noise, the dust, and the disruption of a home renovation. The final result is stunning, especially those beautiful new hardwood floors. But now you’re left with the aftermath: a pervasive layer of fine dust, stray debris, and a floor that looks anything but new.
Cleaning wood floors after construction isn’t like your typical weekly sweep. This is a specialized task that, if done incorrectly, can lead to permanent scratches, a dull finish, or worse. The fine, abrasive dust generated during construction is the primary enemy, capable of grinding away at your floor’s protective layer with every wrong move.
You'll Learn About
Why Post-Construction Dust is Your Floor’s Worst Enemy
Construction dust is a unique challenge. It’s not just dirt; it’s a mix of fine particles like drywall dust (gypsum), sawdust, and potentially even tiny bits of metal or concrete. These particles are incredibly abrasive and can easily get ground into the grain of your wood or scratch the finish if you use the wrong cleaning methods.
This isn’t just about looks. Failing to remove this dust properly can lead to long-term damage. It can dull the sheen of your polyurethane finish, create microscopic scratches that attract more dirt, and even contribute to poor indoor air quality. Think of it as sandpaper in powder form—something you want to remove with precision and care.
The Critical First Step: A Thorough, No-Contact Debris Removal
Before any cloth or mop touches your floor, the first goal is to remove as much loose dust and debris as possible without dragging it across the surface. Your primary tool here is a vacuum cleaner. However, not just any vacuum will do. Using the wrong vacuum can be a costly mistake.
You need a vacuum with a soft-bristle brush attachment designed for hard floors. Avoid vacuums with beater bars or stiff, rotating brushes, as these are designed for carpets and will scratch your wood floors. Go over the entire floor methodically, moving slowly to allow the suction to lift the fine dust. Pay close attention to corners, edges, and along the baseboards where dust loves to settle.
For any larger debris like wood splinters or drywall chunks, pick them up by hand. Sweeping with a traditional broom is often a bad idea at this stage, as it tends to kick the finest, most harmful dust into the air, only for it to settle back down on the floor later.
The Two-Bucket Method: Your Secret to a Scratch-Free Clean
Once you have vacuumed thoroughly, it’s time for a more detailed cleaning. This is where many homeowners go wrong, often using too much water or the wrong cleaning solution. The goal is to lift the remaining fine dust without oversaturating the wood or leaving a residue.
The two-bucket mopping system is a professional technique that prevents you from simply spreading dirty water around your new floor. You’ll need one bucket with your cleaning solution and a second bucket with clean rinse water. This ensures your mop is always as clean as possible when it touches the floor.
Choosing the Right Tools and Cleaner
Your choice of mop and cleaning solution is paramount. A microfiber flat-head mop is the ideal tool. Its fine fibers are excellent at trapping and holding onto microscopic dust particles without being abrasive. Avoid string mops, which hold too much water and can’t grip fine dust effectively.
For the cleaning solution, always opt for a pH-neutral cleaner specifically formulated for hardwood floors. Never use vinegar, ammonia, or all-purpose cleaners, as their acidic or alkaline properties can strip the floor’s finish over time. Dilute the cleaner according to the manufacturer’s instructions in your first bucket.
| Cleaning Agent | Suitability for Wood Floors | Reasoning |
|---|---|---|
| pH-Neutral Hardwood Cleaner | Excellent | Specifically formulated to clean without damaging the polyurethane finish. Safest option. |
| Water & Mild Soap | Good (with caution) | A few drops of mild dish soap can work, but must be rinsed thoroughly to avoid residue. |
| Vinegar & Water | Not Recommended | The acidity can break down and dull the floor’s finish over time. |
| Ammonia-Based Cleaners | Avoid | Harsh and alkaline; will strip the protective finish and can damage the wood. |
| Steam Mops | Avoid | The combination of high heat and moisture can force water into the seams, causing cupping and warping. |
Executing the Cleaning Process Step-by-Step
With your tools ready, follow this precise process for a perfect, streak-free finish. Work in small, manageable sections to ensure you can rinse and dry the area before the water has time to sit.
First, dip your microfiber mop into the cleaning solution bucket and wring it out until it is just damp, not dripping. Mop a small section of the floor, moving with the grain of the wood. This helps to clean within the subtle texture of the floor rather than against it.
Next, rinse the dirty mop head thoroughly in the second bucket filled with clean water. Wring it out completely. Now, go back over the section you just cleaned with the damp, clean mop to pick up any remaining cleaning solution and loosened grime. Finally, use a separate, dry microfiber cloth to buff the section dry immediately. This last step is crucial for preventing water spots and ensuring a brilliant shine.
Tackling Stubborn Spots and Haze
Sometimes, even after a thorough cleaning, you might notice a stubborn haze or a few tough spots. This haze is often a residue from drywall dust, which can be particularly persistent. Don’t be tempted to scrub aggressively, as this can create a dull spot in your finish.
Instead, try cleaning the hazy area again with your pH-neutral cleaner, perhaps using slightly more concentration than before. For stubborn scuffs or bits of dried adhesive, apply a small amount of cleaner directly to a microfiber cloth and gently rub the spot. For anything that feels truly stuck, like a drop of paint, you may need to use a plastic scraper, being extremely careful not to gouge the wood. If you’ve just gone through a major renovation that included skim coating your walls, ensuring you have the right foundation is key for the entire room’s finish; consider learning about the best primer after skim coat to complement your beautiful floors.
Post-Cleaning Inspection and Long-Term Care
Once the entire floor is clean and dry, do a final inspection from different angles. Look for any remaining dust or streaks. It’s not uncommon to need a second pass of this detailed cleaning process, especially after heavy construction. The quality of your flooring itself can also play a role in how it withstands the rigors of construction; many homeowners find that investing in a quality brand pays off. If you’re in the market, exploring options like Woodmark hardwood floors can provide insight into durable choices for future projects.
To keep your newly cleaned floors looking pristine, establish a good maintenance routine. Place high-quality mats at all entrances to trap dirt and grit. Use felt pads on the bottom of all furniture to prevent scratches. Regular vacuuming with a soft brush head and occasional damp mopping with the proper cleaner will ensure your investment remains beautiful for years to come. Ultimately, the durability and beauty of your flooring is a long-term commitment, and understanding what to expect from different brands through comprehensive guides like Triangulo flooring reviews can make all the difference.
Frequently Asked Questions
What’s the first step in cleaning wood floors after construction?
Always start with a dry cleaning method to remove loose dust and debris. Use a vacuum with a soft brush attachment or a microfiber dust mop. This prevents turning the dust into a muddy paste when you introduce a liquid cleaner.
Can I use a wet mop to clean up construction dust?
It’s best to use a damp mop, not a wet one, as excess moisture can damage wood floors by causing warping or swelling. Lightly dampen a microfiber mop with water or a pH-neutral cleaner specifically for hardwood floors. Always dry the floor with a clean cloth immediately after damp mopping.
Is it safe to use vinegar and water on my wood floors?
A heavily diluted solution of vinegar and water can be used for stubborn residue on some sealed or finished hardwood floors, but it’s crucial to test it on a small, inconspicuous area first. Be aware that vinegar’s acidity can potentially dull or damage the floor’s sealant. Commercial pH-neutral cleaners are often a safer choice.
How do I remove the fine, white dust film from my wood floors?
After dry dusting, a damp microfiber mop with warm water should lift the light residue. For persistent haze, a wood-safe cleaner may be necessary. In some cases, daily cleaning for the first week after construction may be needed to remove all the settling dust.
Should I avoid any specific cleaning tools or products?
Yes, avoid harsh chemicals like bleach or ammonia-based cleaners, as they can strip the wood’s finish. Do not use steam mops, which can damage the wood with excessive heat and moisture. Also, avoid vacuums with harsh beater bars that can scratch the floor’s surface.
Conclusion
restoring the luster of your new hardwood floors requires a patient, systematic approach that prioritizes protection over speed. Standard cleaning methods often fall short against the microscopic, abrasive grit of construction debris, which can act like sandpaper under a traditional mop. By utilizing HEPA-filtered vacuums, microfiber technology, and pH-neutral cleaners specifically formulated for wood, you ensure that the post-renovation cleanup enhances rather than damages your investment. This final stage of the project is the bridge between a chaotic construction zone and a polished, inviting home. Taking the time to execute a specialized cleaning regimen ensures your floors remain a stunning centerpiece, free from the hidden scratches and dullness that improper handling can leave behind.