How to Cap Off a Wood Burning Stove: Stop Drafts and Pests
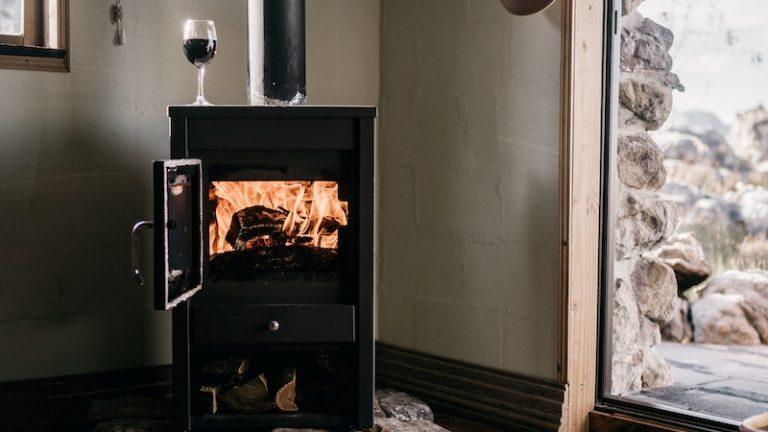
A disconnected or unused wood burning stove can be more than just an object taking up space; it can be a significant source of problems for your home. From relentless drafts and alarming energy bills to unwanted pests and dangerous moisture buildup, an improperly sealed stove flue is a liability. Understanding how to properly cap off a wood burning stove is essential for maintaining your home’s safety, efficiency, and comfort.
Many homeowners choose to decommission their wood stoves for various reasons. You might be upgrading to a new heating system, selling your home, or simply reclaiming valuable living space. Whatever the reason, the process involves more than just hauling the stove away. The entire chimney system must be correctly sealed at both the interior and exterior points to prevent future headaches.
You'll Learn About
The Hidden Dangers of an Uncapped Stove Flue
Leaving a wood stove’s flue pipe open to the elements is an invitation for trouble. It creates a direct channel from the outdoors into your living area, leading to a host of issues that can compromise your home’s integrity and your family’s well-being. Failing to properly seal this opening can result in significant problems.
The most immediate issue is a constant, uncomfortable draft. This uncontrolled airflow can make rooms feel chilly and drive up your heating costs as your primary system works harder to compensate. Beyond drafts, an open chimney is a welcome mat for rain, snow, birds, squirrels, and insects, leading to water damage, nests, and infestations within your chimney and potentially your home.
Why Sealing Your Chimney is a Non-Negotiable Task
Properly capping your chimney is not just about comfort; it’s a critical safety measure. Moisture that enters an uncapped chimney can cause serious damage over time, deteriorating the chimney liner, mortar joints, and surrounding masonry. This moisture can also lead to mold and mildew growth, which poses health risks and can be costly to remediate.
Furthermore, the buildup of flammable debris like leaves and twigs from animal nests can create a fire hazard if the chimney is ever used again without a thorough inspection and cleaning. Capping the flue is a fundamental step in responsibly decommissioning your wood stove, protecting your investment, and ensuring a safe living environment.
Preparing for a Safe and Successful Capping Project
Before you begin the process of capping your wood burning stove, safety must be your top priority. This project involves working with heavy components and potentially accessing your roof, so taking the right precautions is essential to prevent injury and property damage. A thorough preparation phase will ensure the job goes smoothly and effectively.
First, ensure the wood stove and flue are completely cool and have not been used for at least 24-48 hours. Next, it’s highly recommended to have the chimney professionally swept. Starting with a clean flue is crucial because it removes flammable creosote and soot, which can be corrosive and hazardous. A clean chimney also makes the sealing process easier and more effective.
Essential Tools and Safety Gear
Gathering the right tools and protective equipment is a vital first step. You will likely need a socket wrench or screwdriver to disconnect the stove pipe, a sturdy ladder for roof access, a caulk gun for sealants, and appropriate personal protective equipment (PPE). This includes heavy-duty gloves to protect from sharp metal edges, safety glasses to shield your eyes from debris, and a dust mask or respirator to avoid inhaling soot and creosote.
If you have any doubts about working at heights or your ability to safely access the chimney top, do not hesitate to hire a professional. A certified chimney sweep or roofer has the experience and specialized equipment to complete the job safely and correctly.
A Step-by-Step Guide to Capping Your Wood Burning Stove
Capping a wood stove involves a two-part process: sealing the interior opening where the stove pipe connected to the wall or ceiling, and capping the top of the exterior chimney flue. Both steps are critical for creating a complete, weatherproof seal that protects your home from the elements and prevents energy loss.
This guide will walk you through the essential steps for a standard decommissioning project. Remember that every installation is slightly different, so adapt these instructions to fit your specific setup while always prioritizing safety.
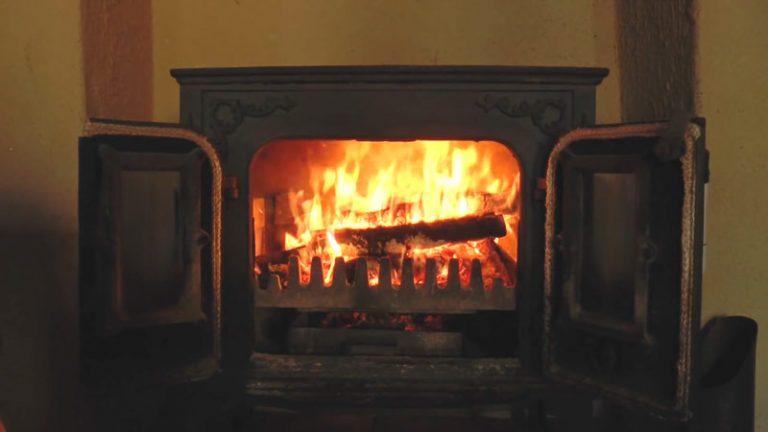
Step 1: Disconnecting the Stove and Stove Pipe
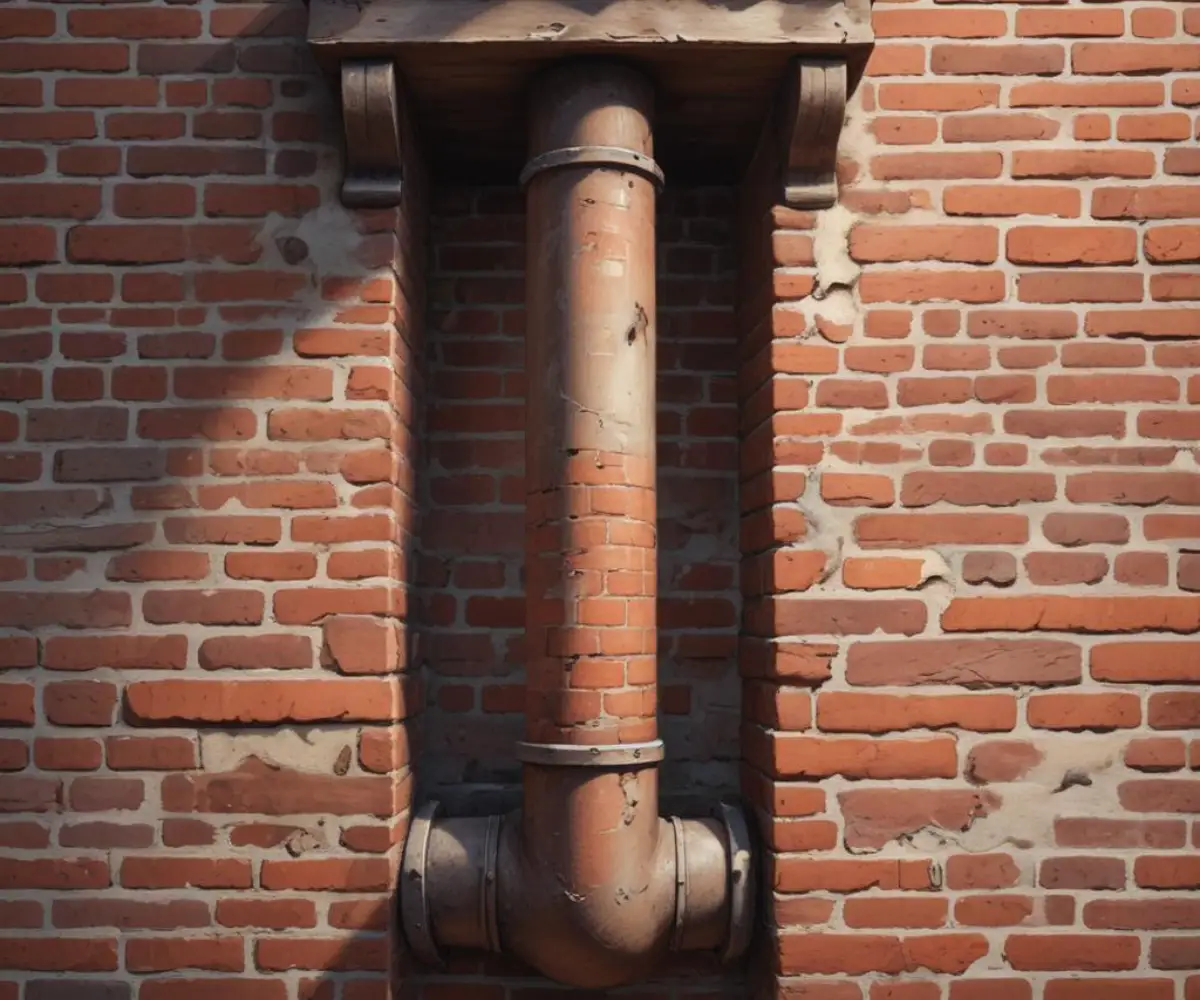
The first physical step is to carefully disconnect the stove pipe (also known as the connector pipe) from the back or top of your wood stove. This is typically held in place with screws or a simple friction fit. Once detached from the stove, you will need to remove the section of pipe that passes through the wall or ceiling thimble.
The thimble is the metal or ceramic sleeve that protects the combustible wall materials from the hot flue pipe. Gently twist and pull the stove pipe out of the thimble. Be prepared for some soot and debris to fall, so it’s wise to lay down a drop cloth beforehand to protect your floors and furnishings.
Step 2: Sealing the Interior Flue Opening
With the stove pipe removed, you are left with an open hole in your wall or ceiling. This opening must be sealed with a non-combustible material to prevent drafts and maintain the fire barrier of the wall. Never use flammable materials like spray foam or wood to block this opening.
A common and effective method is to use a metal stove pipe plug or a cleanout cap, which can often be found at hardware or hearth supply stores. Apply a bead of high-temperature silicone sealant around the inside edge of the thimble and firmly press the cap into place. For a more finished look, you can cover the sealed opening with a decorative metal plate. Repairing the wall properly is similar to other home maintenance tasks, like when you how to fix door lock hole wood deteriorated, where a clean, secure finish is key.
Step 3: Installing the Exterior Chimney Cap
The final and most critical step is to cap the top of the chimney. This prevents rain, animals, and debris from entering the flue system from above. A proper chimney cap is the most effective way to protect your chimney’s interior structure from moisture damage and deterioration.
Chimney caps are available in various materials and styles. They typically attach to the top of the flue liner with screws or by sliding snugly over the pot. When installing, ensure the cap is securely fastened so it cannot be dislodged by high winds. The cap should feature a mesh screen to keep animals and large debris out while still allowing for minimal ventilation to prevent moisture condensation inside the flue.
Choosing the Best Materials for the Job
The longevity and effectiveness of your chimney capping project depend heavily on the quality of the materials you choose. Opting for durable, weather-resistant materials will ensure your chimney remains protected for years to come, preventing the need for frequent repairs or replacements. Below is a comparison of common materials used for chimney caps and sealants.
Stainless steel is widely considered the best all-around choice for chimney caps due to its excellent durability and resistance to rust and corrosion. While galvanized steel is a more budget-friendly option, it is more susceptible to rust over time. For sealants, it’s imperative to use a product rated for high temperatures to ensure it can withstand any residual heat and create a lasting bond.
| Material | Primary Use | Pros | Cons |
|---|---|---|---|
| Stainless Steel | Exterior Chimney Cap | Highly durable, excellent rust/corrosion resistance, long lifespan. | Higher upfront cost than galvanized steel. |
| Galvanized Steel | Exterior Chimney Cap | Affordable, readily available. | Prone to rusting over time, shorter lifespan. |
| Copper | Exterior Chimney Cap | Extremely durable, aesthetically pleasing, develops a unique patina. | Most expensive option. |
| High-Temp Silicone Sealant | Interior Flue Seal | Flexible, waterproof, withstands high temperatures. | Requires proper surface preparation for good adhesion. |
| Fire Cement | Interior Flue Seal | Extremely heat resistant, creates a rigid, permanent seal. | Can crack with movement or expansion, less flexible than silicone. |
DIY Project vs. Hiring a Professional
Deciding whether to tackle this project yourself or hire a professional depends on your skills, comfort level with heights, and the complexity of your chimney system. While a DIY approach can save on labor costs, an improper installation can lead to significant problems and more expensive repairs down the road.
A DIY installation of an interior plug is feasible for most handy homeowners. However, installing the exterior chimney cap requires working on the roof, which carries inherent risks. Safety should always be the deciding factor. If you are not equipped for or comfortable with roof work, hiring a professional is the wisest choice.
When to Call in the Experts
Hiring a certified chimney sweep or a qualified roofer is highly recommended if your roof is steep, multi-storied, or if you suspect any pre-existing damage to your chimney crown or masonry. Professionals have the necessary safety equipment, insurance, and expertise to identify and address any potential issues, ensuring the job is done right the first time. The cost of professional installation is a small price to pay for peace of mind and the assurance of a safe, leak-proof seal.
What to Do with Your Decommissioned Wood Stove
Once your stove is disconnected and the chimney is capped, you need to decide what to do with the old appliance. Cast iron wood stoves are extremely heavy and awkward to move, so plan accordingly. You may need assistance and a heavy-duty dolly to safely remove it from your home.
You have several options for disposal. Many homeowners choose to sell their used stoves, as there is often a market for them. Alternatively, you can take the stove to a scrap metal recycling center. Proper disposal is important, much like knowing how to dispose of plaster during a renovation to ensure it’s handled correctly.
Repurposing and Post-Removal Cleanup
After removing the stove, you will likely need to do some cleaning to remove any lingering soot or smoke odors from the area. Thoroughly vacuum and wipe down all surfaces. In some cases, using a specialized cleaner may be necessary. If persistent odors are an issue, you might even consider if you can you use an ozone generator in an apartment to effectively neutralize them.
With the stove gone, you’ve now opened up new possibilities for your living space. The former hearth area can be repurposed for shelving, a media center, or simply left as open space. By properly capping the flue and responsibly managing the old appliance, you can confidently and safely transition away from your wood burning stove.