Bending Quarter Round? The Secret Method Pros Won’t Tell You
There’s nothing more frustrating than installing beautiful new trim, only to be stopped dead in your tracks by a curved wall or a rounded archway. That straight, rigid piece of quarter round in your hand suddenly seems useless, and the prospect of an ugly, unprofessional gap is all too real. It’s a common problem that can make an otherwise perfect project look sloppy and incomplete.
Forcing a stiff piece of wood or PVC to bend will almost always end in disaster. You risk splintering expensive material, wasting time, and creating a finish that detracts from your hard work. The solution isn’t brute force; it’s technique. Learning how to properly bend quarter round is the key to achieving a seamless, high-end look that flows effortlessly with the contours of any room.
You'll Learn About
Why You Can’t Just Force It: The Risks of Improper Bending
Attempting to bend standard quarter round without the proper technique is a recipe for failure. Wood trim, when forced against a curve, will crack, splinter, or snap entirely. This not only wastes material but also poses a safety risk from sharp, broken pieces.
Even if you manage a slight bend without a complete break, the internal stress on the material will create a weak point. This can lead to future cracks as the trim expands and contracts with changes in temperature and humidity. The resulting finish will look amateurish, with visible stress marks and an uneven profile that ruins the aesthetic you were hoping to achieve.
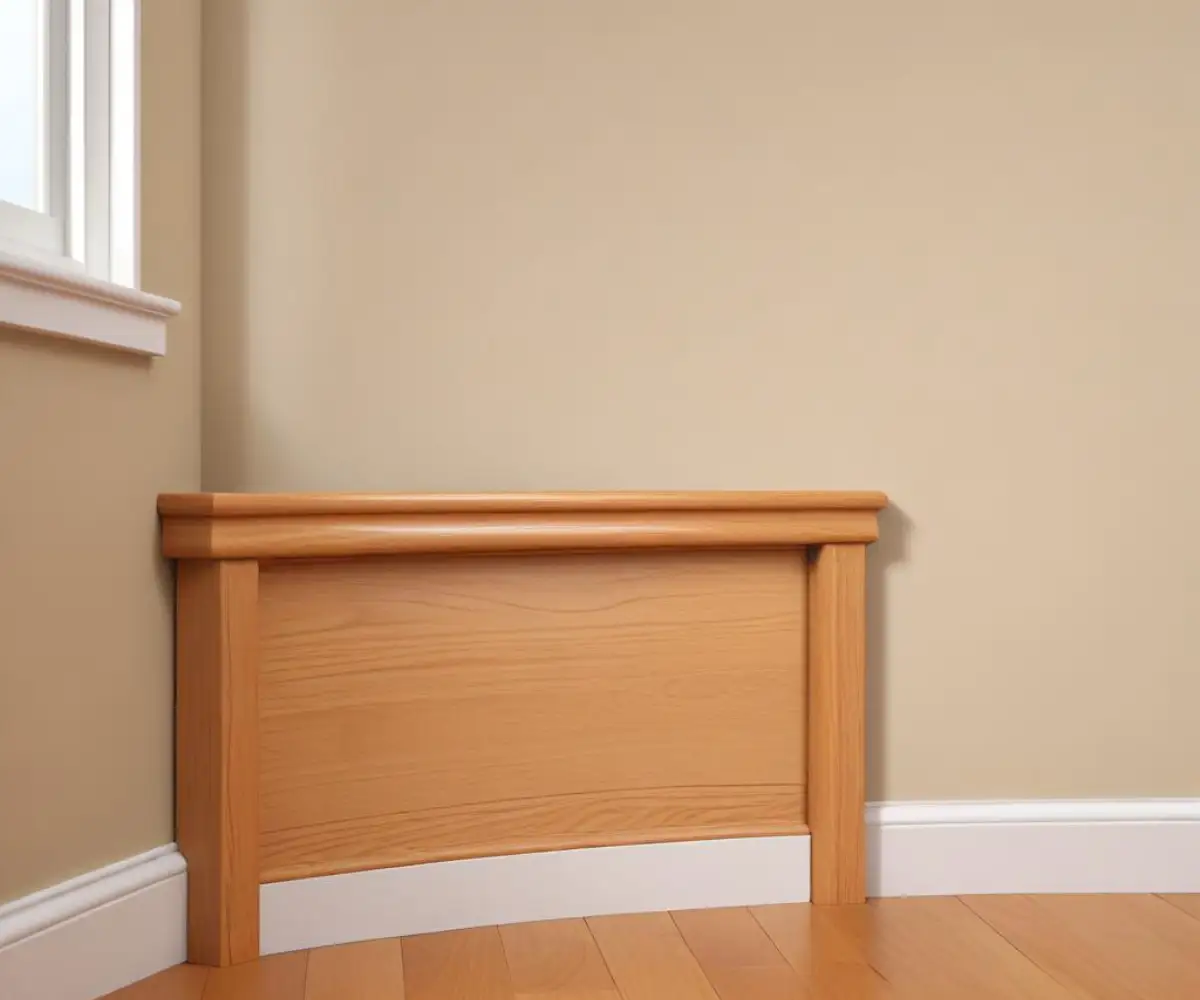
Choosing Your Weapon: Wood vs. PVC Quarter Round
The first step in mastering the bend is selecting the right material for the job. Your choice between traditional wood and modern PVC will significantly impact the method you use and the final result. Each has its own unique properties that make it suitable for different applications and bending techniques.
The Classic Choice: Bending Wood Quarter Round
Wood quarter round, available in materials like pine, oak, and poplar, offers a timeless and classic look. Bending wood is a more involved process that requires precision and patience, but the result is a beautifully crafted finish that can be stained or painted to match any decor. The techniques for wood are often considered a true mark of craftsmanship.
The Modern Alternative: Bending PVC Quarter Round
Polyvinyl chloride (PVC) trim is a versatile and durable alternative to wood. It is naturally more flexible and highly resistant to moisture, making it an excellent choice for bathrooms, basements, and kitchens. Bending PVC is typically easier than wood and relies on heat to make the material pliable. While it offers great utility, it’s important to know the proper installation methods, especially when it comes to fastening. If you’re considering this material, understanding the right way to nail PVC quarter round is crucial to avoid damage.
The Kerf-Bending Secret: A Pro-Level Technique for Wood
One of the most effective and widely used professional techniques for bending wood trim is creating kerf cuts. This method involves cutting a series of small slots into the back of the molding, allowing it to flex and follow a curve without breaking.
What is a Kerf Cut?
A “kerf” is the width of the groove made by a saw blade. By making a series of these cuts close together on the back of a piece of quarter round, you remove just enough material to relieve tension. This allows the remaining front portion of the wood to act as a flexible veneer that can be shaped to fit curved surfaces with surprising precision.
Step-by-Step Guide to Kerf Bending
Mastering the kerf cut requires attention to detail, but the process is straightforward once you understand the fundamentals.
Step 1: Measure and Mark Precisely
Start by measuring the radius of the curve you need to fit. Transfer this measurement to the back of your quarter round. Mark the start and end points of the bend. Within this section, mark lines for your cuts. The closer the cuts, the tighter the bend you can achieve. For most curves, spacing cuts about 1/4 to 1/2 inch apart is a good starting point.
Step 2: Set Your Saw Blade Depth
This is the most critical step. You need to set the blade on your miter saw or table saw to cut most of the way through the trim, but not all the way. A general rule is to leave about 1/8 inch of material at the front face. Always test your blade depth on a scrap piece of the same trim before cutting your final piece.
Step 3: Make the Kerf Cuts
Carefully make your cuts along the marked lines. Ensure each cut is straight and consistent. Using a miter saw with a stop block or a crosscut sled on a table saw will help ensure uniformity. Take your time to maintain accuracy throughout the process.
Step 4: The Gentle Bend
With the cuts complete, gently flex the quarter round. You will feel it give along the kerfs. Slowly press it against the curved wall or form, allowing it to conform to the shape. Do not apply sudden, forceful pressure, as this can still snap the thin front face.
Step 5: Secure and Finish
Once the trim is in place, apply a bead of strong wood glue into the open kerfs on the back. This will help lock the curve in place and add rigidity. Secure the trim to the wall using a combination of construction adhesive and finish nails. Once dry, fill the nail holes and the kerfs with wood filler and sand smooth for a perfect finish.
Harnessing Heat: How to Bend PVC Quarter Round Like a Pro
Unlike wood, PVC quarter round becomes soft and pliable when heated. This property makes it relatively easy to bend, but it requires the right tools and a focus on safety to get it right. A heat gun is the preferred tool for this job, providing controllable and consistent heat.
Safety First: Essential Precautions
When heating PVC, it can release fumes. Always work in a well-ventilated area or wear a respirator. Use heat-resistant gloves to protect your hands from burns, as the PVC will become very hot. Be careful not to overheat the material, as it can scorch, blister, or even melt, ruining the piece.
The Heat Gun Method
This method offers the most control and the best results for bending PVC trim.
Step 1: Create a Bending Form
To ensure a perfect and consistent curve, create a template or “form.” This can be made from a piece of plywood or even sturdy cardboard cut to match the curve of your wall. This gives you something to press the heated PVC against while it cools.
Step 2: Apply Even, Sweeping Heat
Hold the heat gun 6 to 8 inches away from the surface of the PVC. Sweep the gun back and forth continuously along the length of the section you need to bend. Do not hold it in one spot. The goal is to heat the material evenly until it becomes soft and rubbery.
Step 3: Shape and Cool
Once the PVC is pliable, immediately press it against your form. Hold it firmly in place until it cools completely. As it cools, the PVC will harden and permanently retain its new shape. This process can take several minutes. Using a damp rag can sometimes speed up the cooling process.
Troubleshooting Common Bending Mistakes
Even with the right technique, you might run into issues. Understanding the cause of common problems is key to fixing them and achieving a flawless result. From cracked wood to scorched PVC, most mistakes are preventable with a bit of practice and foresight.
| Problem | Common Cause | Solution |
|---|---|---|
| Wood is cracking or splintering | Kerf cuts are too deep, too far apart, or you are bending the wood too quickly. | Make shallower, more frequent cuts. Apply slow, even pressure when bending. Always test on a scrap piece first. |
| PVC is scorched or bubbly | The heat gun was held too close to the material or kept in one spot for too long. | Keep the heat gun moving constantly at a distance of 6-8 inches. Apply heat in long, even strokes. |
| The curve is not uniform | Uneven heating of PVC or inconsistent spacing of kerf cuts on wood. | Use a bending form to ensure a consistent radius. Take care to mark your kerf cuts with precision. |
| Trim won’t hold its shape | The PVC was not allowed to cool completely, or not enough glue was used in the wood kerfs. | Ensure PVC is fully cool and rigid before removing it from the form. Use a generous amount of wood glue in the kerfs and clamp if necessary. |
Beyond the Bend: Finishing and Installation Tips
Successfully bending your quarter round is a major accomplishment, but the job isn’t done yet. Proper finishing and installation are what will truly make your project shine and ensure its longevity.
Filling and Sanding for a Flawless Surface
For kerf-bent wood, it’s essential to fill the now-closed kerfs on the back with a quality wood filler or epoxy. This not only hides the cuts but also adds significant strength to the bent piece. After filling any nail holes and sanding the surface smooth, your trim will be ready for paint or stain.
Securing Your Curved Trim
When installing your newly curved quarter round, use a combination of construction adhesive and finish nails for the most secure hold. The adhesive provides consistent support along the curve, while the nails tack it firmly in place while the adhesive cures. Be careful when nailing to avoid splitting the wood or denting the PVC.
A Note on Wall Imperfections
Sometimes, the challenge isn’t just a simple curve but an uneven wall surface. These imperfections can cause issues beyond your trim work. For instance, you might notice that wall flaws are also the reason why your outlet covers are bending. Paying attention to these details ensures a professional finish throughout the room.
When to Buy vs. When to DIY
While the techniques described here are highly effective, there is another option: pre-made flexible molding. This product is made from a polyurethane resin that is designed to bend easily to fit nearly any curve without any special tools, heat, or cutting.
Flexible molding is incredibly convenient and provides a perfect curve every time. However, it is significantly more expensive than standard wood or PVC trim and may not be available in all profiles. For small, single curves, the cost may be justifiable. For larger projects or those on a tight budget, mastering the DIY bending techniques is a more economical and rewarding skill.
Conclusion: Bending is a Skill Worth Mastering
Dealing with curved walls and archways no longer has to be a roadblock in your trim projects. By understanding the properties of wood and PVC and mastering techniques like kerf cutting and heat bending, you can tackle any curve with confidence. These methods transform a difficult challenge into a manageable task, elevating the quality of your work from standard to truly custom.
The ability to bend quarter round is a valuable skill for any DIY enthusiast or professional. It unlocks a new level of craftsmanship, ensuring every installation is seamless, professional, and perfectly fitted to the unique contours of the space. So the next time you face a rounded corner, you’ll have the knowledge to create a flawless finish that looks like it was always meant to be there.