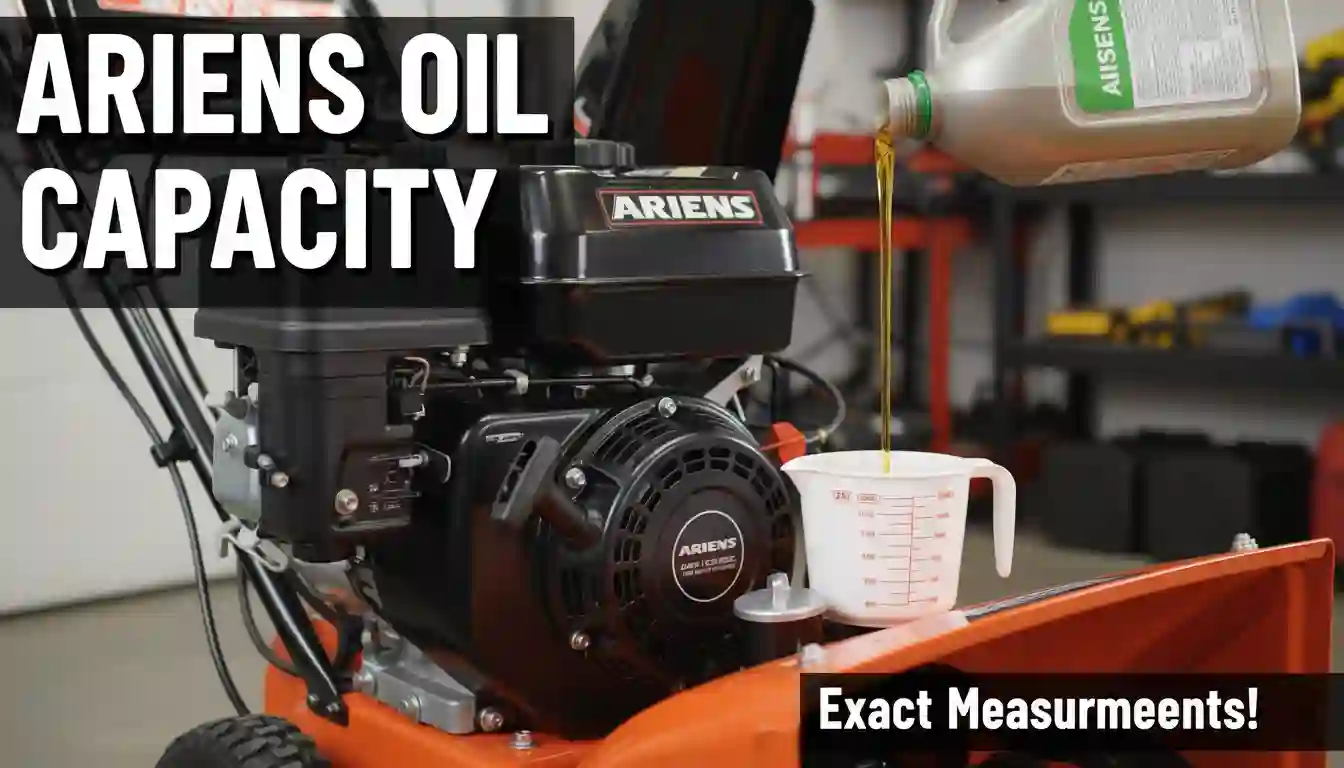
Ariens Snowblower Oil Capacity: Stop Guessing, Start Protecting Your Engine
One of the most critical, yet frequently overlooked, aspects of snowblower maintenance is using the correct amount of engine oil. For Ariens owners, the question “how much oil does my snowblower take?” is a vital one. Using too much or too little oil is not a minor mistake; it’s a direct path to poor performance and catastrophic engine damage.
This guide eliminates the guesswork. We will provide precise oil capacities for popular Ariens models, explain why the correct level is non-negotiable, and offer a step-by-step process for a perfect oil change every time. Proper lubrication is the lifeblood of your machine, and getting it right is the first step toward a long-lasting, reliable snowblower.
You'll Learn About
The Critical Importance of Correct Engine Oil Levels
An Ariens snowblower engine is a high-performance machine operating in demanding cold-weather conditions. The engine oil’s primary role is to lubricate moving parts, reduce friction, and dissipate heat. When the oil level is wrong, this entire system breaks down, leading to severe consequences.
Understanding these risks underscores the need for precision. It’s not just about adding oil; it’s about adding the exact right amount to protect your investment.
What Happens When You Underfill with Oil?
An insufficient oil level is the quickest way to destroy an engine. When there isn’t enough oil, moving parts like the piston, crankshaft, and connecting rod are not adequately lubricated. This leads to a rapid increase in friction and heat.
The engine will overheat, components can warp, and eventually, the internal parts can seize together, resulting in complete engine failure. This type of damage is often irreversible and can lead to you investigating the snowblower scrap value of your machine far sooner than you should.
The Dangers of Overfilling Your Snowblower
Many people assume that adding extra oil is a safe bet, but this is a dangerous misconception. Overfilling the crankcase creates excessive pressure inside the engine. This pressure can lead to several serious problems that can cause lasting harm.
One of the most common results is blown seals and leaking gaskets. The increased pressure forces oil past seals that are designed to hold it in, creating messy leaks and starving other parts of the engine of lubrication. Furthermore, the crankshaft can churn the excess oil into a foam, which does not lubricate effectively and can cause significant engine wear. In severe cases, you might face significant Ariens AX engine problems, including hydrolocking, where the piston tries to compress liquid oil, potentially bending or breaking connecting rods.
Ariens Snowblower Oil Capacity Chart
Finding the exact oil capacity for your specific model can be challenging, as it depends on the engine size (measured in cubic centimeters, or cc) rather than just the model name (like “Deluxe 24”). Always refer to your owner’s manual as the primary source of truth. However, the table below provides a reliable guide for common Ariens models and their AX engines.
Quick Reference: Oil Capacities by Engine Size
This table organizes capacities by the Ariens AX engine displacement, which is the most accurate way to determine how much oil you need. The engine size is typically found on a sticker on the engine housing itself.
| Ariens Engine Size (cc) | Common Models | Oil Capacity (Ounces) | Oil Capacity (Quarts) |
|---|---|---|---|
| 159cc | Path-Pro | 16 oz | 0.5 qt |
| 208cc | Classic, Compact 22 | 20 oz | 0.63 qt |
| 223cc | Compact 24 | 20 oz | 0.63 qt |
| 254cc | Deluxe 24, Compact 24 | 32 oz | 1.0 qt |
| 306cc | Deluxe 28, Deluxe 30 | 37 oz | 1.16 qt |
| 369cc | Platinum 24 SHO, Professional 28 | 37 oz | 1.16 qt |
| 414cc | Platinum 30 SHO, Professional 32 | 37 oz | 1.16 qt |
Choosing the Right Type of Oil for Your Ariens
The amount of oil is only half the equation; the type of oil is equally important. Using the correct oil viscosity (its thickness) ensures your snowblower starts easily in frigid temperatures and remains protected once the engine warms up. For virtually all modern Ariens snowblowers, a 5W-30 synthetic oil is the recommended choice.
The “5W” indicates the oil’s viscosity at cold temperatures (the “W” stands for winter), ensuring it flows easily for quick startups. The “30” represents its viscosity at operating temperatures, providing stable protection. Synthetic oil offers superior performance in extreme cold, resisting thickening and providing better lubrication from the moment you start the engine.
Step-by-Step Guide to Changing Your Ariens Snowblower Oil
Changing the oil is a simple but vital maintenance task that anyone can perform with a few basic tools. Performing this service at the beginning of each winter season ensures your engine is protected with fresh, clean lubricant. A model like the Ariens 7524 Snowblower follows a very similar procedure.
Step 1: Gather Your Supplies
Before you begin, make sure you have everything you need. This includes the correct amount and type of new engine oil, a socket wrench, an oil drain pan, a funnel, and some clean rags or paper towels. Having everything ready makes the process smooth and clean.
Step 2: Warm Up the Engine
Run the snowblower for 5-10 minutes before draining the oil. This warms the oil, thinning it out and allowing it to drain more completely and quickly. It also suspends any contaminants within the oil, ensuring they are removed along with the old fluid.
Step 3: Drain the Old Oil
Position your snowblower on a flat, level surface and disconnect the spark plug wire for safety. Place the oil drain pan under the oil drain plug, which is typically located at the back of the engine on a short extension tube. Use your wrench to loosen the plug and then remove it by hand, allowing the old oil to drain completely into the pan. You can slightly tip the snowblower forward to ensure all the oil comes out.
Step 4: Refill with New Oil
Once the old oil has finished draining, wipe the drain area clean and securely replace the drain plug. Remove the oil fill cap/dipstick (usually yellow or black) and insert a clean funnel. Slowly pour in the specified amount of new oil, referencing the chart above. Do not rush this step, as pouring too quickly can cause air pockets and lead to an inaccurate fill level.
Step 5: Verify the Oil Level
After adding the oil, wait a minute for it to settle. Reinsert the dipstick fully, then pull it out and wipe it clean. Insert it again and remove it to check the level. The oil should be right at the “FULL” mark. If it’s low, add a small amount more and recheck until the level is perfect. Do not overfill.
Troubleshooting Common Oil-Related Issues
Even with careful maintenance, you may encounter oil-related problems. Identifying the symptoms early can prevent major damage. Here are some common issues and their solutions.
What to Do If You’ve Overfilled the Oil
If you have accidentally added too much oil, do not start the engine. The easiest way to remove the excess is through the drain plug. Slightly loosen the plug and let a small amount of oil drain out. Retighten the plug and check the level with the dipstick, repeating until the level is correct.
Engine Emitting Blue or White Smoke
Blue or white smoke coming from the exhaust is a classic sign of burning oil. This can be caused by overfilling, where excess oil is forced into the combustion chamber. It can also indicate more serious internal engine issues like worn piston rings. First, verify your oil level is correct. If it is, and the smoking continues, consult a qualified technician.
Discovering an Oil Leak
An oil leak can be caused by a loose drain plug or a damaged gasket or seal, often resulting from overfilling. First, tighten the drain plug to ensure it’s secure. If the leak persists, clean the engine thoroughly with a degreaser to pinpoint the source of the leak. Common culprits are the valve cover gasket or the crankshaft seals.
The Unspoken Factor: How Ethanol Fuel Affects Your Oil
A factor that many guides overlook is the impact of modern fuel on your engine’s oil. Most gasoline now contains ethanol, which can attract and absorb water. This water can find its way into the crankcase, contaminating the oil and reducing its ability to lubricate properly.
This contamination leads to the formation of sludge and acidic compounds that accelerate engine wear. To combat this, always use a fuel stabilizer in your gas tank and perform your annual oil change without fail. This proactive step ensures that water and ethanol byproducts don’t degrade your oil and compromise engine protection over the off-season.