Stove and Countertop Gap: This Tiny Space Can Cause Huge Problems
That hairline crack between your stove and countertop seems insignificant. It’s a detail most people overlook during a kitchen installation, but this small gap is far more than a cosmetic imperfection. It’s a critical junction that impacts your kitchen’s safety, cleanliness, and the longevity of your expensive appliances and countertops.
Ignoring the precise spacing recommended by manufacturers can lead to a host of problems you never anticipated. From creating a fire hazard to becoming a breeding ground for bacteria, the consequences of an improper gap are serious. Understanding the “why” and “how” behind this measurement is the key to a truly functional and safe kitchen design.
You'll Learn About
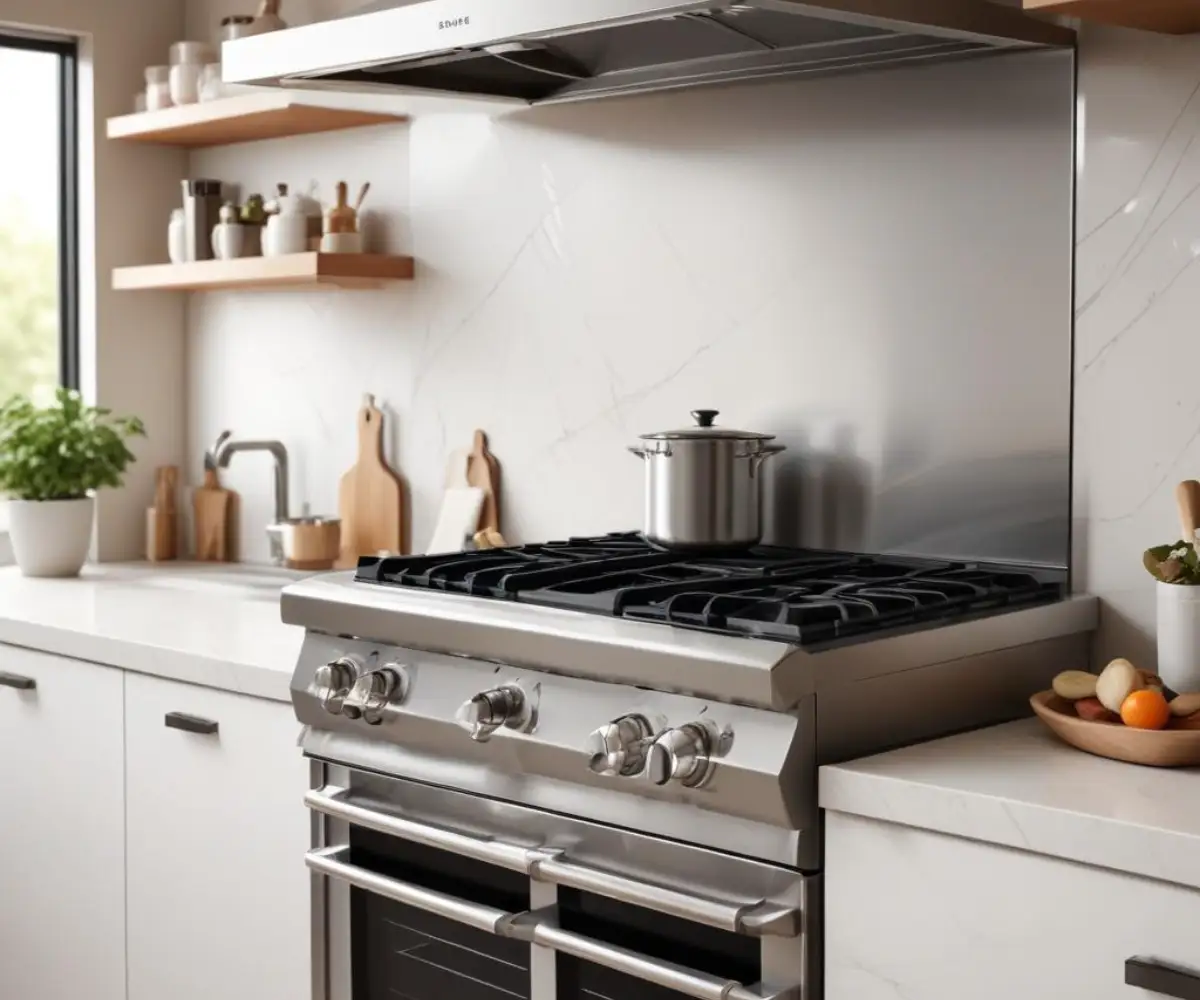
Why That Tiny Gap Between Your Stove and Countertop is a Huge Deal
A poorly planned gap can silently undermine your kitchen. It’s a magnet for debris, a potential fire risk, and an eyesore that detracts from a seamless kitchen aesthetic. Addressing it isn’t just for perfectionists; it’s a practical necessity for every homeowner.
The Hidden Dangers of an Improper Gap
The most critical reason to pay attention to this space is safety. Stoves, whether gas or electric, generate a tremendous amount of heat. Without proper clearance, this heat can transfer directly to the adjacent countertop and cabinetry, creating a serious fire hazard, especially with laminate countertops or wood cabinets.
For gas ranges, proper ventilation is key. A gap that is too tight can restrict airflow, potentially interfering with combustion. In a worst-case scenario, if you ever experience a gas issue, accessibility is crucial. Should you notice a faint gas smell near the stove, you need space to access connections and shut-offs quickly and safely.
The Cleanliness Nightmare: A Crumb and Grime Magnet
Functionally, this gap is one of the hardest places to clean in a kitchen. It inevitably catches everything from crumbs and grease splatters to spilled liquids. Over time, this buildup becomes a sticky, grimy mess that is not only difficult to remove but also attracts pests and creates an unsanitary environment.
This accumulation of organic matter can lead to unpleasant odors and bacterial growth. What looks like a tiny line can hold a surprising amount of debris, making your clean kitchen less hygienic than it appears on the surface.
Aesthetic Catastrophe: Ruining Your Kitchen’s Seamless Look
Modern kitchen design emphasizes clean lines and a built-in, cohesive look. An uneven or excessively wide gap between the stove and countertop immediately breaks this visual flow. It makes an expensive, high-end appliance look like an afterthought rather than an integrated part of your kitchen.
Whether the gap is too wide, too narrow, or uneven, it draws the eye and signals a poor installation job. Achieving that professional, seamless finish that makes a kitchen look polished and well-planned depends on getting this small detail exactly right.
Long-Term Damage to Cabinets and Countertops
Constant exposure to heat and moisture from the stove can cause significant damage to the surrounding surfaces over time. The edge of a laminate countertop can peel, discolor, or even melt if the stove is too close. For wood or painted cabinets, the heat can cause the finish to bubble, crack, or yellow.
Even durable materials like quartz and granite are not immune. Intense, direct heat can cause thermal shock, potentially leading to cracks. Moisture and cleaning agents trapped in a tight gap can also degrade the countertop’s sealant, leaving it vulnerable to stains.
Finding the Goldilocks Zone: How Much Gap is Just Right?
Determining the correct gap isn’t a matter of guesswork. It requires consulting official specifications and understanding how your specific appliances and materials interact. The goal is a gap that is large enough for safety and ventilation but small enough to maintain a clean, built-in appearance.
Start with the Manufacturer’s Specs: Your Ultimate Guide
Your first and most important source of information is the stove’s installation manual. Appliance manufacturers conduct extensive testing to determine the minimum clearance required for their products to operate safely and effectively. These specifications are not mere suggestions; they are requirements for safe installation and are often necessary to keep your warranty valid.
The manual will provide precise measurements for the required cutout in your cabinetry and the minimum clearance to adjacent surfaces, including the countertop. Always prioritize these instructions over any general advice.
The Industry Standard: General Rules of Thumb
While the manufacturer’s guide is king, a widely accepted industry standard often serves as a good starting point. For most slide-in and freestanding ranges, a gap of approximately 1/8 of an inch (about 3 millimeters) on each side is typical.
This small space is generally sufficient to prevent heat from scorching the countertop edge and allows for slight expansion and contraction of materials. It also makes it easier to install and remove the appliance without scratching your countertops or cabinets.
Factors That Change the Rules
The 1/8-inch rule is not universal. Several factors can influence the required gap size. The type of stove is a primary consideration; a slide-in range designed to sit flush with the counter will have different requirements than a standalone, freestanding unit.
Your countertop material also matters. A laminate or butcher block countertop may require more clearance from a high-heat source than a granite or quartz surface. Furthermore, always check your local building codes, as they may have specific requirements for appliance installation that supersede manufacturer recommendations.
Step-by-Step Guide to a Flawless Stove Installation
Achieving the perfect gap requires careful measurement and adjustment. Rushing this process is a common mistake that leads to the very problems you want to avoid. Taking the time to do it right ensures a safe and aesthetically pleasing result.
Pre-Installation Checks
Before you even attempt to slide the stove into place, measure the opening. The width of the cutout should match the specifications in the stove’s manual, typically the width of the appliance plus the required gap on both sides. Also, use a level to ensure the floor where the stove will sit is perfectly flat, as an uneven floor is a primary cause of an uneven gap.
Confirm that your gas line and electrical outlet are correctly positioned and will not obstruct the appliance from sliding all the way back. An improperly placed utility connection can force the stove to sit forward, creating a large, unsightly gap at the back.
Positioning and Leveling the Stove
Carefully slide the stove into the opening, being cautious not to scratch the floor, cabinets, or countertop. Once it’s in place, the critical task of leveling begins. Most stoves have adjustable feet that can be screwed up or down to change the height and level the appliance.
Place a level on the cooktop surface, checking it from front to back and side to side. Adjust the feet incrementally until the appliance is perfectly level. This step is crucial for ensuring even cooking and for achieving a consistent gap with the countertop on both sides.
Gap Nightmares: How to Fix a Stove and Countertop Mismatch
Even with careful planning, you might end up with a gap that is too wide or uneven. Fortunately, there are effective solutions to correct these issues without having to redo your entire kitchen. The key is to choose a solution that is both functional and visually appealing.
The Gap is Too Wide: Solutions for an Unsightly Chasm
A gap that is too wide is a common problem, especially in older kitchens or after a countertop replacement. It’s a trap for food and looks unprofessional. The best solution is to use a purpose-built gap filler.
These are typically made of stainless steel, silicone, or aluminum and are designed to sit over the gap, preventing debris from falling in. Silicone versions are flexible and easy to clean, while stainless steel options offer a more permanent, built-in look. Choosing the right one depends on your stove, countertop, and aesthetic preference.
| Gap Filler Solution | Material | Pros | Cons |
|---|---|---|---|
| Silicone Gap Cover | Flexible Silicone | Easy to install/remove; Heat-resistant; Easy to clean; Affordable | Can look like an add-on; May discolor over time |
| Stainless Steel Trim Kit | Stainless Steel | Durable; Provides a professional, built-in look; Matches appliance finish | More expensive; Requires precise measurement for custom fit |
| Aluminum T-Molding | Anodized Aluminum | Clean, minimal look; Can be cut to size; Durable | Can be difficult to install perfectly straight; May not match all decor |
| Custom Countertop Strip | Matching Countertop Material | Creates a perfectly seamless look; Most aesthetic option | Very expensive; Requires professional fabrication and installation |
The Gap is Too Tight (or Non-Existent)
A gap that is too narrow or completely non-existent is a serious safety concern. The stove needs space to dissipate heat. Forcing an appliance into a tight space can damage both the stove and the surrounding countertops and is a significant fire risk.
This issue cannot be solved with a simple filler; it requires a structural change. The only correct solution is to widen the opening. This often means having a countertop professional come in to cut and refinish the edge of the counter. In some cases, you may even need to consider a full adjustment, a complex task similar to learning how to remove granite countertops without damaging cabinets.
Beyond the Side Gap: The Critical Height of Your Stove
While the side gaps get most of the attention, the vertical alignment between the stove’s cooking surface and the countertop is just as important. This height relationship affects both safety and day-to-day usability in the kitchen.
Stove Height vs. Countertop Height: The Seamless Standard
For a truly integrated and functional design, the cooktop of your stove should be slightly higher than the adjacent countertop. The ideal height is typically about 1/8 of an inch above the counter surface. This slight elevation serves a crucial purpose.
It prevents pots and pans from scraping or chipping the countertop edge when you slide them on and off the burners. It also creates a small lip that can help contain minor spills on the cooktop, preventing them from immediately running into the gap and down the side of your cabinets.
The Dangers of a Sunken Stove
A stove that sits lower than the countertop is a significant problem. This “sunken” position creates a sharp countertop edge that is exposed to the full heat of the burners. For materials like quartz, the direct heat and thermal shock can cause cracking and discoloration over time.
It also makes it impossible to slide heavy pots off the stove without lifting them completely, increasing the risk of spills or burns. This improper alignment negates the seamless look you want and introduces a real point of failure for your countertop material.
How to Adjust Your Stove’s Height Perfectly
Virtually all modern stoves are equipped with adjustable leveling feet for this exact purpose. After getting the stove level from side to side and front to back, you can make fine-tuned adjustments to all four feet to raise or lower the entire unit.
Work incrementally, turning each foot by the same amount, to raise the stove until the cooktop surface sits just above the countertop. Use a straightedge or a level placed across the burner and the counter to verify you have achieved the slight, consistent elevation needed for a perfect installation.
The Final Word on Your Stove and Countertop Gap
What begins as a simple question—”how much gap between stove and countertop?”—reveals itself to be a critical component of safe, clean, and beautiful kitchen design. It’s a detail where millimeters matter, impacting everything from fire safety to long-term durability.
By prioritizing the manufacturer’s instructions and understanding the principles of proper alignment, you ensure your kitchen not only looks professional but also functions flawlessly for years to come. Your kitchen deserves this level of precision.