Why You Have to Push Your Door to Lock the Deadbolt & How to Fix It FAST
It’s a frustratingly common scenario: you go to lock your door for the night, but the deadbolt refuses to turn. You have to jiggle the handle, push with your shoulder, or pull the door just right for the lock to finally engage. This daily ritual is not just an annoyance; it’s a critical sign that your home’s primary security is compromised.
A deadbolt that doesn’t lock smoothly is a deadbolt that isn’t fully protecting you. The constant need for force means the bolt isn’t seating properly in the door frame, creating a weak point that could fail under pressure. Understanding and fixing this issue is essential for your peace of mind and your family’s safety.
You'll Learn About
The Critical Security Risk of a Forced Deadbolt
Ignoring a deadbolt that requires force is a significant gamble with your home’s security. When a deadbolt and strike plate are misaligned, the bolt cannot extend its full length into the door jamb. This seemingly small issue dramatically reduces its resistance to forced entry, as even a partially extended bolt is far weaker than a fully seated one.
Beyond the immediate security threat, forcing the lock puts immense stress on its internal mechanism and the wood of your door frame. This can lead to a completely jammed lock, accelerated wear and tear, and even a cracked door frame over time. Addressing the root cause is not just about convenience; it’s about restoring the structural integrity of your entryway.
Uncovering the Root Cause: Why You’re Pushing Your Door to Lock It
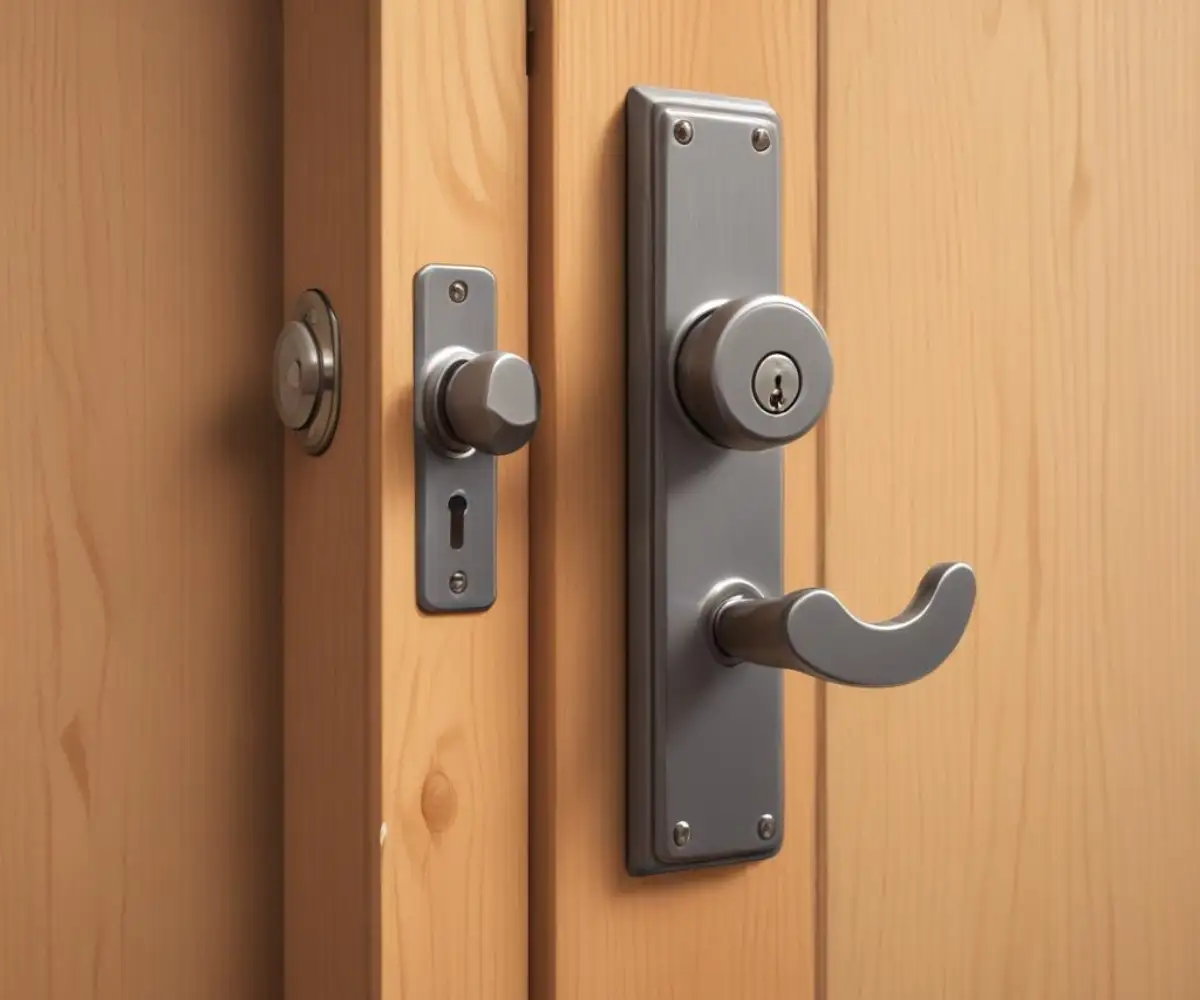
The core of the problem is almost always the same: a misalignment between the deadbolt and the strike plate. The metal bolt extending from your door is not lining up perfectly with the hole in the frame designed to receive it. This misalignment can happen for several reasons, some of which are surprisingly subtle.
Seasonal Shifts and a Settling Home
Your house is not as static as it seems. Changes in humidity and temperature cause wood doors and frames to swell in the summer and shrink in the winter. This natural expansion and contraction can be enough to throw a once-perfectly aligned lock out of position.
Additionally, all houses settle over time. Micro-shifts in the foundation can tilt the entire door frame, making it “out of square.” If you notice that your door problems worsen with the seasons or are accompanied by new cracks in the drywall around the frame, house settling is a likely culprit.
Hinge Problems: The Hidden Source of Door Sag
The hinges bear the entire weight of your door, and if they become loose, it can cause the door to sag. The top hinge is particularly critical, as it supports the most weight. When screws on this hinge loosen even slightly, gravity pulls the latch side of the door downward, causing the deadbolt to hit below the strike plate opening.
This is often caused by the short, builder-grade screws that are typically used for installation. These small screws only grip the thin wood of the door jamb, not the sturdy 2×4 stud behind it. Over time, the constant swinging of the door can strip these shallow holes, leading to a noticeable sag.
Weatherstripping That Works Against You
Weatherstripping is crucial for energy efficiency, but if it’s too thick or improperly installed, it can prevent your door from closing completely. The constant pressure from a bulky seal can hold the door just far enough away from the jamb that the deadbolt can’t reach the strike plate hole. This is a common issue after a new weatherstripping installation.
The problem is often magnified by the material. Modern rubber or foam compression seals can exert significant outward pressure, especially when new. If you have to forcefully push your door the last inch to latch it, there’s a good chance the weatherstripping is the problem.
Your Step-by-Step Guide to Fixing the Misaligned Deadbolt
Fixing a misaligned deadbolt is usually a straightforward process that you can accomplish with basic tools. The key is to correctly diagnose where the misalignment is occurring before you start making adjustments. Follow these steps in order, starting with the simplest fixes first.
Step 1: The Lipstick Test – Your Secret Diagnostic Tool
Before you adjust anything, you need to know exactly where the bolt is hitting the strike plate. The “lipstick test” is a classic, foolproof method used by locksmiths. Simply apply a small amount of lipstick, toothpaste, or even a dry-erase marker to the very end of the deadbolt.
Retract the bolt, close the door naturally without pushing or pulling, and then try to extend the deadbolt. When it hits the strike plate, it will leave a precise mark, showing you whether it’s hitting high, low, or to the side. This simple test removes all guesswork and tells you exactly what needs to be adjusted.
Step 2: Start with the Screws
Often, the simplest solution is the correct one. Open your door and, using a screwdriver, tighten every screw on all the door hinges and on the latch and deadbolt strike plates. You may be surprised to find several that have worked themselves loose over time.
For a more permanent fix, especially for the top hinge, replace at least one of the short screws with a 3-inch-long screw. This longer screw will go through the door jamb and bite firmly into the wall stud behind it, pulling the door back into alignment and preventing future sagging.
Step 3: Adjusting the Strike Plate
If your lipstick mark shows the bolt is only slightly off, you may not need to move the strike plate at all. A simple metal file can be used to enlarge the opening in the direction the bolt needs to go. File away a small amount of metal at a time and test the lock frequently to avoid making the hole too large.
If a more significant adjustment is needed, you will have to reposition the strike plate. Unscrew and remove the plate. If the new position overlaps with the old screw holes, you’ll need to fill the old holes first. A simple trick is to dip wooden toothpicks or a golf tee in wood glue and pack them into the old holes, breaking them off flush with the surface. Once the glue is dry, you can drill new pilot holes and securely mount the strike plate in its new, correct position. This is especially important if you find you have to fix a lock hole with deteriorated wood.
Step 4: Making Minor Hinge Adjustments
For persistent door sag, a more advanced trick is to slightly bend one of the hinge knuckles. To do this, close the door, place a nail or sturdy pin in the hinge, and gently tap it to remove the hinge pin. With the pin removed, slightly open the door so you can access the knuckles.
Using an adjustable wrench, gently bend the middle knuckle on the door jamb side slightly in the direction you need the door to move. Reinsert the pin and test the door. This method provides a small but often effective adjustment. Understanding how the door slab moves in relation to the frame is key if you suspect your exterior door is out of plane.
Preventing Future Deadbolt Problems
Once you’ve restored your deadbolt to smooth operation, proactive maintenance can prevent the issue from returning. Small, regular checks can save you from future frustrations and ensure your home remains secure. Taking a moment every few months to inspect your door’s hardware is one of the most effective ways to maintain its function.
This table outlines a simple but effective maintenance schedule that can help you stay ahead of common alignment issues. Regular lubrication, tightening, and inspection can address minor shifts before they become major problems, ensuring your deadbolt works perfectly year-round.
| Maintenance Task | Frequency | Tools Needed | Key Focus Area |
|---|---|---|---|
| Tighten Hinge Screws | Every 6 Months | Screwdriver | Ensure top hinge screws are especially tight. Check for any wobble or play in the door. |
| Lubricate Deadbolt | Annually | Graphite or Silicone-Based Lubricant | Apply lubricant to the keyway and the bolt itself to ensure smooth mechanical operation. |
| Inspect Strike Plate | Annually | Flashlight | Look for signs of new impact marks or wear around the opening, indicating a recent shift. |
| Check Weatherstripping | Seasonally (Spring & Fall) | None | Check for excessive compression or hardening of the material that could be pushing the door out. |
| Perform Lipstick Test | Annually | Lipstick or Marker | Proactively check the alignment before it becomes a noticeable problem. |
When to Call a Professional
While most deadbolt alignment issues are solvable with DIY methods, some problems indicate a deeper structural issue. If you’ve tried the steps above and the problem persists, or if you notice large, growing cracks in the walls around your door frame, it may be time to call a professional.
Severe house settling or a warped door frame are complex issues that require the expertise of a carpenter or foundation specialist. A professional locksmith can also diagnose and repair more complicated lock mechanism failures. Investing in an expert opinion can save you time and money in the long run while ensuring your home is truly secure.
Conclusion: Restoring Your Peace of Mind
Having to push, pull, or lift your door to lock it is a clear warning sign that should never be ignored. It’s a direct indication of a misalignment that compromises your home’s security and puts unnecessary strain on your door and lock hardware. By systematically diagnosing the cause—whether it’s loose hinges, seasonal swelling, or a settling foundation—you can apply the correct fix.
Taking the time to perform these simple adjustments not only eliminates a daily annoyance but also restores the integrity of your deadbolt. A smoothly operating lock is a secure lock, giving you the confidence and peace of mind that your first line of defense is functioning exactly as it should.