Hardwire Low Voltage Transformer: Skip the Outlet, Get This Right
You want a clean, professional look for your landscape lights, doorbell, or under-cabinet LEDs. The last thing you need is a clumsy plug-in transformer hogging an outdoor outlet. Direct wiring, or hardwiring, is the ultimate solution for a permanent, weather-resistant, and tamper-proof low-voltage system.
But cutting into your home’s 120-volt electrical system can be intimidating. A single mistake can lead to damaged equipment, electrical hazards, or even a fire. This guide breaks down the process, demystifies the components, and gives you the expert-level confidence to hardwire your low voltage transformer safely and correctly.
You'll Learn About
Why Hardwire? The Pro-Level Choice Over Plug-In Models
While plug-in transformers offer convenience, hardwiring provides a superior and more durable installation. A hardwired transformer is directly connected to a dedicated circuit in your home’s electrical panel. This method eliminates exposed cords that can be unplugged or damaged.
The result is a more secure and reliable power source, completely integrated into your home’s infrastructure. This is especially critical for outdoor systems like landscape lighting, where exposure to weather and potential tampering are major concerns. A hardwired setup is the professional standard for a reason.
Understanding the Core Components
Before you begin, it’s essential to understand the parts involved. The low voltage transformer itself is the heart of the system, converting your home’s standard 120V AC power to a safer 12V-24V AC. The connection happens in two distinct stages: the high-voltage (line voltage) side and the low-voltage side.
The hardwiring process focuses exclusively on the line voltage connection. This involves safely connecting the transformer’s input wires (black for hot, white for neutral, green for ground) to your home’s 120V electrical circuit inside a protective junction box. The low-voltage side is where you’ll later connect your lights or other devices.
Before You Start: Safety and Planning Are Non-Negotiable
Working with 120V electricity is dangerous if not handled with extreme caution. The single most important step is to completely de-energize the circuit you will be working on. Go to your home’s main electrical panel, locate the correct breaker, and switch it to the “OFF” position.
Always use a non-contact voltage tester to confirm there is absolutely no power at the wires you intend to work on. Additionally, local electrical codes may have specific requirements for this type of installation. It’s wise to check if your project necessitates a permit; understanding when a low voltage wiring permit is needed can save you significant trouble later.
Gather Your Tools and Materials
Having the right equipment on hand makes the job smoother and safer. You will need basic electrical tools like wire strippers, wire cutters, a Phillips and flathead screwdriver, and a non-contact voltage tester. Materials include the transformer, an appropriately sized electrical junction box (metal or PVC), wire nuts, and electrical tape.
You will also need a sufficient length of Romex® or similar NM-B electrical wire to run from your power source to the transformer’s location. The wire gauge must be appropriate for the circuit’s amperage (e.g., 14-gauge for a 15-amp circuit, 12-gauge for a 20-amp circuit).
Step-by-Step Guide to Hardwiring Your Transformer
With your circuit safely powered down and tools at the ready, you can proceed with the installation. Follow these steps carefully for a secure and code-compliant connection.
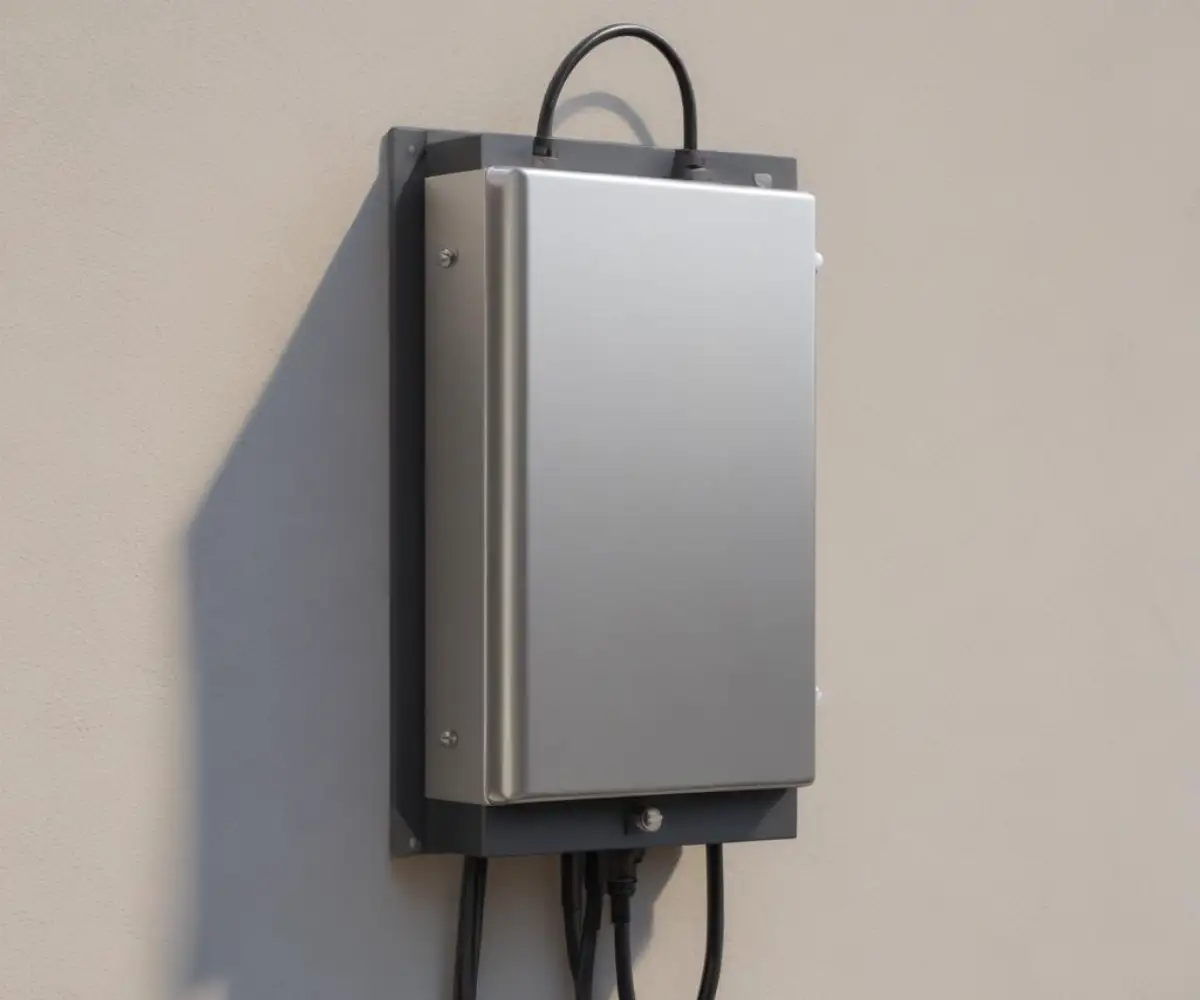
Step 1: Choose and Mount the Transformer
Select a suitable location for your transformer. For outdoor installations, it must be mounted vertically at least 12 inches above the ground to protect it from water. Ensure the location is accessible for future maintenance but discreet enough for a clean aesthetic.
Securely mount the transformer to a wall or other solid structure using the provided mounting holes and appropriate screws or anchors for the surface material.
Step 2: Prepare the Junction Box and Run the 120V Wire
The 120V connection must be made inside a protective electrical box. Mount your junction box near the transformer. Next, carefully run your 120V electrical wire from the power source (e.g., an existing outlet box or directly from the panel) to this new junction box.
Feed the end of the wire into the junction box through one of its clamps, leaving about 6-8 inches of wire to work with inside the box. Do the same for the transformer’s 120V input wires, feeding them through a separate knockout hole on the transformer case itself or an attached box.
Step 3: Make the Line Voltage Connections
This is the critical “hardwiring” step. Inside the junction box, use your wire strippers to remove about 3/4 inch of insulation from the ends of each wire: the black, white, and green wires from your home’s power source, and the corresponding wires from the transformer.
Connect the wires by color using wire nuts: twist the bare copper ends of the two black (hot) wires together and secure them with a wire nut. Repeat this process for the two white (neutral) wires, and finally, for the two green or bare copper (ground) wires. Gently tug on each connection to ensure it is secure, then wrap each wire nut with electrical tape for added security.
Step 4: Connect Low Voltage Wires and Test the System
Once the high-voltage side is securely connected and the junction box cover is replaced, you can connect your low-voltage landscape wires to the transformer’s output terminals. These are clearly marked and typically labeled “COM” (common) and with various voltage taps (e.g., 12V, 13V, 14V).
After all connections are made, you can restore power at the circuit breaker. Turn the transformer on and use a multimeter to test the output terminals to ensure it’s producing the correct low voltage before connecting all of your lights.
The Pro Secret: Defeating Voltage Drop with Multi-Tap Transformers
One of the biggest challenges in low-voltage lighting, especially over long distances, is voltage drop. This is the natural decrease in voltage as electricity travels along a wire, which can cause lights at the end of a run to appear dimmer than those closer to the transformer.
Professional-grade transformers combat this with multiple voltage taps. Instead of a single 12V output, they offer 13V, 14V, and 15V options. By connecting a long wire run to a higher voltage tap, you compensate for the expected drop, ensuring every light in your system receives the optimal voltage and shines at the correct brightness.
Troubleshooting Common Hardwiring Issues
Even with careful installation, problems can arise. If your system doesn’t work after installation, turn the power off again before inspecting your work. Most issues stem from a few common areas.
A tripped GFCI outlet or breaker is a frequent culprit. Loose wire nut connections can also prevent power flow. If you find your address light is not working or landscape lights are flickering, re-check every connection on both the high-voltage and low-voltage sides.
| Problem | Potential Cause | Solution |
|---|---|---|
| No power to transformer | Circuit breaker is tripped or GFCI outlet needs resetting. | Reset the breaker at the main panel. Press the “RESET” button on the GFCI outlet. |
| Transformer hums but lights don’t turn on | A short circuit in the low-voltage wiring. | Disconnect all low-voltage wires. Turn the power on. If humming stops, inspect the low-voltage wire run for damage or bad connections. |
| Lights are dim or flickering | Voltage drop is too high, or the transformer is overloaded. | Move the wire run to a higher voltage tap (e.g., from 12V to 13V). Verify the total wattage of all lights does not exceed 80% of the transformer’s capacity. |
| System works intermittently | Loose connection in a wire nut or at a low-voltage terminal. | Turn off power. Re-check and tighten all high-voltage wire nut connections and all low-voltage terminal screws. |
Frequently Asked Questions
What is the purpose of a low voltage transformer?
A low voltage transformer is a device that reduces a home’s standard 120-volt electrical output to a lower voltage, typically 12 or 24 volts. This is necessary for low voltage lighting systems, such as landscape or under-cabinet lighting, to operate safely and correctly. The transformer ensures the fixtures receive the correct amount of power.
Can any low voltage transformer be hardwired?
Not all low voltage transformers are designed to be hardwired. Many are “plug-in” models that connect to a standard GFCI outlet. Hardwired transformers are intended for permanent installations and are connected directly to your home’s electrical system, which may require a licensed electrician for safe and code-compliant installation.
Do I need a junction box when hardwiring a low voltage transformer?
While not always required by the National Electrical Code for the low-voltage side, using a junction box is a good practice for protecting connections from damage and providing accessibility. For the high-voltage (120V) side, connections must be made within an accessible electrical box. Local codes may have specific requirements, so it’s always best to check.
Where should a low voltage transformer be installed?
A low voltage transformer should be mounted to a sturdy wall or post, at least 12 inches above the ground. It needs to be in a location with adequate air circulation and should not be placed where it could be buried in insulation. For outdoor installations, ensure it is in a location protected from direct water spray and plugs into a GFCI-protected outlet.
How do I calculate the correct size transformer?
To determine the right size transformer, add up the total wattage of all the light fixtures you plan to connect. Choose a transformer with a wattage capacity that is at least 20% higher than your total calculated wattage. This safety margin prevents overloading the transformer and allows for future expansion.
Final Thoughts: A Superior Connection for a Lasting System
Hardwiring a low voltage transformer is a project that elevates your lighting system from temporary to a permanent, integrated feature of your home. It provides a more reliable, safer, and aesthetically pleasing installation compared to a simple plug-in setup.
By prioritizing safety, understanding the components, and following a methodical process, you can achieve a professional-grade result. This ensures your landscape, accent, or security lighting will perform flawlessly for years to come.