Hardboard Underlayment: Your Secret to Flawless Floors
There is nothing more frustrating than investing in beautiful new flooring, only to see it ruined by what lies beneath. Bumps, ridges, and telegraphing seams from an imperfect subfloor can turn a dream renovation into a daily disappointment. This common problem stems from an unstable or uneven base, preventing your final flooring from laying perfectly flat.
The solution is often an overlooked but essential layer: a high-quality underlayment. Hardboard underlayment is a superior material specifically engineered to create a perfectly smooth, durable, and stable foundation, ensuring your new floors look and perform their best for years to come. This guide will walk you through everything you need to know to achieve professional-grade results.
You'll Learn About
What Exactly Is Hardboard Underlayment?
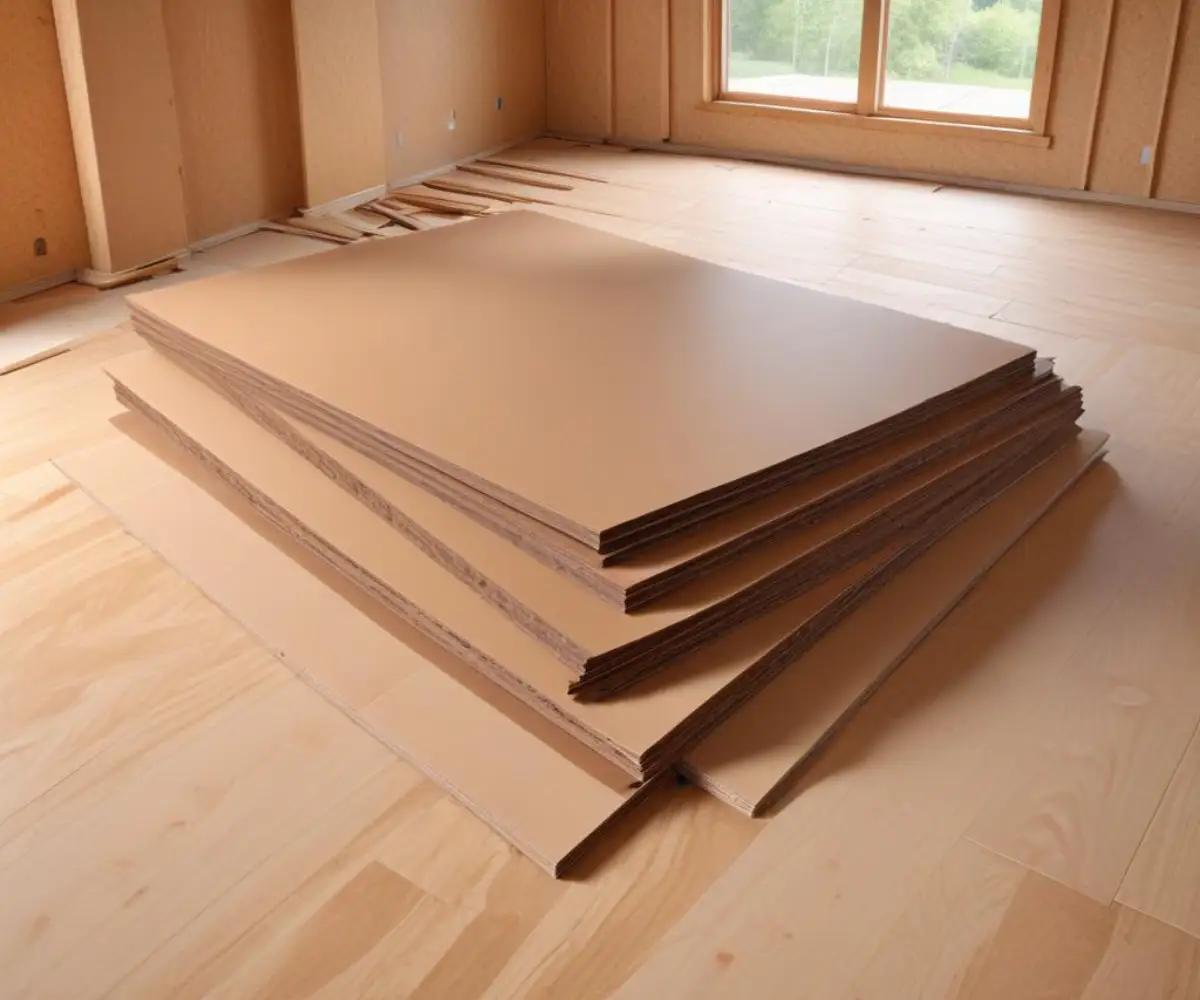
Hardboard underlayment is a type of high-density fiberboard (HDF), a product made by compressing wood fibers under immense heat and pressure. This process creates an incredibly dense, hard, and uniform panel that is ideal for flooring applications. Unlike plywood or OSB, hardboard has no voids or knots, providing an exceptionally smooth surface.
It’s crucial to distinguish between standard hardboard and tempered hardboard. Tempered hardboard is treated with a light coating of linseed oil and baked, which makes it significantly stronger, harder, and more resistant to moisture. For flooring underlayment, tempered hardboard is the only appropriate choice.
Why Your Subfloor Is Begging for Hardboard Underlayment
Using the right underlayment is not just a suggestion; it is the foundation of a long-lasting floor. Hardboard provides several key benefits that other materials can’t match, especially when it comes to resilient flooring like vinyl or linoleum.
The primary advantage of hardboard is its unmatched smoothness. This quality is essential for preventing a common issue known as “telegraphing,” where imperfections from the subfloor—like seams, nail heads, or knots—become visible through the surface of the finished flooring. Its high density also provides excellent resistance to indentations from heavy furniture, appliances, and foot traffic, keeping your floors looking pristine.
Choosing the Right Hardboard: Standard vs. Tempered Debunked
The choice between standard and tempered hardboard is a critical one that directly impacts the durability and longevity of your flooring project. While both are made from compressed wood fibers, the tempering process gives one a clear advantage for use as an underlayment.
Tempered hardboard’s enhanced properties make it the definitive choice for creating a stable and moisture-resistant base for your new floors. Using standard hardboard can lead to issues with moisture absorption and a lack of durability under pressure. Below is a clear comparison to guide your decision.
| Feature | Standard Hardboard | Tempered Hardboard |
|---|---|---|
| Moisture Resistance | Low; prone to swelling and damage | High; treated to resist moisture |
| Density & Hardness | Moderate | Very High; resists dents and impacts |
| Best Use Case | General purpose, crafts, cabinet backs | Flooring underlayment, high-traffic areas |
| Color | Light to medium brown | Dark brown due to oil treatment |
| Durability | Lower | Significantly Higher |
Before You Begin: The Critical Subfloor Prep Checklist
A flawless finish starts with a meticulously prepared subfloor. Installing hardboard underlayment over a dirty, uneven, or damaged subfloor will only transfer those problems to your new flooring. Taking the time to prepare the surface properly is non-negotiable for a professional result.
First, ensure the subfloor is completely clean and free of debris. Sweep and vacuum thoroughly to remove all dust, dirt, and stray fasteners. Next, check for flatness using a long straightedge. Mark any high spots that need to be sanded down and any low spots that require a leveling compound. Finally, secure any loose subfloor panels to the joists to eliminate squeaks and movement.
The Ultimate Step-by-Step Installation Guide
Proper installation is key to unlocking the full potential of hardboard underlayment. Following a systematic approach will prevent common mistakes like buckling, visible seams, and an unstable finished floor. These steps are designed to ensure a perfect foundation every time.
One of the most crucial yet often skipped steps is acclimation. Hardboard panels must be allowed to adjust to the temperature and humidity of the room where they will be installed. Stand the sheets on their edges, separated from each other, in the room for at least 48 to 72 hours before installation. This prevents the panels from expanding or contracting after they have been fastened down, which can cause buckling and warping.
When you are ready to install, begin your layout from the center of the longest wall and work your way across the room. The seams between the hardboard sheets should be staggered in a brick-like pattern and should not align with the seams of the subfloor panels below. A subtle but vital detail is to leave a slight 1/8-inch gap between sheets and a 1/4-inch expansion gap around the perimeter of the room to allow for natural movement.
Secure the panels using the correct fasteners and a precise schedule. The best options are narrow crown staples or ring-shank nails, which provide superior holding power. Fasten every 4 inches along the edges of each panel and every 6 to 8 inches throughout the center, or “field,” of the board. Ensure fasteners are driven flush with the surface, not countersunk, to maintain a perfectly smooth plane.
Hardboard Underlayment Compatibility: What Floors Can You Use It With?
Hardboard underlayment is a versatile choice, but it is not suitable for every type of flooring. Its dense, smooth surface makes it an ideal partner for certain materials while being a poor choice for others. Understanding these compatibilities is key to a successful installation.
It is an excellent choice for resilient flooring like sheet vinyl, luxury vinyl tile (LVT), and linoleum, where any subfloor imperfection would telegraph through. It is also a good option for laminate and engineered hardwood. However, it should not be used under ceramic or porcelain tile, which require a dimensionally stable cement board, or solid hardwood that is nailed down directly to the subfloor.
Common Mistakes That Will Ruin Your Project (And How to Avoid Them)
Even the best materials can fail if not installed correctly. Many common flooring issues stem from simple, avoidable mistakes made during the underlayment installation phase. Awareness of these pitfalls is the first step toward a perfect floor.
The most frequent error is skipping the acclimation period, leading to buckling as the boards adjust to the room’s climate after being fixed in place. Another critical mistake is failing to leave adequate expansion gaps between sheets and around the room’s perimeter. Finally, using the wrong fasteners, like drywall screws or smooth nails, or an improper fastening pattern will result in loose panels and an unstable floor over time.
Beyond the Basics: The Hidden Threat of Moisture
A deep understanding of material limitations is what separates amateur work from professional results. While tempered hardboard is moisture-resistant, it is crucial to recognize that it is not waterproof. This distinction is vital for ensuring the longevity of your flooring, especially in areas prone to humidity or spills.
In spaces like kitchens or half-baths, hardboard can perform well if all plumbing is secure and spills are cleaned promptly. However, it is a risky choice for full bathrooms, basements, or laundry rooms where significant moisture is expected. In such damp environments, a dedicated vapor barrier must be installed over the subfloor before the underlayment is laid. Just as selecting the right exterior materials is critical for a home’s building envelope—a topic explored in the DuraTemp vs LP SmartSide comparison—choosing the right interior layers is essential for protecting against moisture from within.
Conclusion: The Foundation of a Beautiful Floor
Achieving a beautiful, long-lasting floor is not just about the material you see on the surface. The success of your project lies in the preparation and the quality of the foundation you build beneath it. Hardboard underlayment provides an exceptionally smooth, dense, and durable base that protects your investment.
By understanding the importance of choosing tempered hardboard, meticulously preparing your subfloor, and following proper installation techniques—especially acclimation, expansion gaps, and fastening schedules—you can create a flawless foundation. This attention to detail ensures your new floors will remain stable, smooth, and beautiful for many years to come.
Frequently Asked Questions
What is hardboard underlayment?
Hardboard underlayment is a high-density fiberboard product used to create a smooth, flat, and durable surface for installing new flooring. It is installed over the subfloor to bridge small gaps, cups, and other minor irregularities. This provides a uniform and indent-resistant base for the final floor covering.
What is hardboard underlayment used for?
Hardboard underlayment is primarily used as a base for resilient sheet flooring like vinyl, linoleum, and cork, as well as for carpet or floating floors. It is designed to be installed over various subfloors, including strip timber, particleboard, plywood, and concrete. Its main purpose is to extend the life and improve the appearance of the final floor covering.
How thick is hardboard underlayment?
Standard hardboard underlayment typically has a thickness of about 0.215 inches, though some products are available in thicknesses like 5mm (approximately 0.20 inches). Thinner options, such as 1/8 inch (3.2mm), are also available for specific applications. The appropriate thickness provides a smooth surface without adding excessive height to the floor.
Is hardboard underlayment waterproof?
No, standard hardboard underlayment is not waterproof and can be damaged by moisture. It is recommended to avoid using it in areas prone to high humidity or occasional wetting, such as bathrooms and kitchens. If installing over a damp basement or unheated crawl space, a vapor barrier should be used first.
Can you paint hardboard underlayment?
Yes, you can paint hardboard, but proper preparation is crucial for a durable finish. The surface should be cleaned and lightly sanded before applying a suitable primer to enhance paint adhesion. Using acrylic, latex, or oil-based paints can provide a smooth and even coat.
What are the disadvantages of hardboard underlayment?
One of the main disadvantages of hardboard is its susceptibility to moisture damage, as it can swell and warp when wet. It is also not as stable as plywood, and driving nails into it can sometimes cause fibers to mushroom or create bumps underneath. For these reasons, many professionals prefer using plywood for subfloor preparation.