H Pattern Flooring: Is This “Simple” Layout a Costly Mistake?
You’ve picked out the perfect flooring, and now it’s time for installation. You want a clean, organized, and simple look, so the H-pattern, with its uniform grid-like appearance, seems like the obvious choice. But this seemingly straightforward layout hides a critical flaw that can lead to catastrophic floor failure, turning your dream renovation into a costly nightmare.
Many DIY enthusiasts and even some contractors fall into this trap, only to see planks separate, buckle, or peak months later. Before you make a decision that compromises the longevity and beauty of your new floor, it’s crucial to understand the hidden risks associated with H-pattern flooring and why, in most cases, it should be avoided at all costs.
You'll Learn About
The Problem: Why the H-Pattern Creates a Weak and Unappealing Floor
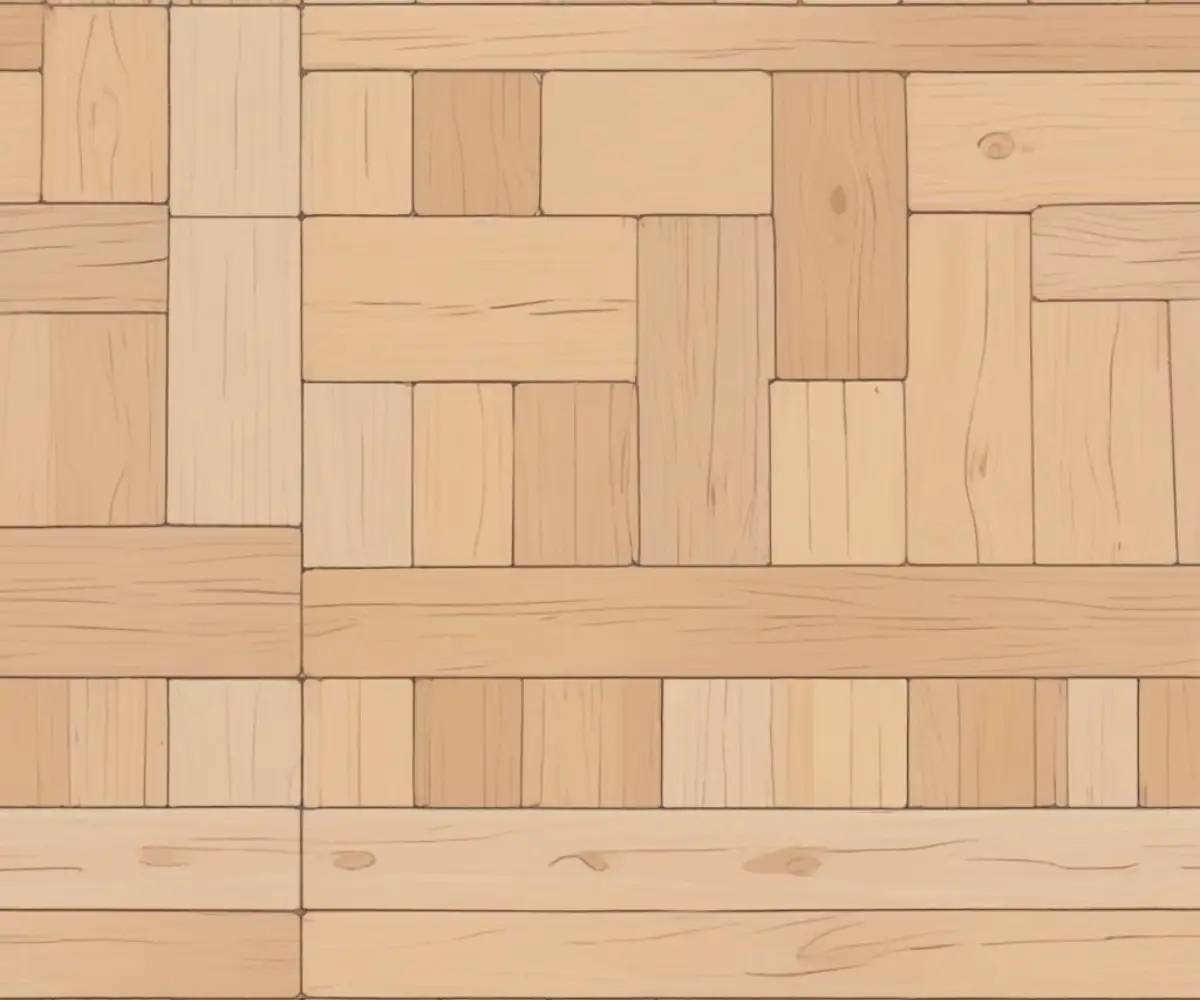
The core issue with H-pattern flooring lies in its structure. Also known as a 50% offset or brick pattern, this layout is created by aligning the end joints of planks in every other row. This uniformity creates perfectly straight, continuous seam lines across the width of your floor, forming what are infamously known as “H-joints.”
While the grid is visually simple, it introduces significant structural weaknesses, especially in modern floating floors like laminate and luxury vinyl plank (LVP). Unlike hardwood that is nailed or glued down, floating floors rely on an interlocking system and proper weight distribution to remain stable. The H-pattern undermines this system entirely.
Structural Failure: A Ticking Time Bomb
The primary danger of H-joints is their inability to properly distribute pressure and stress. When someone walks across the floor or heavy furniture is placed on it, the force is concentrated along these weak, aligned seams. A staggered layout spreads this load across multiple interlocking planks, but an H-pattern creates a direct line of failure.
Over time, with natural expansion and contraction due to temperature and humidity changes, these weak points are the first to give. The result can be disastrous: planks may pull apart, creating unsightly gaps, or they can push against each other and buckle, creating hazardous peaks in your flooring. Many flooring manufacturers explicitly warn against this pattern in their installation guidelines, and using it can even void your product warranty.
Aesthetic Drawbacks of a “Fake” Look
Beyond the structural risks, the H-pattern often fails aesthetically. High-quality laminate and LVP are designed to mimic the natural, random appearance of real wood. In a real hardwood floor, planks come in various lengths, making a uniform H-pattern impossible. Installing a wood-look floor in an H-pattern instantly signals that it’s an imitation, cheapening the overall effect.
The repeating lines can also create a “ladder” or “stair-step” effect that draws the eye, making the floor look busy and artificial. Instead of a seamless, monolithic surface, your floor becomes a distracting grid that highlights every single joint and can make a room feel smaller and more constrained.
The Superior Solution: Mastering Staggered Layouts for Strength and Style
The universally recommended alternative to the H-pattern is a random staggered layout. This method involves intentionally varying the distance between the end joints of planks in adjacent rows. This approach not only provides maximum structural integrity but also achieves the beautiful, natural look of a genuine hardwood floor.
Achieving a professional-looking random stagger is simple and, contrary to what some might think, actually reduces waste. The leftover piece cut from the end of one row can often be used to start the next row, ensuring you get the most out of your materials. If you are planning your project, finding the best time to buy flooring at Lowe’s can help you save on these materials.
How to Achieve a Perfect Random Stagger
While the pattern is “random,” there are a few key guidelines to follow for a successful installation:
- Mind the Gap: Ensure the distance between end joints on adjacent rows is at least 6 to 8 inches. This is a critical rule for most plank flooring and is often specified by the manufacturer.
- Avoid Patterns: Be mindful not to create unintentional patterns. If you see seams starting to line up or form a diagonal “stair-step” pattern, use a different length plank to break it up.
- Use Your Offcuts: As mentioned, use the piece cut from the end of a row to begin a new row, provided it is longer than the minimum length requirement (typically 6-8 inches). This maximizes material usage and enhances the random look.
- Plan Your First Few Rows: To set a good foundation, you can start your first row with a full plank, your second with a piece cut to two-thirds its length, and your third with a one-third length piece. After that, using offcuts will naturally continue the random pattern.
When Is an H-Pattern Acceptable? (With Extreme Caution)
While H-patterns are a major risk for floating floors, they can be successfully used with certain materials and installation methods. Materials like ceramic, porcelain, or some glue-down vinyl tiles are suitable for this layout. Because these materials are fully bonded to the subfloor with mortar or adhesive, they do not rely on interlocking joints for stability.
Even with these materials, a perfectly flat and stable subfloor is non-negotiable. Any movement or imperfection in the subfloor will be amplified by the grid pattern, potentially leading to cracked tiles or grout lines. This is a key reason why many homeowners consider other options, like a pebble epoxy shower floor in wet areas, which offers a seamless finish without grout lines.
Comparing Flooring Patterns: H-Pattern vs. Alternatives
Making the right choice for your flooring pattern has long-term consequences for both the durability and the aesthetic of your home. This table breaks down the key differences between the H-pattern and its superior alternatives.
| Feature | H-Pattern (50% Offset) | Random Stagger | Herringbone/Chevron |
|---|---|---|---|
| Structural Integrity | Poor. Creates weak, aligned seams prone to failure, especially in floating floors. | Excellent. Distributes weight and stress evenly across the floor for maximum stability. | Very Good. The interlocking nature of the pattern provides significant strength. |
| Aesthetic Appeal | Artificial & Repetitive. Can look cheap and unnatural, often creating a “ladder” effect. | Natural & Authentic. Mimics the look of real hardwood floors for a timeless appearance. | Elegant & Dynamic. Creates a high-end, visually interesting look that adds character. |
| Installation Difficulty | Easy (Deceptively so). Simple to plan but requires precision to keep lines perfectly straight. | Easy to Moderate. Requires some planning to avoid creating unintentional patterns. | Difficult. Requires precise cuts and layout; professional installation is highly recommended. |
| Material Waste | Moderate. Can lead to more waste if plank lengths do not perfectly align with the room. | Low. Efficiently uses offcuts from previous rows to start new ones. | High. The angled cuts required for the pattern result in significant material waste. |
| Best For | Glue-down or mortared tile (ceramic, porcelain). Avoid with floating floors. | Virtually all plank flooring, including laminate, LVP, engineered, and solid hardwood. | Solid or engineered hardwood, some LVT. Best for making a statement in specific areas. |
The Final Verdict: Prioritize Longevity Over Simplicity
While the orderly look of an H-pattern might seem appealing at first glance, the overwhelming evidence points to it being a poor choice for most modern flooring applications. The risk of structural failure—from buckling planks to separating seams—is simply too high, especially with popular DIY materials like luxury vinyl and laminate.
Furthermore, the aesthetic often falls short, creating a look that is more artificial than artistic. For a floor that is both strong and beautiful, a random stagger is the undisputed champion. It provides the necessary stability to protect your investment and delivers the timeless, authentic appearance that enhances your home’s value.
Before you begin your next flooring project, remember to read the manufacturer’s installation instructions carefully. And when it comes to the layout, choose the proven strength and beauty of a random stagger. Your floor will thank you for it for years to come.
Frequently Asked Questions
What is H-pattern flooring?
An H-pattern in flooring occurs when the seams of the planks align to form a distinct ‘H’ shape across the floor. This pattern is often created by repeatedly alternating a full starter plank with a half plank. The result is a uniform and predictable layout where the board ends line up in every other row.
Is an H-pattern floor layout a good choice?
Generally, an H-pattern is considered visually unappealing and can detract from the seamless, natural look desired with wood or laminate flooring. Many professionals view it as a common installation mistake that looks overly uniform, similar to a tiled floor. While some installers might use it, a random stagger is usually preferred for a more aesthetically pleasing and professional result.
How can you avoid an H-pattern during installation?
To prevent an H-pattern, it’s essential to carefully plan the layout and stagger the plank joints randomly. Instead of using fixed-size starter planks, installers should vary the starting lengths of the boards in each row. A well-installed floor should not have a predictable or repeating pattern in its joints.
Does an H-pattern affect the floor’s durability?
There are differing opinions on the structural impact of H-patterns. Some sources suggest that these joints can create weak spots, potentially leading to warping or boards popping out of place over time. However, others argue that with high-quality materials and a solid subfloor, an H-pattern is mechanically sound and may even be considered more secure by some installers.
Is an H-pattern the same as a herringbone pattern?
No, an H-pattern is very different from a herringbone pattern. A herringbone pattern is a specific, intentional design where rectangular planks are laid at a 90-degree angle to each other, creating a distinctive zigzag or “V” shape. In contrast, an H-pattern is an alignment of seams in a standard parallel plank installation that is often considered an unintentional mistake.