H Joint in Concrete: The #1 Secret to a Crack-Free Driveway
You pour a beautiful new concrete driveway or patio, admiring its smooth, pristine surface. But within months, or even weeks, a spiderweb of ugly, random cracks appears, ruining the look and making you question the entire investment. This frustrating problem is incredibly common, and it happens because concrete, despite its strength, has a fundamental weakness: it moves.
The solution isn’t to fight this movement but to control it. That’s where the humble H joint—a specific and crucial type of control joint—comes into play. It’s the single most important feature for ensuring the long-term stability and appearance of your concrete slab, acting as a planned line of weakness to prevent chaotic cracking elsewhere.
You'll Learn About
What Is an H Joint and Why Does Your Concrete Desperately Need It?
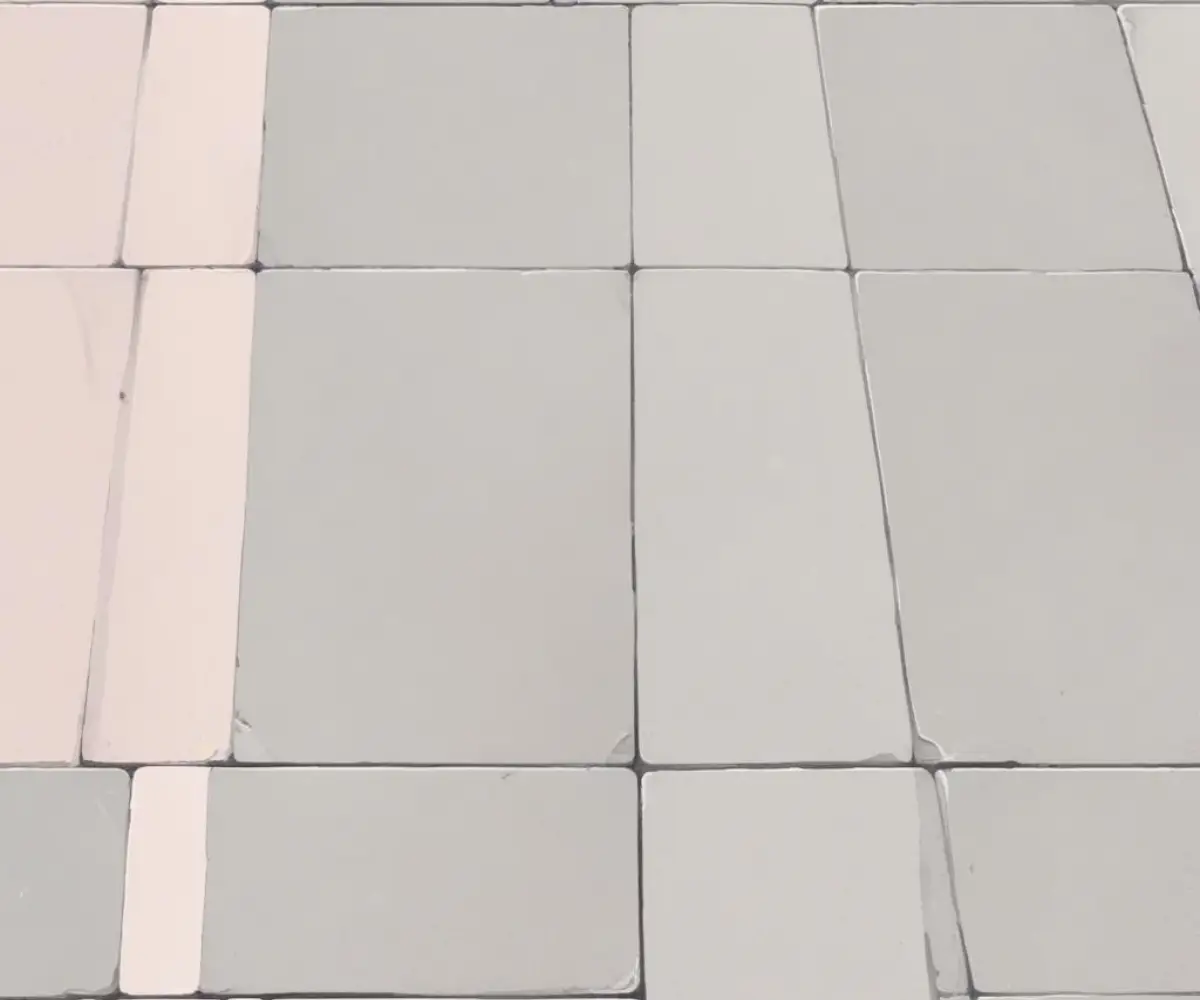
An H joint is simply a pre-planned groove cut into a concrete slab, often forming a grid or “H” pattern, to create a weakened plane. Its technical name is a control joint or contraction joint. The purpose is to encourage the concrete to crack in a neat, straight line within that groove as it cures and shrinks.
Without these joints, the immense internal stresses that build up in the concrete will relieve themselves by creating random, jagged cracks across the surface. An H joint doesn’t prevent cracking—it tells the cracks exactly where to go, keeping them hidden and preserving the structural and aesthetic integrity of your slab.
The Science of Cracking: Why Concrete Doesn’t Play by the Rules
To appreciate the genius of the H joint, you first have to understand the forces working against your concrete slab from the moment it’s poured. Concrete is in a constant state of flux, primarily due to two powerful natural processes: shrinkage and thermal movement.
Thermal Expansion and Contraction Explained
Like most materials, concrete expands when it gets hot and contracts when it gets cold. This constant movement, day after day and season after season, creates incredible stress. If the entire slab is one monolithic piece, this stress has nowhere to go, eventually causing the concrete to fracture.
The Hidden Enemy: Shrinkage Cracking
The most significant movement happens in the first few months after pouring. Concrete mix contains a lot of water, which is necessary for the chemical reaction of hydration that gives it strength. However, as the slab cures and dries, this excess water evaporates, causing the concrete to shrink.
A typical concrete slab can shrink as much as 1/2 inch per 100 feet. This shrinkage pulls the slab apart from the inside, creating immense tensile forces. Since concrete has very low tensile strength, it will inevitably crack to relieve this tension. An H joint provides the perfect, pre-weakened path for this to happen predictably.
How H Joints Save Your Slab: A Masterclass in Control
Think of an H joint as a “controlled demolition” for internal stress. By cutting a groove that is typically one-quarter the depth of the slab’s thickness, you create a line that is intentionally weaker than the rest of the concrete. As the shrinkage or thermal forces build, the slab will crack cleanly and invisibly below this groove.
This single, simple step transforms a destructive force into a manageable one. It’s a foundational principle of durable concrete work, turning a material’s inherent weakness into a predictable outcome. The resulting slab remains strong, stable, and free of the random cracks that plague improperly installed concrete.
Grooved vs. Sawn: Which H Joint is Right for You?
There are two primary methods for creating H joints, each with its own timing and application. The choice often depends on the scale of the project and the desired finish.
Tooled or Grooved Joints are made while the concrete is still wet and plastic. A specialized tool called a groover is pressed into the surface to create the joint. This method is common for sidewalks and smaller patios, creating a classic, rounded-edge look.
Sawn Joints are cut into the concrete after it has hardened but before it has a chance to crack on its own. This is typically done within 6 to 18 hours after finishing. Using a concrete saw with a diamond blade creates a sharp, clean, and precise line, which is often preferred for modern driveways and large floors.
Common H Joint Mistakes That Lead to Disaster
Simply having H joints isn’t enough; they must be executed correctly. A poorly planned or executed joint is almost as bad as having no joint at all. These are the most frequent errors that can compromise your entire slab.
Mistake #1: Incorrect Spacing and Depth
The most critical rule is that H joints must be cut to a depth of at least 25% of the slab’s thickness. A shallower cut won’t be weak enough to control the crack. For a standard 4-inch driveway, the joint must be at least 1 inch deep.
Spacing is equally important. A good rule of thumb is to space joints (in feet) at 2 to 3 times the slab’s thickness (in inches). For that same 4-inch slab, joints should be no more than 8 to 12 feet apart. Exceeding this distance invites random cracking between the joints.
Mistake #2: Wrong Timing for the Cut
Timing a sawn joint is a delicate balance. If you cut too early, the saw’s blade will pull the aggregate out of the concrete, creating a messy, ravaged edge known as “raveling.” If you wait too long—especially on a hot day—the concrete will develop its own random cracks before you have a chance to cut the joints.
Mistake #3: Ignoring Joint Sealants
An open H joint can collect water, dirt, and debris. In colder climates, water that gets into the joint can freeze and expand, chipping away at the edges of the concrete—a problem known as spalling. A flexible sealant keeps water and debris out, protecting the joint and the sub-base below.
H Joint vs. Expansion Joint: The Critical Difference
While often confused, H joints (control joints) and expansion joints serve very different purposes. A control joint is a partial-depth cut designed to manage shrinkage cracking within a single slab. An expansion joint is a full-depth gap that separates a concrete slab from another structure, like a foundation wall, a set of stairs, or another slab.
Expansion joints are crucial because different structures move and settle independently. Just as moving drywall can signal a framing issue, a slab without proper expansion joints can push against an adjacent structure and cause serious damage. The gap is filled with a compressible material that absorbs this movement.
| Feature | H Joint (Control Joint) | Expansion Joint (Isolation Joint) |
|---|---|---|
| Purpose | Controls cracking from shrinkage and temperature within a single slab. | Separates a slab from another structure to allow for independent movement. |
| Depth | Partial depth (approx. 1/4 of the slab’s thickness). | Full depth of the slab. |
| Location | Placed in a grid pattern across the slab surface. | Placed where the slab meets a wall, column, foundation, or another slab. |
| Filler Material | Often sealed with a flexible caulk but can be left open. | Filled with a compressible material (e.g., fiberboard, foam). |
Maintaining Your H Joints for a Lifetime of Stability
Once your H joints are correctly installed, a little maintenance goes a long way in preserving your concrete. The most important step is keeping the joints clean and, in most cases, sealed.
To Fill or Not to Fill? The Great Sealant Debate
For exterior slabs like driveways and patios, sealing H joints is highly recommended. A quality polyurethane or silicone self-leveling sealant will prevent water infiltration, ice damage, and weed growth. Choosing the right material is critical, much like knowing when to use thinset vs joint compound for different applications.
For interior slabs, like a basement floor that will be covered with flooring, sealing may not be necessary. However, in a garage or workshop where spills are likely, a chemical-resistant sealant protects the joint edges from degradation.
Step-by-Step Guide to Cleaning and Sealing Your H Joints
1. Clean the Joint: Use a wire brush and a shop vacuum to thoroughly remove all old sealant, dirt, and debris. The joint must be completely clean and dry for the new sealant to adhere properly.
2. Insert Backer Rod: For joints deeper than ½ inch, push a foam backer rod into the joint. This prevents you from wasting sealant by filling the entire depth and creates the ideal shape for the sealant to flex.
3. Apply Sealant: Cut the nozzle of your sealant tube to match the joint width. Apply a steady, even bead, allowing self-leveling products to settle. For non-sag sealants, you may need to tool the surface smooth.
4. Allow to Cure: Let the sealant cure according to the manufacturer’s instructions before allowing foot or vehicle traffic. This simple process can add decades to the life of your concrete.
When H Joints Go Wrong: Troubleshooting Common Problems
Even with joints, issues can sometimes arise. Identifying the problem is the first step toward a solution. Many minor issues can be addressed with simple repairs before they escalate into major failures.
Unsightly Cracks Near the Joint Line
If a crack appears parallel to, but not in, the H joint, it’s often a sign that the cut wasn’t deep enough. The stress found a slightly weaker path nearby. Unfortunately, this is difficult to fix cosmetically, reinforcing the importance of getting the depth right the first time.
Spalling and Chipping at the Edges
Chipping or spalling along the joint edge is almost always caused by water getting into an unsealed joint and freezing. It can also occur from heavy traffic over an unfilled joint. The solution is to clean out any loose concrete, repair the edge with a concrete patching compound, and then properly seal the joint.
The Unseen Benefit: How H Joints Prevent Foundational Issues
While H joints are primarily about controlling surface cracks, their impact is more than skin deep. By preventing water from seeping through random cracks into the sub-base, they help maintain a stable foundation for the slab. An unstable or eroded sub-base can lead to sinking or heaving, which are far more serious and expensive problems to fix.
These seemingly simple lines are a critical element of a well-designed system. In the same way that a properly constructed butt joint baseboard is essential for a seamless finish in carpentry, a well-executed H joint is fundamental to the performance and longevity of any concrete slab. It is the silent guardian that works 24/7 to keep your concrete looking and performing its best.