Grow Light Not Turning On? Your Ultimate 9-Step Fix Guide
There’s nothing more frustrating for an indoor gardener. Your plants depend on a consistent light source, and you walk in to find your grow light stubbornly dark, putting your entire setup at risk.
Before you panic or assume an expensive replacement is needed, know that the solution is often surprisingly simple. This guide will walk you through everything from the most basic checks to advanced diagnostics to bring your indoor garden back to life.
You'll Learn About
Start with the Basics: Easy Fixes for Your Grow Light
Always begin with the simplest potential problems. Overlooking these common issues can lead to wasted time and unnecessary stress. These initial checks will resolve the issue for a majority of users.
Check the Power Source and Outlet
It sounds obvious, but you must confirm the outlet is providing power. Unplug the grow light and plug in a small lamp or a phone charger that you know is working.
If the test device doesn’t work, the problem is your outlet. Check your home’s circuit breaker box to see if a breaker has been tripped. Also, ensure the outlet isn’t controlled by a wall switch that has been accidentally turned off.
Inspect Power Strips and Surge Protectors
Many gardeners use power strips to manage their equipment. These strips are a common point of failure. Make sure the switch on the power strip is illuminated and in the “ON” position.
Most surge protectors also have their own built-in circuit breaker, which can trip. Look for a small reset button on the power strip’s housing. As a final test, bypass the strip entirely and plug your grow light directly into a wall outlet you’ve confirmed is working.
Diving Deeper: Intermediate Grow Light Diagnostics
If the power source isn’t the issue, it’s time to examine the components connecting it to your light. Damage or failure in these parts is extremely common. These steps will help you isolate the problem further.
The Timer: A Common Culprit
Timers are essential for automating your light cycles, but they are also notoriously prone to failure. To test your timer, remove it completely and plug the grow light directly into the wall. If the light turns on, you’ve found your culprit.
If you use a digital timer, check if its display is blank; the internal battery may have died. For analog timers, ensure the pins are correctly set and that the override switch isn’t stuck in the “OFF” position.
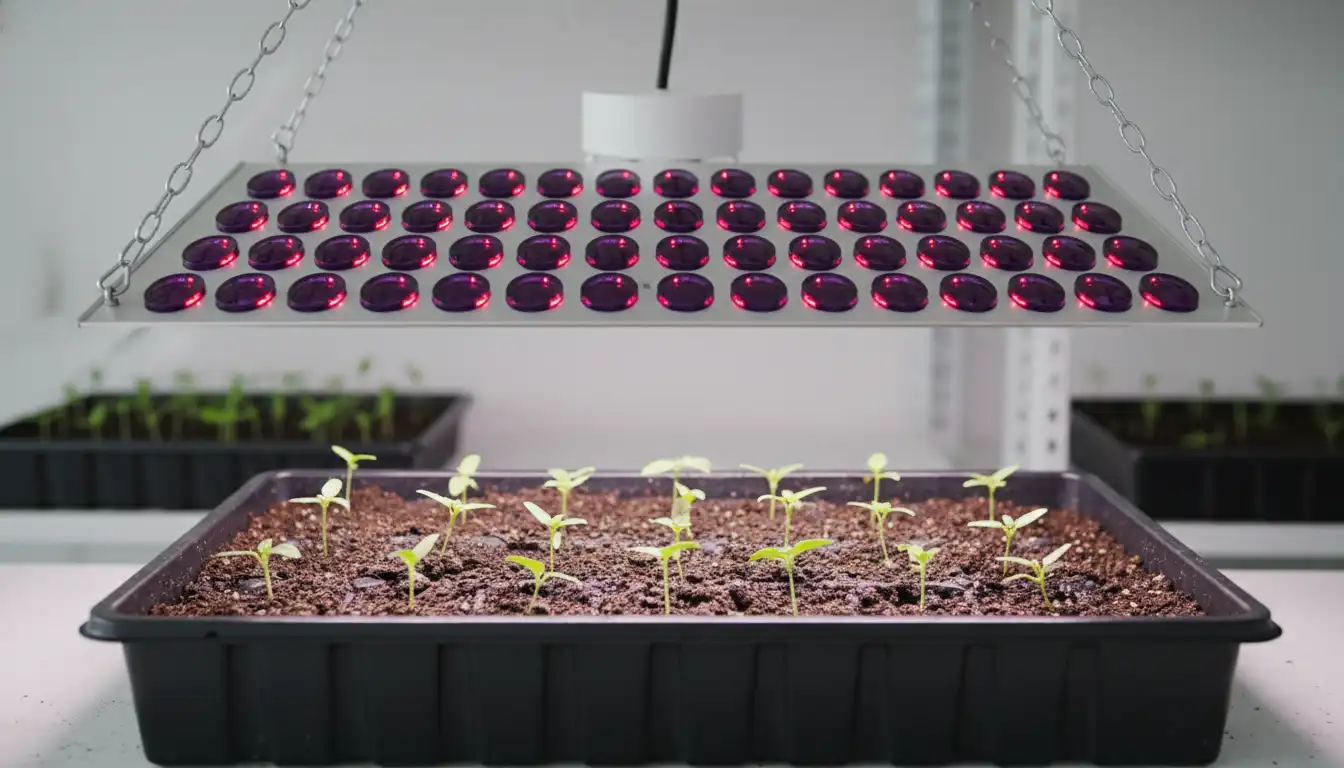
Examine the Bulbs or LED Diodes
The light source itself can fail. For fixtures with replaceable bulbs, such as HPS, MH, or CFL, the solution might be a simple swap. First, ensure the existing bulb is screwed in tightly, as vibrations can sometimes loosen it.
Look for physical signs of a dead bulb, like a broken filament or dark, smoky discoloration inside the glass. If you have a spare, swap it in. For LED panels, while individual diodes can burn out, a total failure of the entire board often points to a different component.
Advanced Fixes: When the Problem Is Internal
When the simple fixes don’t work, the issue likely lies within the grow light’s housing. Proceed with caution, and always ensure the grow light is completely unplugged before inspecting internal components. This is where you can find and fix more serious hardware failures.
The Driver or Ballast: The Heart of Your Grow Light
The driver (for LEDs) or ballast (for HPS/MH lights) is the component that converts and regulates power for the lamps. It’s often the first major part to fail. Signs of a failing driver or ballast include a buzzing sound, a smell of burnt electronics, or the light flickering heavily before it died completely.
Replacing a driver is an advanced repair that may require cutting wires and using wire connectors. If your light is still under warranty, contact the manufacturer before attempting a repair that could void it. For older lights, a new driver can be a cost-effective fix.
Overheating and Safety Shut-offs
Grow lights produce significant heat, and most have a thermal safety switch to prevent fires. If the unit overheats, it will shut down and may not turn back on until it has cooled sufficiently. Check if the internal cooling fans are spinning.
Dust and debris are the primary cause of overheating. Turn off and unplug the light, then use compressed air to thoroughly clean all vents and fan blades. Poor ambient air circulation in your grow tent can also contribute to this problem.
The Unseen Saboteur: Understanding Your Home’s Electrical Load
Sometimes the problem isn’t the light at all, but the circuit it’s connected to. Modern homes have advanced safety features in their breakers that can be sensitive to the high-power draw of grow equipment. Understanding these can solve the most mystifying issues.
GFCI and AFCI Breaker Trips
Many modern homes, especially in kitchens, bathrooms, and garages, use GFCI (Ground Fault Circuit Interrupter) or AFCI (Arc-Fault Circuit Interrupter) outlets and breakers. A GFCI trips when it detects a change in the flow of electricity, while an AFCI trips when it detects small, dangerous electrical arcs. A faulty grow light driver or ballast can create electrical noise or micro-arcs that trip these sensitive breakers without you realizing it.
The outlet will appear completely dead. Look for “TEST” and “RESET” buttons on the outlet itself or on the corresponding breaker in your main electrical panel. Pressing “RESET” may instantly solve your problem, indicating a deeper issue with your light’s electronics that you need to monitor.
Circuit Overload Reality Check
A single 15-amp circuit can only handle a certain load, typically around 1800 watts. Running a powerful 1000-watt grow light, an exhaust fan, a humidifier, and an oscillating fan on the same circuit can easily overload it, tripping the breaker. Always calculate the total wattage of your equipment.
If you’re close to the limit, the initial power surge when the grow light tries to turn on can be enough to cause a trip. Try moving other equipment to a different circuit to dedicate more power to your lighting. A balanced electrical load is key to a stable indoor garden.
Quick Troubleshooting Reference
Use this table as a quick reference to diagnose and solve the most common grow light problems. Following these steps logically will help you identify the issue efficiently.
| Symptom | Possible Cause | Solution |
|---|---|---|
| Light is completely dead, no sounds or signs of life. | No power from the outlet, power strip, or timer. | Test outlet with another device. Bypass power strip and timer. Check circuit breaker. |
| A buzzing or humming sound is heard, but the light won’t turn on. | Failing internal ballast or LED driver. | Unplug the unit. If under warranty, contact the manufacturer. If not, consider replacing the internal driver/ballast. |
| The light worked, then shut off and won’t restart. | Overheating due to blocked vents or fan failure. | Unplug and allow to cool for 30-60 minutes. Clean all vents and fans thoroughly with compressed air. |
| Plugging in the light causes a “click” at the breaker box. | Circuit overload or a short in the light’s wiring. | Reduce the number of devices on the circuit. If it still trips, the light has an internal short and may need replacement. |
| The light works when plugged directly into the wall but not with the timer. | The timer has failed or is set incorrectly. | Replace the timer. Check digital timer batteries or analog timer pins. |
Proactive Care: How to Prevent Future Grow Light Failures
Preventing a problem is always better than fixing one. Proper care and maintenance will dramatically extend the life of your grow light and ensure your plants thrive. After all, your goal is to support a bumper crop, not to constantly fix equipment.
Whether you’re nurturing delicate seedlings or hoping to grow a Luisa plum tree indoors, consistent light is non-negotiable. Even a young persimmon tree in its early stages depends on this reliability. Maximizing any available natural light can also reduce the strain on your equipment; improving a simple installation like your skylight inside finishing can make a surprising difference.
Establish a Regular Cleaning Schedule
At least once a month, turn off and unplug your light. Wipe down the housing and gently clean the lenses or bulbs to remove dust, which can trap heat and reduce light output.
Use compressed air to clear out all ventilation ports and fan blades. This single step is the most effective way to prevent the overheating issues that kill grow lights.
Inspect Cords and Timers Periodically
Make it a habit to visually inspect your power cords for any signs of fraying, cracking, or damage. Ensure connections are snug at both the wall and the fixture. Test your timer’s accuracy every few months to ensure your light cycle remains consistent.
When It’s Time to Replace Your Grow Light
After following all these steps, you may find your light is truly broken. If the repair involves replacing a major component like a driver or the entire LED board, weigh the cost of parts against the price of a new light.
Often, especially for older or less expensive models, purchasing a new, more efficient grow light is the smarter long-term investment. With your new equipment and a solid maintenance plan, you can look forward to a stable and productive indoor garden.