Golden Oak on Red Oak: The Pro Guide to Avoid an Orange Mess
You selected beautiful, durable red oak for your floors or furniture, envisioning a warm, classic finish. You chose Golden Oak stain, a timeless choice. Yet, after application, you’re left staring at a blotchy, uneven surface that screams orange, or even worse, a strange pinkish hue. This is a frustratingly common problem that leaves many homeowners disappointed and confused.
The issue isn’t a faulty stain or poor-quality wood. The unexpected result comes from the intrinsic properties of red oak itself clashing with the pigments in a traditional golden oak stain. Understanding this interaction is the key to finally achieving the rich, warm finish you originally wanted.
You'll Learn About
Why Your Golden Oak Stain Looks Wrong on Red Oak
The root of the problem lies in two main characteristics of red oak: its high porosity and its distinct pinkish-red undertones. These features, which give the wood its name and character, are also what make staining it a challenge. When you apply a semi-transparent stain like Golden Oak, you aren’t just coating the wood; you’re starting a chemical and visual reaction.
Golden Oak stains have a yellow-gold pigment base. When this is applied over wood with strong red undertones, the colors mix. Just like on a painter’s palette, yellow plus red creates orange. This is why a stain that looks beautifully golden on a sample chip can turn into a glaring, brassy orange on your red oak floor.
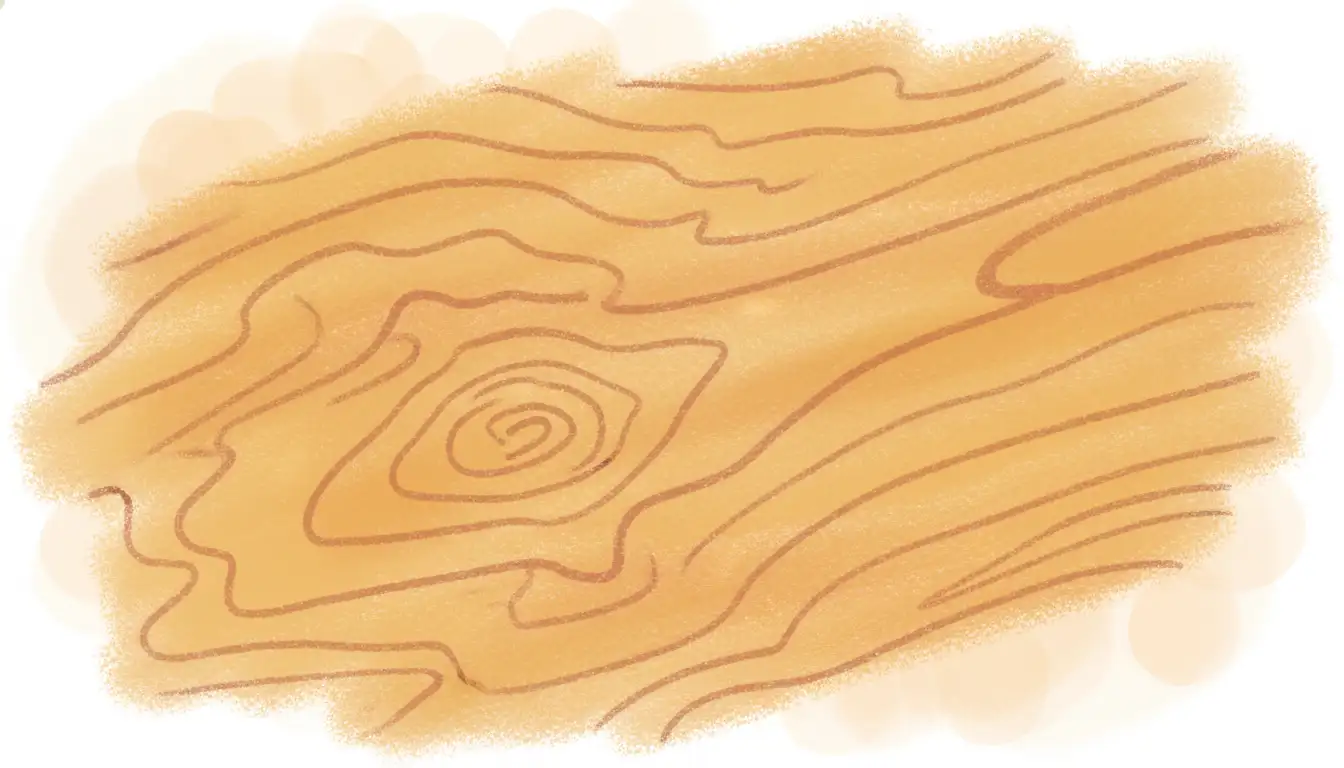
The Blotchiness Problem: Understanding Wood Porosity
Red oak has a very open and porous grain structure. These pores, which are vessels for transporting water when the tree is alive, vary in size and density across a single board. This variation means the wood absorbs stain at an uneven rate.
Denser areas absorb less stain, appearing lighter, while more porous areas soak up the stain deeply, creating darker, blotchy patches. This uneven absorption is what leads to a frustratingly inconsistent finish, detracting from the wood’s natural beauty. Without the right preparation, you’re almost guaranteed a blotchy result.
The Secret to Success: It’s All in the Prep Work
Achieving a professional-looking finish with golden oak on red oak is more than possible. The solution isn’t to pick a different stain, but to control how the wood accepts the stain. Meticulous preparation is not just a recommendation; it is the most critical phase of the entire project.
Proper prep work ensures the stain absorbs evenly and helps to neutralize the wood’s overpowering red undertones. Skipping these steps is the #1 mistake that leads to disappointing results. By focusing on preparation, you take control of the final outcome.
Sanding: The Foundation of a Flawless Finish
Proper sanding is the first and most vital step. The goal is to create a uniformly smooth surface, removing any mill glaze, scratches, or imperfections from the raw wood. Always sand with the direction of the wood grain to avoid creating cross-grain scratches that will become glaringly obvious after staining.
Start with a medium-grit sandpaper (like 80 or 100-grit) to level the surface and remove any major blemishes. Then, progress to a finer grit, such as 120 or 150-grit, to smooth the surface. Do not sand any finer than 180-grit; polishing the wood too much can close up the pores and prevent the stain from absorbing properly.
The Unskippable Step: Wood Conditioner
For a porous wood like red oak, applying a pre-stain wood conditioner is non-negotiable. Wood conditioner is a thin, solvent-based sealer that partially fills the wood’s pores. This allows the stain to be absorbed more slowly and evenly, which is the key to preventing blotchiness.
Apply a liberal coat of conditioner with a clean rag or brush. Let it penetrate for the manufacturer-recommended time, typically 5-15 minutes. Then, it is crucial to wipe off all the excess conditioner thoroughly. Leaving excess conditioner on the surface will prevent the stain from penetrating at all, leading to a weak and uneven color.
Water Popping: The Pro Trick for Deeper, Even Color
For the most uniform and richest color, consider a technique called “water popping.” After your final sanding, wipe the entire surface with a cloth dampened with distilled water. This process raises the wood grain, opening up the pores to accept stain more deeply and consistently.
Let the wood dry completely before staining. The raised grain will feel slightly rough, but this allows the stain to penetrate evenly across the entire surface, significantly reducing the risk of blotchiness and enhancing the final color depth. This is a technique professionals use to guarantee a flawless finish.
Application Techniques for a Professional-Grade Golden Oak Finish
With your red oak properly prepared, you are now ready to apply the stain. The application method itself plays a significant role in the final appearance. The goal is to apply a uniform amount of stain and, most importantly, to remove the excess correctly.
Work in manageable sections, especially on large areas like floors. This prevents the stain from drying before you have a chance to wipe off the excess, which can create ugly lap marks. Always have a supply of clean, lint-free rags on hand before you begin.
Apply the stain generously with a clean rag, foam brush, or applicator pad, moving in the direction of the wood grain. Allow the stain to sit for just a few minutes—the time specified on the can. Then, using a separate clean rag, wipe away all of the excess stain, again moving with the grain. Remember, the final color is determined by the stain that soaks into the wood, not the stain left sitting on top.
Beyond the Basics: Advanced Tips for Customizing Your Golden Oak
If you’re still concerned about the red undertones or want more control over the final shade, there are advanced techniques you can use. These methods offer a higher level of customization and can help you achieve a truly unique, designer finish.
These techniques involve manipulating the base color of the wood before the primary stain is even applied. While they require extra steps, the payoff is a level of color control that isn’t possible with stain alone. It’s how professionals create custom looks tailored to specific design aesthetics.
Toning Down the Red: The Color Theory Solution
One of the most effective ways to counteract the red in red oak is to use color theory to your advantage. On the color wheel, green is the opposite of red, meaning it neutralizes it. You can apply a highly diluted green-tinted dye or a custom wash coat to the wood after sanding but before applying your Golden Oak stain.
This subtle green layer cancels out the wood’s natural pink and red tones, creating a more neutral brown canvas. This allows the Golden Oak stain to present its true golden-yellow hue without turning orange. Always test this on a scrap piece of wood to perfect your dilution ratio before applying it to your main project.
Gel Stain vs. Oil Stain: Which is Better for Red Oak?
While traditional oil-based penetrating stains are common, gel stains offer a distinct advantage for blotch-prone woods like red oak. Gel stains are much thicker and are designed to sit more on the surface of the wood rather than penetrating deeply. This property makes them inherently less likely to cause blotching.
If you have struggled with blotchiness in the past, a gel stain in a Golden Oak color might be a simpler solution. The application is slightly different, requiring a careful, even coat and thorough removal of the excess, but the result is often a more uniform and predictable color. There are times when a different staining method is needed for a project, and it can be useful to learn more about techniques such as spraying oil based stain for certain applications.
Comparing Golden Oak to Other Popular Choices
Golden Oak provides a bright, warm, and classic look. However, it’s helpful to see how it compares to other popular stain colors. Understanding the nuances can help confirm your choice or guide you to a better alternative for your home’s aesthetic.
For instance, some homeowners desire a slightly deeper or more neutral brown. Comparing stain colors is a crucial step; a detailed Early American vs Special Walnut analysis, for example, reveals how different undertones can dramatically change the final look on the exact same wood. Golden Oak is brighter, while Early American has more red-brown tones and Special Walnut offers a cooler, more neutral brown.
| Preparation Method | Description | Expected Outcome on Red Oak | Best For |
|---|---|---|---|
| Stain Only (No Prep) | Applying stain directly to raw, unsanded wood. | A severely blotchy, uneven finish with intense orange and pink tones. | Not recommended for any project. |
| Sanding Only | Sanding the wood to 150-grit before staining. | Improved smoothness, but still prone to significant blotching and orange hues. | Projects where a rustic, less-uniform look is acceptable. |
| Sanding + Wood Conditioner | Sanding followed by a pre-stain wood conditioner. | Good result. Significantly reduced blotching and a more even color. The color may still pull slightly orange. | The minimum recommended process for all DIYers. |
| Sanding + Conditioner + Water Pop | The full professional process of sanding, conditioning, and opening the grain with water. | Excellent result. Superior color depth, maximum evenness, and the best representation of the stain’s intended hue. | Achieving a professional, flawless finish, especially on floors. |
The Final Step: Choosing the Right Top Coat
Your work isn’t finished after the stain is dry. Applying a protective top coat, like polyurethane, is essential for durability and will also affect the final color. The type of polyurethane you choose can either enhance or alter the look you’ve worked so hard to achieve.
An oil-based polyurethane will impart a warm, amber glow. This will deepen the color and enhance the “golden” aspect of the Golden Oak stain, making it appear richer. However, this ambering effect increases over time.
A water-based polyurethane dries crystal clear and will not change the color of the stain. If you have achieved the perfect shade and want to keep it exactly as it is, a water-based finish is the best choice. They also have lower odor and faster dry times.
Common Mistakes to Avoid with Golden Oak on Red Oak
Successfully staining red oak is often about avoiding common pitfalls. By being aware of these frequent mistakes, you can sidestep the issues that lead to frustration and subpar results.
- Skipping Wood Conditioner: This is the most common mistake and the primary cause of a blotchy finish.
- Sanding Too Smoothly: Sanding with grits higher than 180 can burnish the wood, preventing the stain from penetrating properly.
- Leaving Excess Stain on the Surface: Stain is meant to color the wood, not coat it like paint. Failing to wipe off the excess creates a sticky, uneven film that will fail to cure properly.
- Ignoring the Undertones: Fighting red oak’s natural color is a losing battle. The best approach is to work with it, either by neutralizing the red or choosing a stain that complements it. Proper home maintenance involves understanding materials, much like knowing how to remove sprinkler stains from a fence requires understanding the cause of the stain.
Conclusion: Achieving Your Dream Golden Oak Finish
Transforming red oak with a Golden Oak stain doesn’t have to result in an orange nightmare. The key to unlocking that beautiful, warm, and even finish you envision is to respect the inherent nature of the wood and to follow a meticulous preparation process. By controlling how the wood accepts the stain, you take charge of the final outcome.
Through proper sanding, the non-negotiable use of wood conditioner, and careful application, you can prevent blotchiness and manage the wood’s red undertones. For those seeking ultimate control, advanced techniques like water popping or using a neutralizing wash coat can elevate your project to a professional standard. Always remember to test your entire process on a scrap piece of wood to ensure you’re happy with the results before committing to your entire floor or furniture piece. With patience and the right techniques, you can achieve a stunning Golden Oak finish that enhances the natural beauty of red oak for years to come.