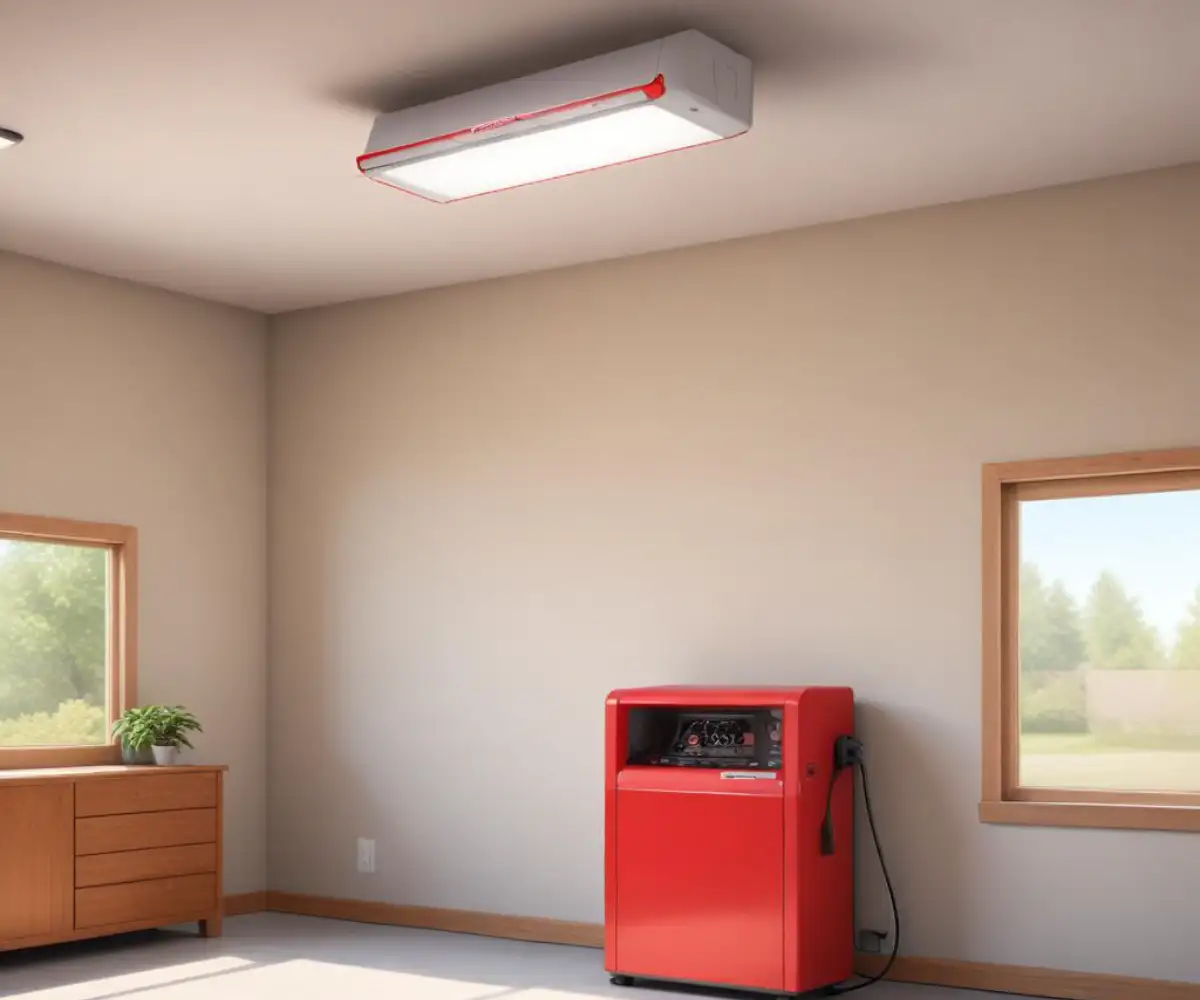
Genie Powermax 1200 Blinking Red Light? Here’s the Fix!
There are few things more frustrating than a garage door that refuses to cooperate. When your Genie Powermax 1200 starts flashing a red light, it’s not just an annoyance; it’s a diagnostic signal. This blinking light is the opener’s way of telling you exactly what’s wrong.
Fortunately, you don’t have to be a certified technician to decipher these codes. This guide will walk you through each potential problem indicated by that blinking red light, providing clear, actionable steps to get your garage door back in working order quickly and safely.
You'll Learn About
Decoding the Diagnostic Blink Codes
The first step in troubleshooting is to count the blinks. The Genie Powermax 1200 uses a sequence of flashes to pinpoint the issue, saving you from guessing games. Pay close attention to the number of blinks between each pause, as this number is your key to solving the problem.
Understanding these codes is the most critical part of the diagnostic process. Once you know what the opener is trying to tell you, you can move on to the specific solution. Refer to the table below to match the number of blinks to the corresponding error.
| Number of Blinks | Potential Problem | Common Solution |
|---|---|---|
| 1 Blink | Safe-T-Beam Sensor Error | Obstruction, misalignment, or dirty sensor lenses. |
| 2 Blinks | Travel Limit/Force Setting Error | Reprogramming the open and close limits is required. |
| 3 Blinks | Door Control Wiring Issue | A short or loose connection in the wall control wiring. |
| 4 Blinks | Motor Overload or Overheating | The motor has overheated and needs to cool down. |
| 5+ Blinks | Internal Logic Board Failure | Potential circuit board or internal component failure. |
Deep Dive: Troubleshooting the Most Common Causes
With the error code identified, it’s time to address the root cause. Most of these issues can be resolved with a few simple checks and adjustments, requiring basic tools and a little patience. Let’s break down the solutions for the most frequent blink codes.
The 1-Blink Culprit: Safe-T-Beam Sensor Issues
A single red blink is the most common issue and almost always points to the Safe-T-Beam safety sensors. These sensors project an infrared beam across the garage door opening and prevent the door from closing if an object breaks the beam. If they aren’t working correctly, the door won’t close.
Start by checking for any obstructions in the beam’s path, like a trash can, a stray tool, or even spiderwebs. Next, wipe the lenses of both sensors with a soft, clean cloth. If the issue persists, check the alignment; the sending sensor (green LED) and receiving sensor (red LED) must be pointed directly at each other. A solid red LED on the receiving sensor indicates proper alignment.
Decoding the 2-Blink Signal: Travel Limit and Force Settings
Two blinks indicate a problem with the door’s travel limits or force settings. These settings tell the opener how far to move the door and how much force to use. If they are not set correctly, the opener may think it’s hitting an obstacle and stop or reverse.
You will need to reset and reprogram the travel and force limits. This process involves clearing the old settings and teaching the opener the new fully open and fully closed positions. Consult your owner’s manual for the specific button sequence, which typically involves pressing and holding the programming buttons on the motor unit. This recalibration ensures the door closes securely without straining the motor.
When You See 3 Blinks: The Door Control is the Problem
Three blinks suggest a problem with the wiring to your wall-mounted door control. A short circuit, often caused by a staple piercing the wire insulation or a loose connection, can interrupt the signal to the opener.
Inspect the wire running from the wall control to the motor unit. Look for any visible damage, such as nicks, cuts, or crushed sections. Sometimes, issues like underlayment staples popping up in other parts of a home highlight how easily wires can be inadvertently damaged. Check the screw terminals on both the back of the wall control and the motor head to ensure the wires are secure.
The 4-Blink Warning: Motor Overload or Overheating
Four blinks mean the motor’s thermal protection has been activated. This safety feature prevents the motor from burning out due to overheating, which can be caused by excessive use in a short period or a door that is difficult to move manually.
The solution is simple: let the motor cool down. Unplug the opener for at least 30 minutes. While it’s cooling, disengage the emergency release cord and try to open and close the garage door by hand. If it feels heavy or binds in the tracks, the underlying issue is with the door’s balance or hardware, which will need to be addressed to prevent the motor from overloading again.
Advanced Troubleshooting for Persistent Blinking
If the simpler fixes don’t resolve the issue, or if you’re seeing a higher number of blinks, the problem may be more complex. These situations require a more methodical approach and may signal the need for professional help.
5 Blinks and Beyond: When to Suspect the Circuit Board
A sequence of five or more blinks typically points toward a failure of the main logic board. This is the “brain” of the opener, and when it malfunctions, it can cause unpredictable behavior or a complete lack of response. Signs of a failing board include erratic operation, non-functional remotes, and diagnostic lights that don’t correspond to other issues.
While a full factory reset is a final troubleshooting step you can try, a logic board failure usually requires a replacement. This is often a job best left for a qualified technician, as it involves working with the opener’s core electronic components.
The Power of a Full Reset
Before concluding that the logic board has failed, performing a factory reset can sometimes resolve persistent, unexplainable issues. A reset will wipe all programmed settings, including remotes, keypads, and travel limits, returning the opener to its default state.
To perform a reset, you typically press and hold the main programming button for several seconds until the lights change. After the reset, you will need to reprogram all your remotes and set the travel limits from scratch. This should be considered a last-resort option before calling for service.
When to Call a Professional Technician
While many blinking light issues are fixable, some problems require an expert’s touch. Safety is paramount, especially when dealing with high-tension components like springs or complex electrical systems. Knowing when to step back is as important as knowing how to do the repair yourself.
If you suspect a broken spring, frayed cables, or a faulty circuit board, it is best to call a professional. Wondering about the cost is natural, and understanding how much a service call might cost can help you budget for the repair. A technician can diagnose the problem accurately and perform the repair safely.
Preventative Maintenance to Avoid Future Blinking Lights
The best way to fix a problem is to prevent it from happening in the first place. Regular maintenance can extend the life of your Genie Powermax 1200 and prevent many of the common errors that trigger the blinking red light. A few simple checks each season can make a significant difference.
Create a simple checklist for yourself. Regularly clean the Safe-T-Beam sensor lenses, lubricate all moving parts of the door itself (like rollers and hinges), and visually inspect the wiring for any signs of wear or damage. This proactive approach ensures smooth and reliable operation year-round. While considering maintenance, some even refresh their garage’s appearance. If you’re tackling aesthetic updates, such as exploring if you can spray paint over glitter on a nearby project, it highlights the importance of proper technique for any task, big or small.
The Hidden Cause: Power Supply Fluctuations
One often-overlooked cause of erratic behavior and error codes is an unstable power supply. Power surges, brownouts, or lightning strikes can send damaging voltage spikes to the opener’s sensitive logic board, causing it to malfunction or fail completely. These events can trigger phantom error codes that don’t seem to have a clear cause.
To protect your investment, consider plugging your garage door opener into a high-quality surge protector. Not all power strips offer surge protection, so choose one specifically designed to safeguard electronics. This simple, inexpensive device acts as a buffer, absorbing excess voltage and protecting the delicate circuitry inside your opener from damage.