Gardenway Tiller Troubleshooting: Your Ultimate Revival Guide
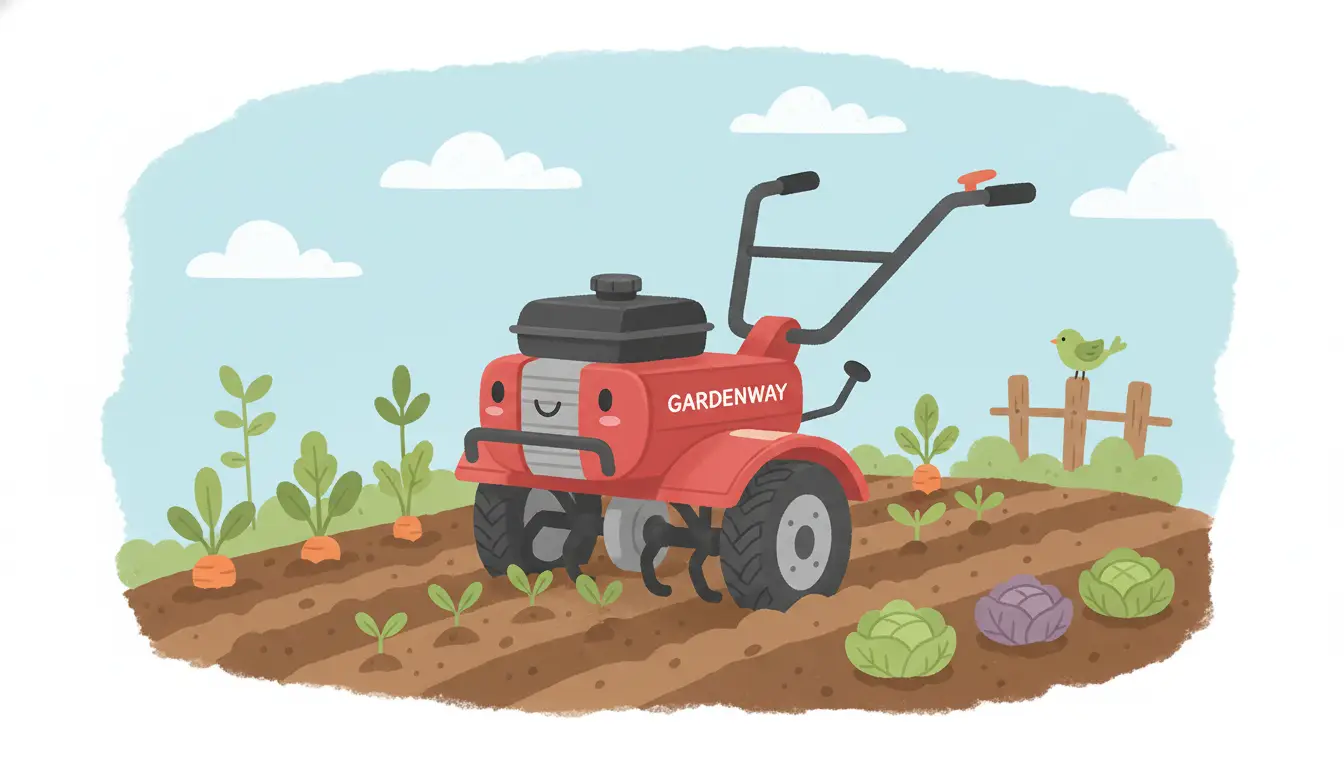
The Gardenway tiller is a legendary piece of machinery, often passed down through generations. Its heavy-duty construction and powerful performance are a testament to an era of manufacturing when things were built to last.
However, owning one of these vintage workhorses comes with its own set of challenges. You might be struggling with an engine that refuses to start, tines that won’t engage, or the daunting task of finding parts for a machine that is decades old.
This guide addresses the core problems owners face and provides actionable solutions to restore your tiller’s power and ensure it remains a reliable garden companion for years to come.
You'll Learn About
Understanding the Gardenway & Troy-Bilt Connection
To properly care for your machine, it’s crucial to understand its history. Garden Way Manufacturing was the company that produced the iconic Troy-Bilt Horse tiller for many years.
For a significant period, the names were virtually interchangeable, with both brands representing the pinnacle of rear-tine tiller design. These machines are famous for their gear-driven transmission housed in a heavy-duty, cast-iron case, a feature that sets them apart from many modern, lighter-duty alternatives.
Why These Tillers Endure
The longevity of Gardenway tillers is no accident. Their design philosophy prioritized durability and repairability over disposability.
Key features like a robust C-channel steel frame and bronze gear components mean that with proper maintenance, these machines can outlive their owners. This inherent toughness is why they remain highly sought after by serious gardeners and homesteaders.
Diagnosing the Most Common Gardenway Tiller Problems
Even the toughest machines face issues over time. Most performance problems can be traced back to a few key areas: the engine, the drive system, or general age-related wear.
Understanding these common failure points is the first step toward a successful repair. We will explore each of these in detail, providing a clear path to getting your tiller back in top form.
Engine Woes: When the Heart of the Tiller Fails
The most frequent complaints are related to the engine. Issues often stem from old fuel, a neglected ignition system, or a dirty carburetor, creating a frustrating situation where the tiller simply won’t run.
This diagnostic process is similar to troubleshooting other small engines, where a systematic approach can save hours of frustration. For instance, just as you’d check the fuel and spark on a snowblower, you must start with the basics here; a non-starting engine in a machine like a Toro snow thrower often shares the same root causes as a stubborn tiller engine.
Drive System and Tine Engagement Faults
Another common pain point involves the tiller’s drive system. You might find that the wheels turn but the tines don’t, or you hear grinding noises when engaging the power take-off (PTO).
These symptoms often point to worn or improperly adjusted belts, a slipping clutch, or internal transmission issues. The belt-and-pulley system that transfers power from the engine is a critical area to inspect.
The Inevitable Challenge: Rust and Seized Components
Given their age, rust and corrosion are formidable opponents. Bolts can become seized, control levers may refuse to budge, and pivot points can lock up entirely.
Successfully working on your tiller requires a patient strategy for dealing with these age-related issues. Using high-quality penetrating oil and the correct tools is essential to avoid breaking parts that may be difficult or impossible to replace.
The Comprehensive Solution: Your Tiller Revival Plan
Bringing a Gardenway tiller back to its former glory is a rewarding process. This revival plan provides a structured approach, from a basic tune-up to more advanced maintenance tasks.
Follow these steps to address the root causes of underperformance and significantly extend the life of your machine. Regular maintenance is the key to preventing major failures down the road.
Step 1: The Essential Engine Tune-Up
Start with a comprehensive engine tune-up to establish a reliable baseline. This simple service resolves a majority of starting and running issues and is the foundation of tiller maintenance.
This includes changing the oil, cleaning or replacing the air filter, installing a new spark plug, and ensuring the fuel system is clean. Use fresh, stabilized gasoline to prevent future carburetor problems.
| Component | Specification / Action | Pro Tip |
|---|---|---|
| Engine Oil | SAE 30 or 10W-30 (check engine manual) | Change oil while the engine is warm for faster, more complete draining. |
| Spark Plug | Check gap (typically 0.030″) and replace annually | A new spark plug provides a stronger spark for easier starting and better fuel combustion. |
| Air Filter | Clean foam filters with soap and water; replace paper filters | A clean air filter is crucial for preventing dirt from entering the engine and causing internal damage. |
| Fuel System | Drain old fuel; install an inline fuel filter if one is not present | Most running problems start with stale fuel left in the tank over the winter. |
| Carburetor | Clean jets and bowl with carburetor cleaner | Do not use wire to clean small jets, as this can damage them. Use compressed air instead. |
Step 2: Mastering the Carburetor Overhaul
The carburetor is often the primary culprit when a tiller has been sitting for a long time. Fuel evaporates, leaving behind gummy deposits that clog tiny internal passages.
A thorough cleaning is required. This involves carefully disassembling the carburetor, spraying all jets and passages with a dedicated cleaner, and reassembling with new gaskets. Making sure every component is spotless is as critical as choosing the right cleaning agent for a household chore; the debate over the effectiveness of different cleaning solutions, such as those seen in discussions about various laundry boosters, shows how the right product makes all the difference.
Step 3: Drive Belt and Tine System Adjustment
Proper power transfer to the wheels and tines depends on correctly tensioned belts. Inspect the forward/reverse V-belt and the tine drive belt for signs of cracking, glazing, or excessive wear.
The owner’s manual provides the exact procedure for adjusting belt tension, which is typically done by moving an idler pulley or adjusting the engine’s position on its mounting plate. Correct belt tension is vital for preventing slippage under load and ensuring maximum tilling power.
Advanced Strategies for the Dedicated Owner
For those committed to preserving their Gardenway tiller, some challenges go beyond a simple tune-up. Sourcing rare parts and adapting the machine for contemporary uses requires extra dedication.
These advanced strategies can help you overcome the most difficult aspects of owning a vintage machine. They also unlock the full potential of your tiller in a modern garden setting.
Finding and Sourcing Obsolete Parts
One of the biggest hurdles is finding replacement parts. While common engine components are often available, tiller-specific parts like transmission seals or tine shaft bushings can be elusive.
Expand your search beyond standard parts websites. Online forums dedicated to old garden equipment, social media user groups, and even local small engine repair shops are invaluable resources for locating new old stock (NOS) or quality used parts.
Adapting Your Tiller for Modern Soil Management
A Gardenway tiller is a master at breaking new ground, but its utility doesn’t end there. With careful handling, it can be used to incorporate compost and soil amendments with minimal disruption to soil structure.
By setting the depth regulator to a shallow setting, you can mix in surface amendments without overtilling. This is a skill that requires practice, much like achieving a seamless look when installing certain types of home fixtures. The precision needed to blend soil horizons without creating a hardpan is analogous to the care required for projects like laying seamless flooring between rooms, where the goal is a flawless transition.
A Proactive Approach to Long-Term Reliability
The secret to keeping a Gardenway tiller running for another 50 years is preventative maintenance. A consistent care routine prevents minor issues from escalating into major, costly repairs.
Develop a simple checklist for pre-use and post-season tasks. This proactive approach ensures your tiller is always ready when you need it and protects your investment.
Your Essential Maintenance Checklist
Before each use, perform a quick inspection. Check the engine oil level, inspect the air filter for excessive dirt, and ensure tires are properly inflated.
At the end of the gardening season, prepare the tiller for storage. Drain the fuel tank and run the carburetor dry, clean dirt and debris from the tines and cooling fins, and lubricate all pivot points and control cables. Store the machine in a clean, dry location.
Conclusion: A Legacy of Power in Your Hands
Your Gardenway tiller is more than just a tool; it is a piece of agricultural history built with unmatched quality. While it may require more hands-on attention than modern equipment, its performance and durability are undeniable.
By understanding its common problems and committing to a structured maintenance plan, you can ensure this powerful machine remains a reliable and effective workhorse. The effort invested in its care will be returned tenfold in the productivity and health of your garden.