Stop Weeds in Garden Boxes for Good: The Ultimate Barrier Guide
You did everything right. You invested in beautiful raised garden boxes, filled them with premium soil, and planted your delicate vegetable seedlings with care. Yet, within weeks, a familiar enemy emerges: weeds.
It’s a frustrating reality for many gardeners. Weeds seem to materialize out of thin air, competing with your plants for precious water, nutrients, and sunlight. This invasion can turn a joyful hobby into a tiresome chore of constant pulling and digging.
The core problem isn’t just about the occasional weed popping up. It’s about persistent, aggressive weeds that seem impossible to eradicate, ultimately threatening the health and productivity of your entire garden. Understanding how to create an effective defense is the first step toward a truly low-maintenance and bountiful harvest.
You'll Learn About
Why Your Raised Garden Box Is a Weed Magnet
Raised garden beds are designed to offer control over your growing environment, but they are not immune to weed infiltration. Weed seeds are masters of travel, arriving via wind, carried by birds, or hidden within compost or topsoil that wasn’t properly sterilized.
Furthermore, if your garden box is placed directly on top of an existing lawn or weedy patch, aggressive roots from below can quickly penetrate your pristine garden soil. Grasses like Bermuda and tenacious weeds such as thistle can push upwards with surprising force, creating a tangled mess beneath the surface.
Without a proper barrier, you are essentially fighting a battle on two fronts: airborne seeds from above and resilient roots from below. This is where a well-chosen and correctly installed weed barrier becomes not just a helpful tool, but an essential component of a successful raised garden.
The Hidden Costs of a Weed Invasion
The impact of weeds goes far beyond aesthetics. These unwelcome plants are aggressive competitors, robbing your vegetables and flowers of the resources they need to thrive. This competition can lead to stunted growth, lower yields, and weaker plants that are more susceptible to pests and diseases.
Constant weeding also disturbs the soil structure and can damage the delicate roots of your desired plants. It’s a physically demanding and repetitive task that can quickly diminish the joy of gardening. An effective weed barrier minimizes this labor, allowing you to focus on nurturing your plants rather than battling their rivals.
Choosing Your Shield: A Comparison of Garden Box Weed Barriers
Selecting the right weed barrier is crucial for long-term success. The ideal material should block weeds effectively while still allowing water and air to reach the soil, maintaining a healthy environment for plant roots and beneficial microorganisms. Each option has a unique set of properties, making some more suitable for certain gardening styles than others.
Understanding the differences in permeability, longevity, and environmental impact will help you make an informed decision that aligns with your gardening goals. Let’s explore the most common and effective choices.
The Organic Champion: Cardboard and Newspaper
For gardeners prioritizing sustainability and soil health, plain brown cardboard and newspaper are unbeatable. This method, often called sheet mulching, is a simple yet highly effective way to smother existing grass and weeds. It works by completely blocking sunlight, preventing germination and killing off underlying vegetation.
As these materials are organic, they slowly decompose over a season or two, adding carbon to the soil and feeding earthworms and beneficial microbes. This process gradually improves the soil structure beneath your garden box. It’s an eco-friendly solution that turns waste products into a valuable garden asset.
When using cardboard, be sure to choose plain, uncoated boxes without glossy printing or colored inks. Remove all plastic tape and labels before laying it down. A thick layer of four to eight sheets of newspaper can also be effective, but cardboard is generally more durable and provides better coverage.
The Professional Standard: Woven Landscape Fabric
Woven polypropylene landscape fabric is a popular choice for its durability and permeability. This synthetic material is designed to last for many years, providing a long-term physical barrier against tough weeds. Its woven construction allows water, air, and nutrients to pass through to the soil, preventing the “souring” that can occur with non-permeable barriers like plastic sheeting.
While highly effective at stopping weeds from below, it’s important to note that weed seeds can still germinate in the mulch or soil placed on top of the fabric. However, these weeds are typically shallow-rooted and much easier to remove. Professional-grade fabric is UV-stabilized to resist breakdown from sunlight, but it should always be covered with soil or mulch for maximum longevity.
This option is ideal for gardeners who want a semi-permanent solution and are dealing with particularly aggressive or deep-rooted weeds. While it doesn’t contribute to soil health like organic options, its effectiveness and long lifespan are significant advantages.
The Biodegradable Alternative: Burlap
Burlap offers a middle ground between cardboard and synthetic fabric. Made from natural jute fibers, burlap acts as an effective weed barrier for a single growing season. It blocks weeds and conserves soil moisture while still being fully permeable to air and water.
At the end of the season, the burlap will have started to decompose, adding organic matter to the soil. This makes it a great choice for annual vegetable gardens where the soil is worked each year. It provides the weed suppression needed for the current season without creating a long-term barrier that might interfere with future planting or soil improvement efforts.
Using multiple layers of burlap will enhance its weed-blocking capabilities and durability. It’s a sustainable choice that combines the benefits of a physical barrier with the soil-enriching properties of an organic material.
Beyond the Basics: Other Materials and Considerations
While cardboard, landscape fabric, and burlap are the top contenders, other materials are sometimes considered. Some gardeners use old natural-fiber carpets or wood chips as a bottom layer. However, it’s critical to avoid any materials that could leach harmful chemicals into your garden soil, such as treated wood, dyed materials, or synthetic carpets.
Under no circumstances should you use solid plastic sheeting. Plastic barriers prevent water from draining and block air exchange, which can lead to root rot and anaerobic soil conditions that kill beneficial organisms. The goal is to stop weeds, not to harm the delicate ecosystem within your garden box.
| Barrier Material | Permeability | Lifespan | Soil Impact | Best For |
|---|---|---|---|---|
| Cardboard/Newspaper | Good (while breaking down) | 6-18 months | Excellent (adds carbon) | Organic vegetable gardens, soil building. |
| Woven Landscape Fabric | Excellent | 5-15+ years | Neutral (prevents organic matter mixing) | Perennial beds, areas with aggressive weeds. |
| Burlap | Excellent | 1 season | Good (adds organic matter) | Annual vegetable gardens. |
| Plastic Sheeting | None (blocks water & air) | Very long | Negative (causes soil compaction & rot) | Not recommended for garden boxes. |
The Ultimate Installation Guide for a Weed-Free Garden Box
Proper installation is just as important as choosing the right material. A poorly installed barrier with gaps and unsecured edges will fail, allowing determined weeds to find their way through. Following these steps will ensure a robust and effective defense for your garden.
Step 1: Prepare the Foundation
Before placing your garden box, prepare the ground beneath it. If you are placing the box over a lawn or weedy area, mow or trim the vegetation as short as possible. There is no need to remove the sod; the weed barrier will smother it.
Remove any sharp rocks, sticks, or other debris that could puncture your barrier. Level the ground to ensure your raised bed will sit flat and stable. This initial preparation creates a smooth canvas for your weed barrier.
Step 2: Lay and Overlap the Barrier
Place your chosen barrier material on the prepared ground, extending it slightly beyond the footprint of where your garden box will be. The most critical mistake to avoid is leaving gaps between pieces. Whether using cardboard or fabric, always overlap the seams by at least 6 to 8 inches. This prevents weeds from exploiting weak points.
If using cardboard, thoroughly wet it with a hose after laying it down. This helps it conform to the ground and initiates the decomposition process. For landscape fabric, pull it taut to eliminate wrinkles before placing the garden box on top.
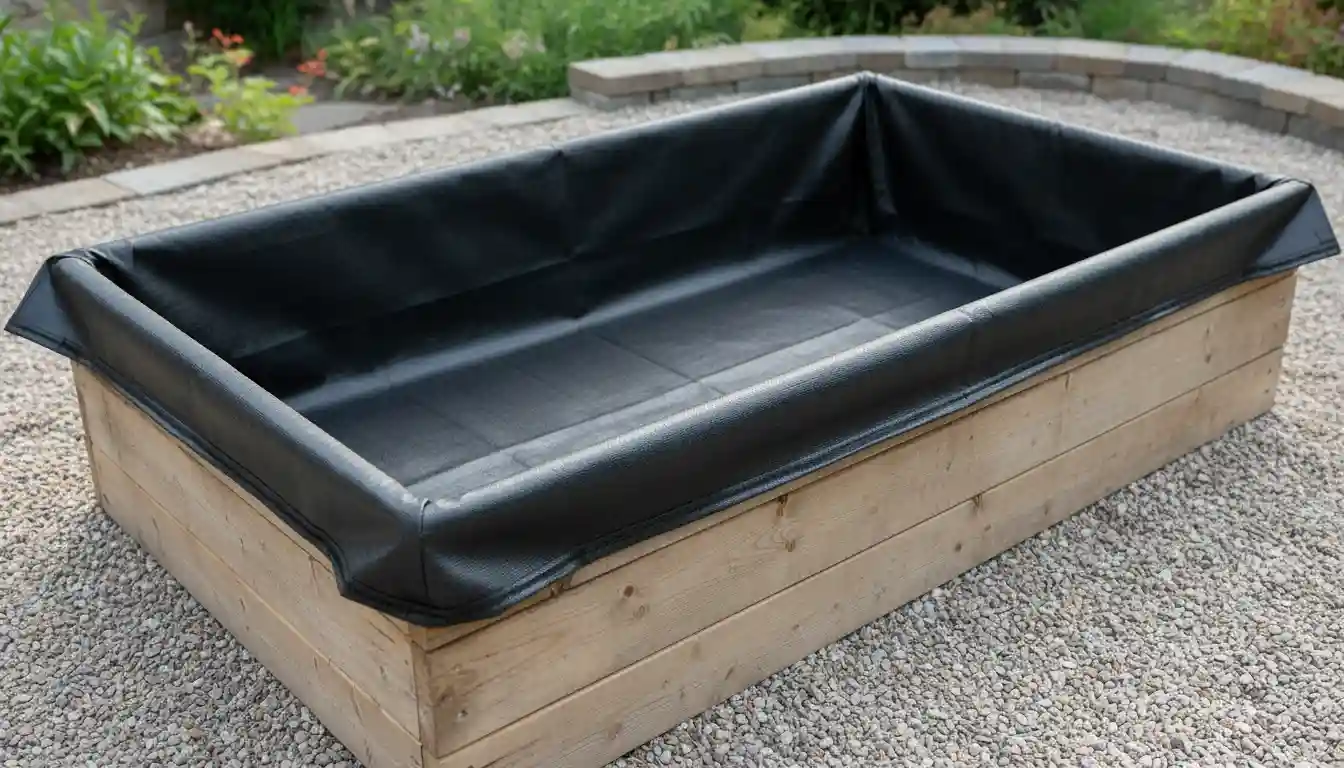
Step 3: Secure the Edges and Fill the Box
Once your barrier is in place, position your garden box frame on top of it. The weight of the frame will help hold the main area of the barrier down. Inside the box, ensure the barrier material runs up the interior sides by a few inches.
You can secure the fabric to the inside of the wooden frame with a staple gun for extra protection against weeds creeping in from the edges. Now, you can begin filling your box with your desired soil mix. The weight of the soil will firmly anchor the barrier, creating a sealed environment protected from weeds below.
For those starting from scratch, the quality of the structure itself is paramount. If the task seems daunting, you might consider professional assistance; some gardeners find it helpful to hire someone to build a vegetable garden to ensure a perfect foundation.
Beyond the Barrier: A Holistic Approach to Weed Management
A bottom weed barrier is a powerful tool, but it’s part of a larger strategy for maintaining a pristine garden. True weed control involves thinking about the entire garden ecosystem, from the soil you use to the way you cover it.
Combining a physical barrier with smart gardening practices will create multiple layers of defense, drastically reducing the time you spend weeding and allowing your plants to flourish without competition. This integrated approach ensures long-term success and a healthier garden overall.
The Power of Mulch
After your garden box is filled and planted, apply a 2-3 inch layer of organic mulch on top of the soil. Materials like straw, shredded leaves, or wood chips serve as a top-layer weed barrier. This mulch layer blocks sunlight from reaching any airborne weed seeds that land on your soil, preventing them from germinating.
Mulch also offers the added benefits of conserving soil moisture, regulating soil temperature, and adding organic matter to the soil as it breaks down. It is one of the most effective and beneficial practices for any garden.
Preemptive Strikes with Weed Preventers
In some situations, a pre-emergent herbicide can be a useful tool to prevent weed seeds from sprouting in the top layer of your soil. These products work by creating a chemical barrier that inhibits germination. They are different from post-emergent herbicides that kill existing weeds.
It’s important to choose a product that is safe for use in vegetable gardens and to apply it according to the manufacturer’s instructions. A careful comparison of options can be beneficial; for instance, understanding the differences in a Treflan vs Preen analysis can help you select the right preventer for your specific needs.
Final Thoughts: Reclaim Your Garden
Weeds in a garden box are a solvable problem. By implementing a robust bottom barrier, you fundamentally change the growing environment, tipping the scales heavily in favor of your plants. You eliminate the relentless pressure from underlying weeds and grass, allowing you to focus on the minimal threat from airborne seeds.
Choosing the right material—be it organic cardboard for soil health or durable landscape fabric for long-term protection—and installing it correctly is the secret to a low-maintenance, high-yield raised bed garden. Stop letting weeds steal your harvest and your joy. A simple barrier is the foundation for a season of effortless, productive gardening.