Garage Door Track Off Wall? Your Panic-Free Repair Guide
That sickening crunch. That crooked, hanging garage door. It’s a homeowner’s nightmare: the metal track that guides your door has pulled away from the wall. Your garage is now insecure, and a several-hundred-pound door is hanging precariously.
Before panic sets in, take a deep breath. This is a serious issue, but it is often a fixable one. Understanding why it happened is the first step toward a safe and permanent solution, restoring one of your home’s most important entry points.
You'll Learn About
Why Did Your Garage Door Track Come Off the Wall? Uncovering the Root Causes
A garage door track doesn’t just spontaneously detach. It’s the result of specific forces or failures within the system. Identifying the root cause is critical to ensure your repair holds and the problem doesn’t happen again.
The Most Common Culprit: A Physical Impact
The most frequent reason for a detached track is a direct, forceful impact. This can happen when backing a car out, moving large equipment, or even leaning a heavy ladder against the track. The horizontal force is more than the mounting brackets can handle, and they pull the lag bolts directly out of the wall.
Even a minor bump can be enough to loosen the hardware, setting the stage for a future failure. The design of a front-load garage can sometimes create tighter maneuvering spaces, making these accidental impacts more common.
Loose Hardware: The Silent Saboteur
Your garage door is a massive moving object. Every time it opens and closes, it sends vibrations through the entire system. Over months and years, these vibrations can slowly work the lag bolts that secure the track brackets to the wall loose.
Once a bolt becomes even slightly loose, it loses its gripping power. This puts more stress on the remaining bolts, leading to a cascade effect where the entire track eventually pulls away from the wall framing.
Cable and Roller Catastrophes
The rollers running inside the tracks and the cables that lift the door are the heart of the operation. If a roller is worn out, cracked, or completely breaks, it can jam in the track. This sudden stop puts immense, unbalanced pressure on the track, yanking it from its mountings.
Similarly, if a lifting cable snaps, the full weight of the door on that side is lost. This can cause the door to sag and bind, exerting tremendous leverage on the track and ripping it from the wall.
When the Wall Itself Is the Problem
Sometimes, the track is fine, but the surface it’s mounted to has failed. This is a less common but more serious issue. Water damage from a roof leak or foundation issue can rot the wooden studs behind the drywall.
When the wood is compromised, it turns soft and loses all structural integrity. No matter how sturdy your lag bolts are, they can’t hold securely in rotted wood. This requires a two-part fix: repairing the garage door system and addressing the underlying moisture and structural problem.
Immediate Safety Protocol: What to Do the Moment You Notice the Damage
Seeing your garage door track detached is alarming. Your immediate actions are critical to prevent injury or further damage. Follow these steps without deviation.
STOP! Do not, under any circumstances, operate the garage door opener. Attempting to open or close the door electronically can cause the door to fall completely, bend the panels, and destroy the opener motor. Do not try to move it manually either.
Clear the area immediately. Ensure no people, pets, or vehicles are anywhere near the garage door. The situation is unstable, and the door could shift or fall without warning.
Disconnect All Power
Your first priority is to eliminate any chance of the door moving accidentally. Unplug the garage door opener motor from the ceiling outlet. Then, pull the red emergency release cord hanging from the opener’s trolley.
This disengages the door from the opener mechanism. The door will now be resting entirely on the springs and cables, so it is still under extreme tension and must not be moved.
Assess the Damage From a Safe Distance
Visually inspect the problem without standing directly underneath the door. Look for the extent of the track detachment. Is the entire track loose, or just one bracket? Can you see bent or crimped metal on the track itself? Are any rollers out of the track? Make a mental note of everything you see.
The Essential Toolkit: Gathering Your Repair Arsenal
For a straightforward re-securing job where the track itself is not bent, you’ll need a specific set of tools. Having everything ready will make the process safer and more efficient. Attempting this repair without the proper equipment is dangerous.
| Tool Category | Specific Items | Purpose |
|---|---|---|
| Safety Gear | Safety Glasses, Heavy-Duty Gloves | Protecting eyes from debris and hands from sharp metal edges. |
| Securing Tools | Locking Pliers or C-Clamps | To clamp the door securely to the undamaged track, preventing movement. |
| Fastening Tools | Socket/Ratchet Set, Impact Driver (Optional) | For loosening and tightening the lag bolts and track bolts. |
| Positioning Tools | 4-Foot Level, Rubber Mallet, Wood Shims | To ensure the track is perfectly plumb (vertical) and properly spaced. |
| Replacement Hardware | New 5/16″ x 2″ Lag Bolts | Never reuse old, potentially stripped bolts. Always use new hardware. |
A Step-by-Step Guide to Re-Securing Your Garage Door Track
This guide is for a situation where the track has pulled away from the wall, but the track itself is not significantly bent or damaged. If your track is crimped or twisted, you must call a professional. Proceed with extreme caution.
Step 1: Immobilize the Garage Door
This is the most critical safety step. Go to the side of the door where the track is still properly attached. Open the door just enough to slide a C-clamp or a pair of locking pliers onto the track, underneath one of the door rollers. Tighten it securely.
This clamp will prevent the door from falling while you work on the other side. This physical stop is non-negotiable for your safety.
Step 2: Loosen the Damaged Track
On the side that has pulled away from the wall, use your socket wrench to slightly loosen the bolts that hold the vertical track to the jamb brackets. Do not remove them completely. You just need enough play to reposition the track.
The goal is to relieve any tension or binding so you can move the track back into its correct vertical alignment without a fight.
Step 3: Reposition and Align the Track
Gently tap the track with your rubber mallet to guide it back into place. Now, place your 4-foot level against the side of the track. It must be perfectly plumb—that is, perfectly vertical.
An out-of-plumb track will cause the rollers to bind and will lead to catastrophic failure again. Also, check the spacing between the door panels and the track; it should be a consistent gap of about 1/2 to 3/4 inch from top to bottom.
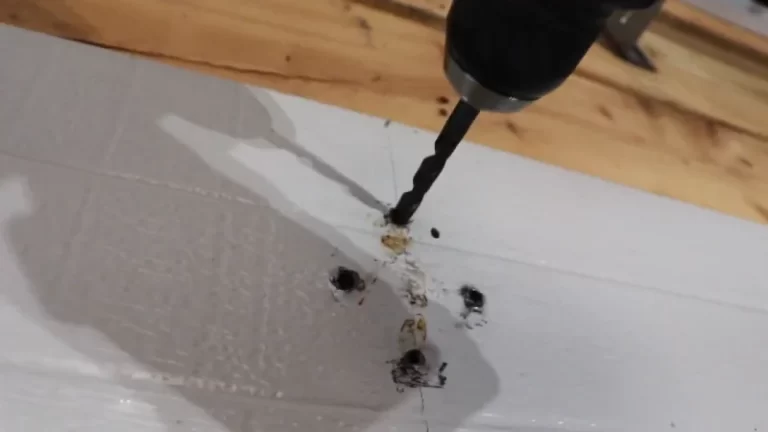
Step 4: Create a Solid Mounting Surface
Simply driving a new bolt into a stripped hole is asking for a repeat failure. You must create a solid anchor point. If the old lag bolt hole is just slightly stripped, you can use a slightly larger and longer lag bolt to get a fresh bite into the wood stud.
For a more robust and permanent solution, drill a new pilot hole a few inches above or below the failed one, ensuring you are drilling directly into the center of the wooden wall stud. A solid connection to the garage’s framing is the only way to guarantee a secure track.
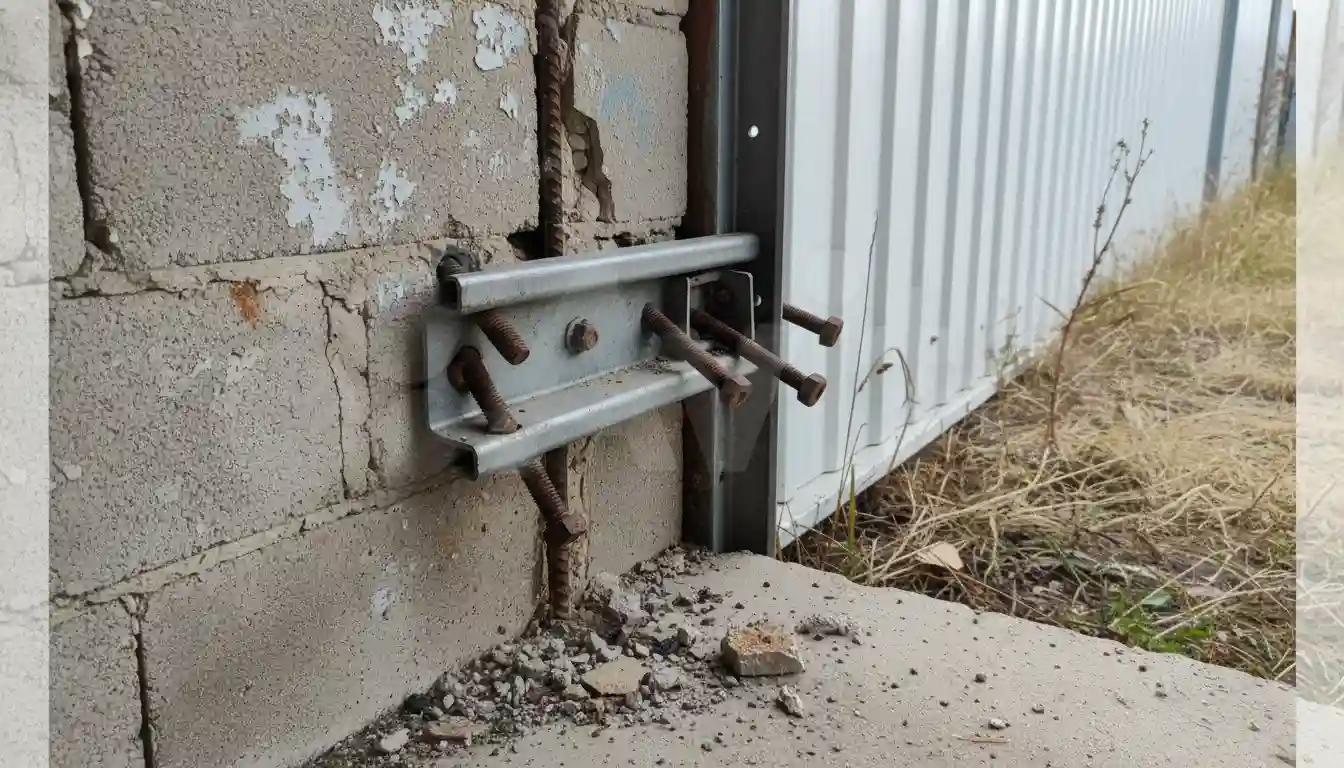
Step 5: Secure the Track to the Wall
With your new pilot holes drilled, hold the track and bracket firmly in its plumb position. Drive your new lag bolts through the bracket holes and into the wall studs until they are snug. Do not overtighten, as this can strip the wood or crush the drywall.
The bracket should sit flush against the wall with no gaps. Once the track is secured to the wall, go back and re-tighten the bolts connecting the track to the brackets that you loosened in Step 2.
Step 6: Final Checks and Testing
Double-check that all rollers are properly seated inside the track. Remove the C-clamp you placed on the other track. Plug the garage door opener back in and stand far away from the door.
Use the wall button to operate the door. Watch and listen carefully as it moves. It should travel smoothly without any jerking, scraping, or loud noises. If you notice any issues, stop the door immediately and re-evaluate the alignment.
When to Call a Professional: Knowing Your Limits
A DIY repair is not always the right answer. A garage door system is under extreme tension, and mistakes can lead to severe injury or death. Knowing when to step back and call for expert help is crucial.
Signs of Severe Damage
If your track is visibly bent, twisted, or crimped, it cannot be safely repaired; it must be replaced. Also, if the cause of the problem was a broken spring or a frayed lifting cable, do not attempt the repair. These components are under immense tension and require specialized tools and knowledge for safe replacement.
If the door itself has come completely off the tracks on one or both sides, the situation is highly unstable. This is a job that requires the experience and equipment of a trained technician.
The Benefit of Professional Service
Calling a professional provides more than just a repair; it provides peace of mind. A technician can accurately diagnose the root cause, replace damaged parts with high-quality components, and ensure the entire system is properly balanced and aligned for long-term safety and reliability. They have the experience to do the job correctly and safely.
Proactive Maintenance: How to Prevent This From Happening Again
Once your door is fixed, you want to keep it that way. Simple, regular maintenance can prevent most major failures, including a detached track. This small investment of time saves you from huge headaches later.
The 10-Minute Monthly Inspection
Once a month, with the garage door closed, take a few minutes to visually inspect the system. Look at the track brackets and check for any lag bolts that appear to be backing out. Examine the rollers for signs of cracking or excessive wear. Look at the lifting cables for any signs of fraying or rust.
This quick check allows you to catch small problems before they become catastrophic failures. While you’re at it, ensuring all your home’s hardware is secure, right down to the hinges and locks, is a great habit. Many homeowners find that when they start looking into a single issue, they find other areas for improvement, like finding door knobs with the same key for added convenience and security.
Lubrication is Your Best Friend
Proper lubrication reduces strain on the entire system. Use a high-quality, silicone-based garage door lubricant to spray the stems of the rollers, the hinges between the panels, and the torsion spring above the door. This keeps everything moving quietly and freely.
Just like you would maintain the moving parts of smaller installations, such as appliance garage hinges in your kitchen, the large components of your garage door need the same attention. Crucially, do not lubricate the inside of the tracks themselves. The rollers are designed to roll, not slide, and grease in the tracks will only attract dirt and grime, causing them to jam.