Garage Door Opener for One Piece Door? Avoid Disaster Now
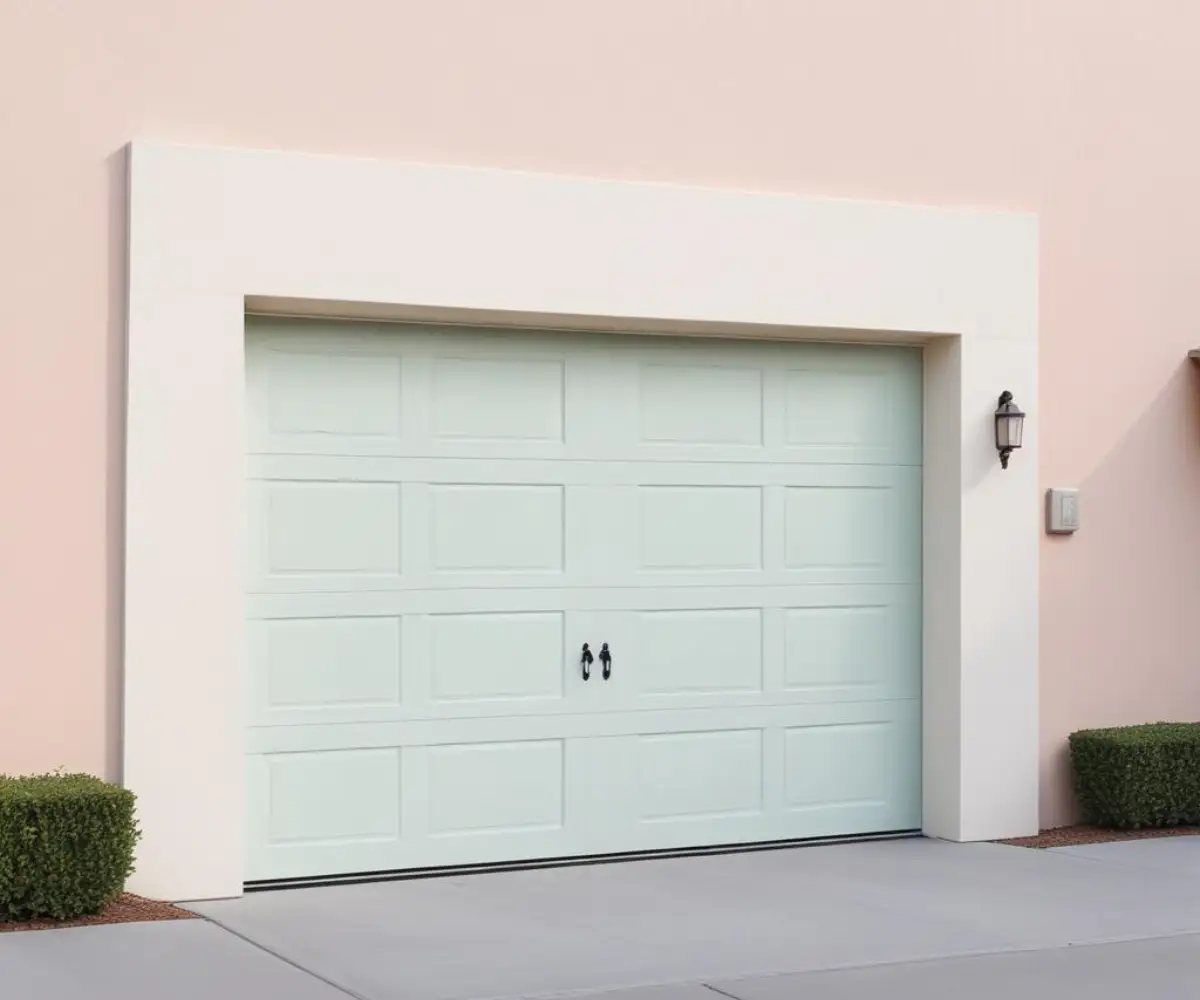
You have a classic one-piece garage door, also known as a tilt-up door. It’s a solid slab of wood or steel that pivots out and up in a beautiful, sweeping arc. But when it comes to automation, you’ve hit a wall. You can’t just install any standard garage door opener and expect it to work.
Using the wrong opener on a one-piece door is a recipe for disaster. It can lead to bent tracks, a damaged door, a strained opener motor, and ultimately, a complete system failure that poses a serious safety risk. Understanding why these doors are unique is the first step to finding the right solution.
You'll Learn About
The One-Piece Door Dilemma: Why Standard Openers Fail
The core of the problem lies in the door’s movement. A standard sectional garage door is made of horizontal panels that roll up on vertical tracks, pulling straight up and back. A one-piece door, however, swings out and up in a wide arc.
A standard opener is designed to pull in a straight line. When it tries to pull a one-piece door, it fights against the natural arcing motion. This creates immense stress on the top of the door, the opener arm (J-arm), and the motor itself, leading to jerky, uneven movement and eventual damage.
The Right Solution: Specialized Hardware is Non-Negotiable
To safely and effectively automate a one-piece garage door, you don’t necessarily need a special opener motor, but you absolutely need a specialized hardware kit. Sometimes called a “tilt door kit” or “one-piece door conversion kit,” this hardware adapts the pulling force of a standard opener to the unique physics of a tilt-up door.
This hardware modifies the connection between the door and the opener, allowing the door to follow its natural arc without putting destructive force on the system. It ensures a smooth, reliable operation that protects both your door and your opener from premature failure.
Key Feature #1: Mastering the J-Arm Geometry
The specialized hardware provides a different set of arms and pivot points. This changes the geometry of the pull, accommodating the swing-out motion before lifting the door. It allows the opener to apply force in a way that works with the door’s arc, not against it.
Without the correct arm configuration, the door may bend at the connection point or refuse to open and close smoothly. This can be one of the primary reasons a garage door feels excessively heavy or appears to be struggling against the opener’s force. If you find yourself in this situation, it might be that your garage door is too heavy for the system to handle without the proper mechanical advantage.
Key Feature #2: The Critical Role of Door Reinforcement
One of the most overlooked secrets to a successful one-piece door opener installation is reinforcement. A standard opener arm attaches to a single point on the top of the door. For a heavy, single panel of wood or steel, this single point of force can cause the door to buckle, crack, or warp over time.
To prevent this, you must install an opener reinforcement bracket. This is a wide steel strut that bolts horizontally across the top section of your door. The opener arm then attaches to the center of this bracket, distributing the pulling force across a much wider area and protecting the structural integrity of the door.
Key Feature #3: Unique Safety Sensor Placement
Safety sensors are mandatory for all automatic garage doors. They project an infrared beam across the opening, and if anything breaks that beam while the door is closing, the door automatically reverses. With a one-piece door, sensor placement is uniquely challenging.
Because the door swings outward as it opens and closes, it can potentially block the sensors itself if they are placed in the standard position. The sensors must be mounted in a location where the beam is not obstructed by the door’s arc of travel. This often requires careful measurement and testing to find the perfect spot that ensures safety without causing false triggers.
Choosing the Right Opener for Your One-Piece Door
While the hardware kit is the most critical component, the opener motor itself still matters. One-piece doors are often heavier than modern sectional doors. Therefore, choosing an opener with adequate power is essential for long-term reliability.
A belt-drive or chain-drive opener can work well, provided it has enough horsepower for your door’s weight and is paired with the correct one-piece door hardware kit. The table below outlines some key considerations for different opener types.
| Opener Type | Primary Advantage | Consideration for One-Piece Doors | Best For |
|---|---|---|---|
| Chain Drive | Durable and Cost-Effective | Can be noisy, but provides reliable pulling power for heavy doors. | Detached garages where noise is not a primary concern. |
| Belt Drive | Quiet and Smooth Operation | Excellent for reducing noise, but ensure the model has sufficient horsepower (3/4 HP or more). | Attached garages, especially those with living spaces above them. |
| Screw Drive | Powerful with Few Moving Parts | Offers great power for heavy doors but may require periodic lubrication. | Areas with stable temperatures, as extreme cold can affect the lubricant. |
| Wall-Mount (Jackshaft) | Saves Overhead Space | Often incompatible with the hardware of most one-piece doors. Check manufacturer specifications carefully. | Rarely suitable for typical tilt-up doors; more common for high-lift sectional doors. |
Step-by-Step Installation Essentials
Installing an opener on a one-piece door is a job that requires precision. While you should always follow the manufacturer’s instructions for both the opener and the hardware kit, here are the crucial steps to focus on.
Step 1: Preparation and Door Balance
Before you begin, detach any existing locks or ropes from the door. Most importantly, test the door’s balance. Disconnect the old opener (if any) and lift the door manually. It should open and close smoothly and hold its position when halfway open. If not, the springs need adjustment by a professional before you proceed.
Step 2: Install the Reinforcement Bracket
Securely mount the opener reinforcement bracket to the top of your door’s interior face. This is not an optional step. It is essential for distributing the force and preventing damage to the door panel.
Step 3: Assemble and Mount the Opener Rail and Motor
Assemble the opener rail and attach it to the motor unit as per the instructions. Fasten the header bracket to the wall above the door, then lift and attach the motor unit to the ceiling mounting brackets. Ensure the rail is centered with the reinforcement bracket on the door.
Step 4: Connect the Specialized Door Arm Kit
This is the most critical phase. Discard the standard door arm that came with your opener. Use the specific arms and hardware from your one-piece door kit to connect the opener trolley to the reinforcement bracket on the door. The geometry must be correct to allow for the door’s arc.
Step 5: Calibrate Safety Sensors and Travel Limits
Mount the safety sensors, making sure to test their alignment and position to avoid interference from the door’s swinging motion. Program the opener’s open and close travel limits and test the safety reversal system. Place a 2×4 board flat on the ground in the door’s path; the door must reverse upon contact.
Troubleshooting Common Problems
Even with a proper installation, you may encounter issues. Understanding them can help you diagnose and fix problems quickly, ensuring your garage remains functional and safe.
Problem: The Door Bends or Flexes When Opening
This is a classic sign of inadequate reinforcement. The pulling force is concentrated in one spot. Ensure your reinforcement bracket is securely fastened and spans a wide enough section of the door.
Problem: The Opener Strains or Reverses Unexpectedly
First, check that the door is properly balanced and can be lifted easily by hand. If the door itself is binding or the springs are weak, the opener’s safety mechanism will interpret this as an obstruction and reverse. It’s also wise to check for other issues in the garage; a professional can spot hazards you might miss, such as a strange chemical smell in your garage or other signs of trouble.
Problem: The Door Doesn’t Close Fully or Lifts at the Bottom
This is often an issue with the travel limit settings on the opener motor. The “close” limit may need to be adjusted so the opener pushes the door arm a bit further, ensuring the bottom of the door rests securely on the floor.
When to Call a Professional
While many homeowners can tackle this project, some situations demand professional help. If your door is extremely heavy, old (especially large wood doors), or if the springs are not properly balanced, do not proceed. Working with garage door springs is extremely dangerous and should only be done by a qualified technician.
A professional can ensure the installation is safe, the geometry is perfect, and all safety features are functioning correctly. They can also identify other potential issues in your garage, such as dangerous odors that might indicate a problem far more serious than a malfunctioning door, like something that smells like rotten eggs, which could be a gas leak.
Automating a one-piece garage door is entirely possible, but it requires the right approach and the right hardware. By understanding its unique mechanics and investing in a proper reinforcement bracket and hardware kit, you can enjoy the convenience of an automatic opener while protecting your door for years to come.