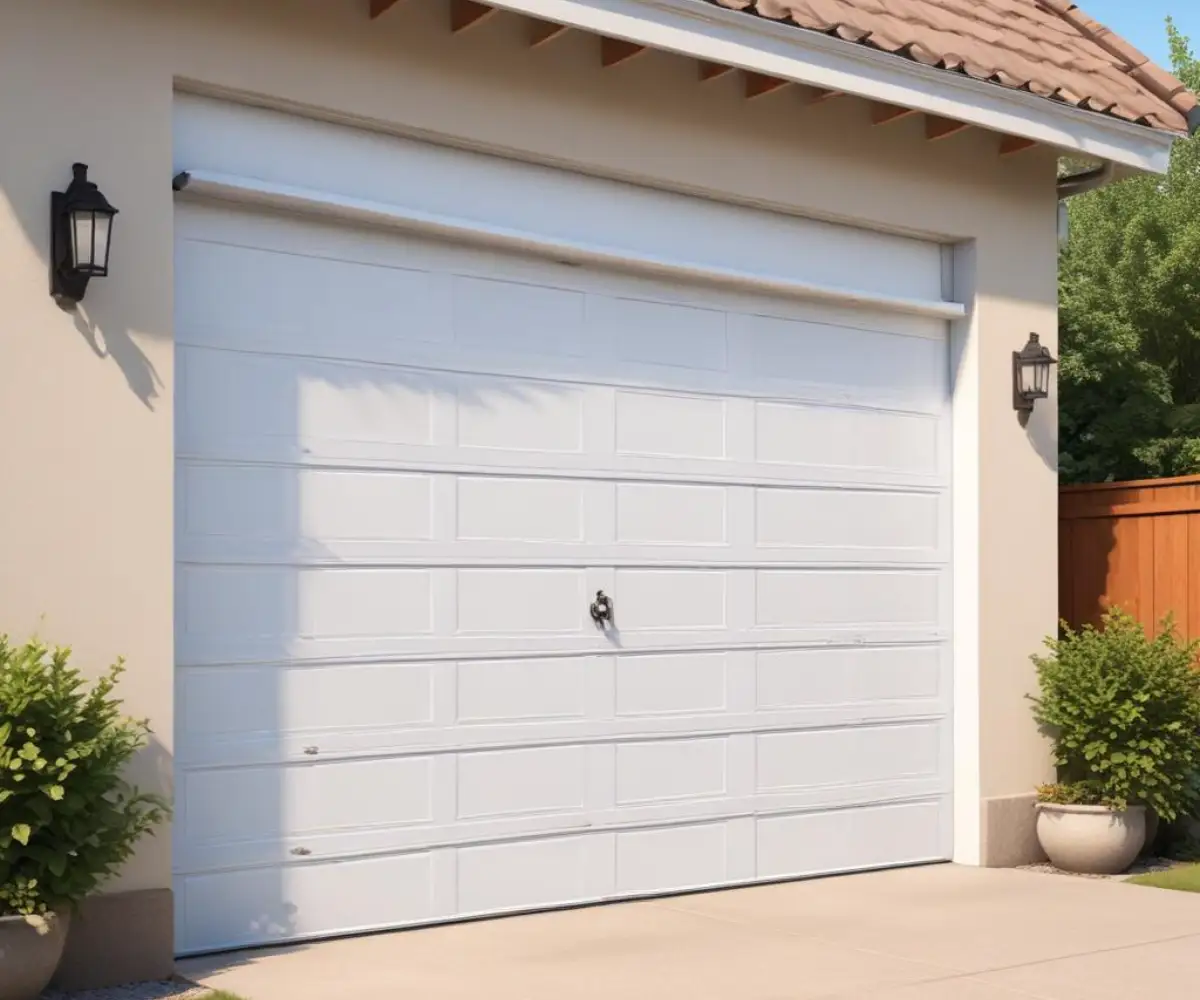
Garage Door Jerks When Closing? Top 5 Reasons & Fixes
There’s nothing more unsettling than the sudden, jarring shudder of a garage door as it closes. That jerky, noisy descent isn’t just annoying; it’s a clear warning sign that something is wrong with your garage door system. Ignoring it can lead to more significant damage, costly repairs, and even serious safety hazards.
A smoothly operating garage door is a complex system of balanced parts working in harmony. When one component fails, it throws the entire system off-kilter, resulting in the jerking motion you’re experiencing. This guide will walk you through the most common culprits and provide actionable solutions to get your door back on track.
You'll Learn About
Diagnosing the Problem: Why Is My Garage Door So Jerky?
Pinpointing the exact cause of a jerky garage door requires a bit of detective work. The issue could stem from several sources, ranging from simple maintenance oversights to more serious mechanical failures. Understanding the root cause is the first step toward a lasting solution.
From obstructed tracks to worn-out rollers and opener malfunctions, we will explore the five most frequent reasons your garage door jerks when closing. A systematic inspection of these key areas will almost always reveal the source of the problem.
1. Obstructed or Dirty Tracks
The metal tracks that guide your garage door are the most common source of jerky movement. Over time, these tracks can accumulate dirt, grime, leaves, and other debris. This buildup creates friction and physical obstructions, preventing the rollers from moving smoothly along their path.
Even small dents or bends in the track can cause the rollers to catch and release, leading to a stuttering or jerking motion. A thorough inspection and cleaning are often all that’s needed to resolve this issue and restore smooth operation.
2. Worn-Out or Damaged Rollers
Garage door rollers are the small wheels that travel within the tracks. They are crucial for the door’s smooth and quiet movement. However, these rollers don’t last forever and can show visible signs of wear and tear, such as cracks, chips, or flat spots.
When rollers become worn or damaged, they can no longer glide effortlessly, causing the door to vibrate and jerk. This not only creates noise but also puts additional strain on the garage door opener and other components. Replacing worn rollers is essential for preventing further damage.
3. Unbalanced or Failing Springs
The springs (either torsion or extension) are the powerhouse of your garage door system, counterbalancing the door’s immense weight. A properly balanced door should feel relatively light and move smoothly by hand when disconnected from the opener. If the springs lose tension or break, the opener is forced to lift and lower a much heavier load.
This imbalance is a significant cause of jerking, as the opener strains to manage the weight. Working with garage door springs is extremely dangerous due to the high tension they are under. If you suspect a spring issue, it is always safest to call a professional for inspection and repair.
4. Garage Door Opener Malfunctions
The garage door opener itself can be the source of the problem. Internal components like gears, sprockets, and the drive chain or belt can wear out over time. An aging or failing motor may struggle to provide consistent power, resulting in an uneven and jerky movement.
Additionally, the opener’s force settings may be improperly adjusted. If the “close force” is set too low, the opener might interpret any minor resistance as an obstruction, causing it to stop and start abruptly. Consulting your opener’s manual for adjustment instructions can sometimes resolve the issue.
5. Bent or Misaligned Tracks
Beyond simple debris, the tracks themselves can become bent or misaligned. This can happen from an accidental impact, like a car bumping the door, or even from the house settling over time. Foundation shifts, for instance, can cause issues similar to noticing a large gap between a patio and house, where structural movement affects adjacent components.
Even a slight misalignment can dramatically increase friction and cause the rollers to bind. You can often spot misalignment by visually inspecting the tracks to see if they are parallel and properly spaced from the door. Realigning tracks can be a DIY job, but requires precision and care.
Step-by-Step Fixes for a Smoothly Closing Garage Door
Now that you have identified the potential causes, it’s time to apply the solutions. The following steps will guide you through the process of cleaning, repairing, and adjusting your garage door system. Always prioritize safety by disconnecting the power to the garage door opener before beginning any work.
Follow these instructions carefully to methodically address each potential issue. With the right tools and a little patience, you can often restore your garage door’s smooth and quiet operation without needing to call for professional help.
Step 1: Clean and Lubricate the Tracks and Rollers
The first and easiest fix is to thoroughly clean the garage door tracks. Use a cloth and a vacuum to remove all dirt, cobwebs, and debris. Once clean, apply a high-quality, silicone-based lubricant to the rollers’ ball bearings.
It’s a common misconception to lubricate the tracks themselves; doing so can attract more dirt. Instead, focus on the moving parts like hinges and rollers. This simple maintenance task can dramatically reduce friction and noise.
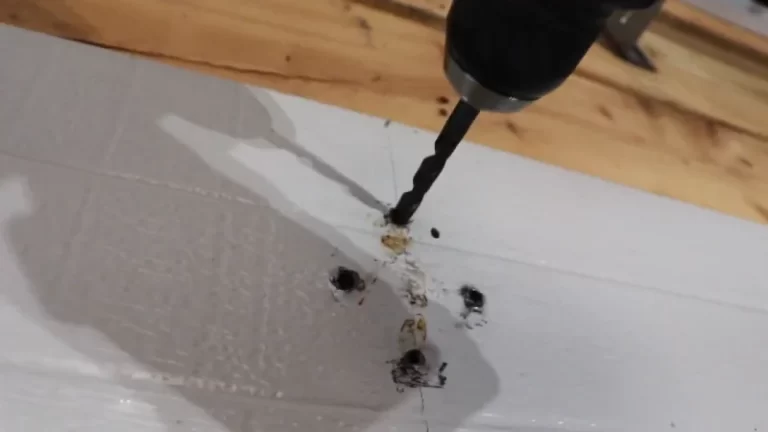
Step 2: Inspect and Replace Worn Rollers
Visually inspect each roller for signs of damage. Look for cracks in nylon rollers or flat spots on steel ones. If a roller appears worn or doesn’t spin freely, it’s time for a replacement. Worn rollers are a very common cause of jerky motion.
Replacing rollers is a manageable DIY project. However, be extremely cautious, especially with the bottom rollers, which are often under tension from the lifting cables. If you are unsure, it is always best to consult a professional.
Step 3: Check Door Balance and Springs
To check the door’s balance, first, pull the emergency release cord to disconnect the opener. Carefully lift the door manually to about halfway. A well-balanced door should stay in place without assistance. If it slams down or shoots up, the springs are not properly tensioned.
Adjusting or replacing garage door springs is not a DIY task. The immense tension can cause serious injury. If you determine the door is unbalanced, contact a qualified garage door technician immediately.
Step 4: Adjust the Garage Door Opener
If the physical components of the door seem to be in good order, the issue may lie with the opener’s settings. Locate the force adjustment dials on your opener motor. You may need to slightly increase the “close force” setting to prevent the opener from stopping and starting.
Refer to your owner’s manual for specific instructions, as the process varies by model. Make small, incremental adjustments and test the door after each one to find the optimal setting without putting undue strain on the motor.
Proactive Maintenance: Your Key to a Lasting Solution
Preventing future problems is just as important as fixing the current ones. Regular maintenance is the single most effective way to ensure the longevity and smooth operation of your garage door. A simple monthly check can save you from costly repairs down the line.
This includes tasks like lubrication, tightening hardware, and keeping the tracks clean. Understanding the overall integrity of your garage structure, which might include materials like asphalt impregnated board for sheathing, can also provide context for potential long-term issues affecting the door’s frame and alignment.
Monthly Garage Door Maintenance Checklist
A little bit of care goes a long way. Use this simple table as a guide for your monthly garage door wellness check. Consistent maintenance helps you catch small issues before they become major, jerky problems.
| Component | Action | Frequency |
|---|---|---|
| Tracks | Wipe down with a clean cloth to remove debris. | Monthly |
| Rollers & Hinges | Apply a silicone-based lubricant. | Monthly |
| Hardware | Check and tighten any loose nuts and bolts. | Every 3 Months |
| Door Balance | Perform a manual balance test (with opener disconnected). | Every 3 Months |
| Safety Sensors | Test the auto-reverse function by placing an object in the door’s path. | Monthly |
The Unseen Factor: Weather and Environmental Impact
Changes in temperature and humidity can subtly affect your garage door’s performance. Metal tracks can contract in the cold, while wooden doors can swell with moisture. These environmental factors can increase friction and contribute to jerky movements, especially at the start of a new season.
Ensuring your garage is well-sealed and insulated can mitigate some of these effects. When considering insulation, it’s vital to use the correct materials for safety and effectiveness; for example, understanding questions like can I use Great Stuff around heating ducts is crucial in any home project involving sealants and temperature control.
When to Call a Professional Garage Door Technician
While many causes of a jerky garage door can be fixed with basic DIY maintenance, some problems require the expertise and specialized tools of a professional. Knowing your limits is key to ensuring a safe and effective repair. Attempting complex repairs without the proper knowledge can lead to further damage or serious personal injury.
If you’ve performed the basic maintenance steps and the problem persists, it’s time to call for help. Certain components, especially the springs and cables, are under extreme tension and should only be handled by a trained technician. Don’t risk your safety to save a few dollars.
If you encounter broken springs, frayed cables, severely bent tracks, or issues with the opener’s motor, your best course of action is to contact a reputable garage door repair service. They have the experience to diagnose the problem accurately and perform the repair safely and efficiently, ensuring your door operates smoothly for years to come.