That Nasty Gap Between Your Tub and Vinyl Floor? It’s a Water Damage Nightmare in the Making
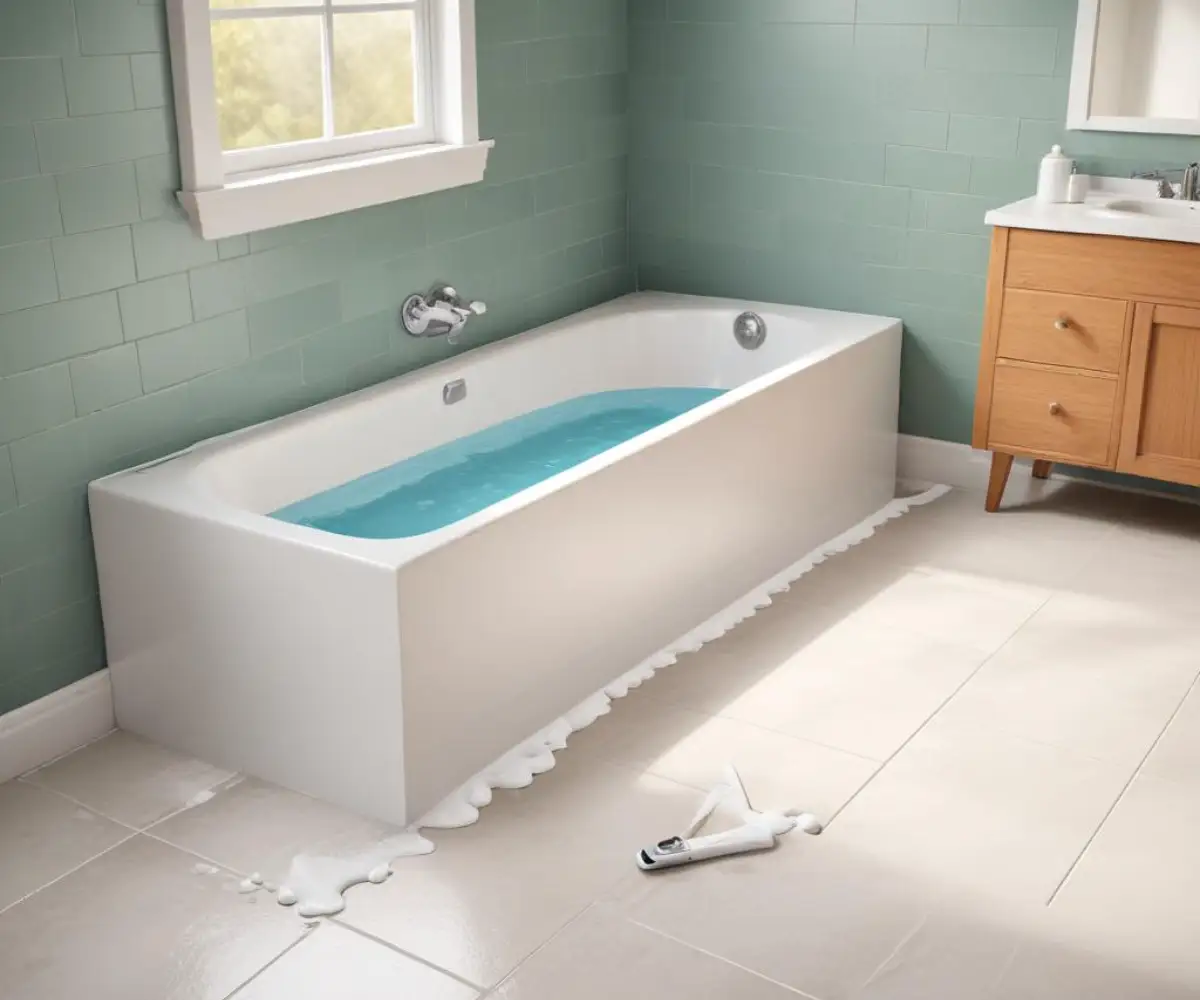
You see it every day: that small but persistent gap where your bathtub meets the vinyl floor. It might seem like a minor cosmetic flaw, but ignoring it is one of the biggest mistakes a homeowner can make. This gap is a direct invitation for water to seep into your subfloor, leading to rot, mold, and costly structural damage that can turn your bathroom into a hazardous zone.
This isn’t just about aesthetics; it’s about protecting the structural integrity of your home. Water that splashes out of the tub finds its way into this opening, where it becomes trapped. The result is a perfect breeding ground for mold and mildew, which can compromise your home’s air quality and lead to even more significant problems down the line.
You'll Learn About
Why That Dangerous Gap Appears in the First Place
Understanding the root cause of the gap is the first step toward a permanent solution. Several factors can contribute to this common bathroom problem, and identifying the specific cause in your home will help you choose the most effective repair strategy.
The Telltale Signs of House Settling and Subfloor Flex
Every house settles over time, causing slight shifts in the structure. This movement can create separation between the heavy, rigid bathtub and the more flexible vinyl flooring. Even minor settling can produce a noticeable gap. Similarly, the subfloor beneath your tub and vinyl isn’t perfectly rigid; it has a degree of flex. The weight of a bathtub full of water can cause the subfloor to deflect slightly, widening the gap temporarily. Over time, this repeated movement can make the gap a permanent and growing issue. If you notice a squishy bathtub floor, it could be a sign of a much more severe subfloor problem that needs immediate attention.
Expansion and Contraction: The Unseen Movement
Vinyl flooring, particularly luxury vinyl plank (LVP), is designed to “float,” meaning it isn’t glued directly to the subfloor. This allows the material to expand and contract with changes in temperature and humidity. Installers are supposed to leave a small expansion gap around the perimeter, including against the tub. However, if this gap was made too large or if the flooring has contracted significantly, you’re left with an unsightly and problematic opening.
Improper Installation and Water Intrusion Cycles
Sometimes, the problem is simply a result of poor installation. The vinyl flooring may have been cut too short, or the original sealant may have been applied incorrectly and failed prematurely. Once a small breach occurs, a destructive cycle begins. Water gets in, loosens the flooring adhesive, causing the vinyl to curl or lift away from the tub. This makes the gap even larger, allowing more water in and accelerating the damage.
The Ultimate Solution: How to Seal the Gap for Good
Fixing the gap between your tub and vinyl floor is a straightforward project that any homeowner can tackle with the right tools and techniques. Following these steps will ensure you create a durable, waterproof seal that protects your home and looks professionally finished.
Step 1: Clean and Prepare the Area Thoroughly
A successful seal starts with a perfectly clean surface. Any remaining old caulk, soap scum, or debris will prevent the new sealant from adhering properly. Use a utility knife or a specialized caulk removal tool to carefully scrape away all the old material. Once the bulk of it is gone, wipe the area with denatured alcohol to remove any remaining residue and ensure the surface is completely dry. A clean, dry joint is non-negotiable for a lasting bond.
Step 2: Choose the Right Sealant for the Job
Not all caulks are created equal. For a high-moisture area like the joint between a tub and floor, you need a sealant that is both waterproof and flexible. 100% silicone caulk is the superior choice for this application. It offers excellent adhesion, remains flexible to accommodate movement, and contains mildewcide to prevent mold growth. While siliconized acrylic latex is an option, it doesn’t offer the same long-term durability and water resistance as pure silicone.
Making the right choice is critical for a long-lasting repair. The properties of each sealant type can vary significantly, impacting both the application process and the durability of the seal.
| Sealant Type | Flexibility | Water Resistance | Mold/Mildew Resistance | Best For |
|---|---|---|---|---|
| 100% Silicone | High | Excellent (Waterproof) | Excellent (In-built mildewcide) | Tubs, showers, and sinks. Ideal for non-porous surfaces like acrylic tubs and vinyl. |
| Siliconized Acrylic Latex | Medium | Good (Water-resistant) | Good | General bathroom use, trim, and areas that will be painted. Easier cleanup. |
| Butyl Rubber | High | Excellent | Moderate | Primarily for outdoor use, gutters, and roofing. Not ideal for interior aesthetics. |
Step 3: Apply the Caulk Like a Professional
For a clean, sharp line, apply painter’s tape to both the floor and the tub, leaving a consistent 1/4-inch gap where the caulk will go. Cut the tip of the caulk tube at a 45-degree angle to create a small opening. Puncture the inner seal with a nail or the tool on your caulk gun. Apply the caulk in a smooth, continuous bead, holding the gun at a consistent 45-degree angle. The key to a smooth bead is steady pressure and consistent movement.
Step 4: Tool the Bead for a Perfect Seal
Immediately after applying the caulk, tool the bead to create a concave, professional-looking finish. You can use a caulk finishing tool or a wet finger. Press lightly and pull the tool along the entire bead in one smooth motion. This process forces the sealant into the gap to ensure a complete, watertight seal and removes any excess. Once you’re done tooling, carefully remove the painter’s tape while the caulk is still wet, pulling it away at a 45-degree angle for the cleanest line.
What If the Gap is Too Wide for Caulk?
If you’re facing a gap wider than 1/4 to 3/8 of an inch, caulk alone won’t be sufficient to bridge it. Attempting to fill a large gap with caulk will result in a messy finish and a seal that is likely to crack and fail. In these situations, you need a more robust solution.
Using Backer Rod for Large Gaps
For gaps up to about 1/2 inch, a foam backer rod is the perfect solution. This flexible foam rope is pressed into the gap before caulking. It provides a solid surface for the caulk to adhere to, preventing it from sinking into the gap and ensuring you use the correct amount of sealant. Choose a backer rod that is slightly larger in diameter than the gap to ensure a snug fit. Press it into the joint so it sits about 1/8 inch below the surface, then apply your silicone caulk over it.
When Trim is the Best Option
For very large or uneven gaps, the best solution is to conceal the opening with a piece of waterproof trim. PVC quarter round or shoe molding is an excellent choice for this purpose because it is completely waterproof and will not rot or swell when exposed to moisture. Cut the trim to length and adhere it to the tub and floor using a strong construction adhesive combined with a bead of silicone caulk to seal the edges. This approach not only covers the gap but can also add a clean, finished look to the base of your tub, much like how one might finish a quarter round around a door frame.
Maintaining Your New Seal for Long-Term Protection
Once your new seal is in place and fully cured (allow at least 24 hours before exposing it to water), regular maintenance is key to its longevity. Clean the caulk line regularly with a pH-neutral cleaner to prevent soap scum buildup. Inspect the seal every few months for any signs of cracking, peeling, or mold growth. Addressing minor issues early can prevent a complete failure of the seal. With proper care, a high-quality silicone seal can protect your bathroom from water damage for many years.
Frequently Asked Questions
Why is there a gap between my tub and the vinyl floor?
In many cases, a small gap is intentionally left between the bathtub and a floating vinyl floor. This is called an expansion gap, and it allows the flooring to expand and contract with temperature changes without buckling. If the gap is large or uneven, it could be the result of the house settling or improper installation.
How can I fill the gap between the tub and the vinyl floor?
For smaller gaps, a flexible, 100% silicone caulk is a good option as it creates a watertight seal while still allowing for floor movement. For larger gaps, installing a PVC quarter-round or other vinyl trim is recommended; it should be adhered to the tub, not the floor, and then caulked along the top and bottom for a waterproof finish.
Should I use caulk to seal the gap?
Yes, using 100% silicone caulk is highly recommended to create a waterproof seal and prevent water from getting under the flooring. This is crucial in a bathroom environment to protect the subfloor from moisture damage. Be sure to use a silicone-based sealant that allows for the floor to flex.
Can the gap between the tub and floor cause water damage?
Yes, if left unsealed, the gap can allow water to seep underneath the vinyl flooring. This can lead to damage to the subfloor, underlayment, and potentially the growth of mold and mildew. It is important to properly seal this gap to prevent costly repairs in the future.
Is it better to use trim or just caulk to fill the gap?
The best method depends on the size of the gap. For a small, uniform gap (around 1/8 to 1/4 inch), high-quality silicone caulk can be sufficient. However, for larger or more irregular gaps, using a flexible PVC trim piece will provide a more durable and aesthetically pleasing solution by effectively bridging the space.