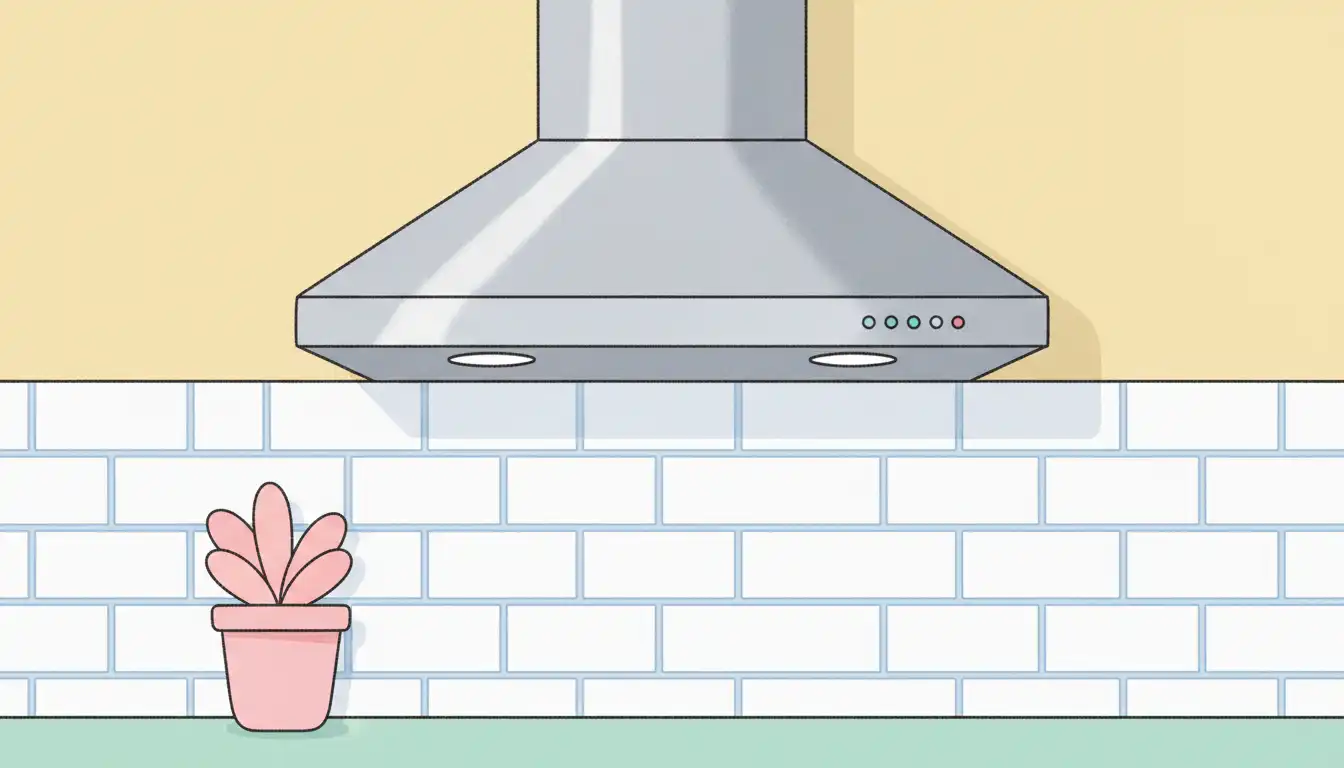
Gap Between Range Hood and Backsplash? Erase That Ugly Void
That small, yet glaringly obvious gap between your new range hood and the backsplash can be incredibly frustrating. You’ve invested in a beautiful kitchen, and this one imperfection commands all the attention.
This isn’t just an aesthetic issue; it’s a practical one too. This guide will walk you through why that gap exists and provide clear, actionable solutions to fix it for good.
You'll Learn About
Uncovering the Cause: Why Is There a Gap?
Understanding the root of the problem is the first step toward a flawless finish. More often than not, the gap is not a single person’s fault but a combination of factors common in home construction.
The most frequent culprit is an uneven wall. Very few walls in any home are perfectly flat and plumb, and these slight imperfections become obvious when you install a rigid object like a range hood against a tiled surface.
Common Reasons for the Annoying Gap
Simple miscalculations during the planning phase can lead to this issue. This could be an error in measuring the height for the hood before the backsplash tile, with its specific thickness, was installed.
The sequence of your installation also matters. If the range hood is installed before the tile, it’s difficult to get the backsplash to terminate perfectly against the hood’s bottom edge, often leaving a small void.
Finally, the design of the range hood itself can be a factor. Some models have mounting brackets or contours that don’t naturally sit flush against every possible surface, especially textured or uneven tile.
The Pro’s Playbook: 5 Ways to Fix the Gap
Fortunately, there are several reliable methods to eliminate the gap, ranging from simple cosmetic fixes to more structural solutions. The right choice depends on the size of the gap and your comfort level with DIY projects.
Solution 1: The Quick Fix with Caulk (For Gaps Under 1/4 Inch)
For very small, uniform gaps, a clean bead of caulk is the simplest solution. It’s crucial to select the right material for a lasting, professional-looking result.
Choose a 100% silicone caulk designed for kitchens and baths, as it’s flexible, waterproof, and mold-resistant. For areas directly behind the cooktop, a high-heat-rated caulk is an even safer choice.
To apply, first clean the gap thoroughly to remove any dust or grease. Apply painter’s tape to the top of the backsplash and the bottom of the range hood to create sharp, clean lines. Apply a steady bead of caulk, smooth it with a caulking tool or a wet finger, and remove the tape before the caulk skins over.
Solution 2: The Custom Fit with Scribe Molding or Trim
When the gap is larger or uneven, a piece of trim provides a much cleaner and more intentional look. Scribe molding is a thin strip of wood or PVC designed specifically for this purpose.
You can find trim to match your cabinetry for a cohesive look. For a proper fit against an uneven wall, the trim will need to be “scribed” by tracing the wall’s contour onto the wood and cutting it to shape for a perfect, custom fit.
Once cut, paint or stain the trim to match its surroundings, and then attach it using a strong construction adhesive or small brad nails.
Solution 3: The Modern Look with a Metal Filler Strip
For a sleek, contemporary solution, a stainless steel filler strip is an excellent option. This works especially well if you have a stainless steel range hood, as it creates a seamless, integrated appearance.
These strips can often be custom-cut to the exact height of your gap. Installation is typically straightforward, involving the application of a strong, heat-resistant adhesive to the back of the strip before pressing it firmly into place.
Solution 4: The Integrated Finish by Extending the Backsplash
If you have a significant and uniform gap, adding a small row of decorative tile can be a beautiful solution. This “finishing row” makes the design look intentional and can add a custom touch to your kitchen.
This is a more involved project that requires tile-setting skills, including a wet saw, mortar, and grout. However, the result is a permanent, high-end fix that completely eliminates the gap.
Solution 5: The Last Resort – Remounting the Range Hood
If the gap is very large or was caused by a significant installation error, the only true solution may be to lower the range hood. This is the most complex fix and may require professional help.
Before doing this, you must check the manufacturer’s specifications for the required clearance between the cooktop and the bottom of the hood. Safety is paramount, and maintaining proper clearance is essential, especially when dealing with a powerful stove against the wall. The process of reinstalling ensures perfect alignment with all kitchen elements.
Comparing Your Gap-Filling Options
Choosing the right method can feel overwhelming. The table below breaks down the solutions based on common decision-making factors to help you select the best path forward for your kitchen.
| Solution | Best For (Gap Size) | Required Skill Level | Estimated Cost | Final Aesthetic |
|---|---|---|---|---|
| Silicone Caulk | Under 1/4″ | Beginner | $ | Clean and simple |
| Scribe Molding/Trim | 1/4″ to 3/4″ (uneven) | Intermediate | $$ | Traditional, integrated |
| Metal Filler Strip | 1/4″ to 1″ (uniform) | Beginner | $$ | Modern and sleek |
| Add-on Tile Row | Over 1/2″ (uniform) | Advanced | $$$ | Custom and high-end |
| Remount Range Hood | Over 1″ or major error | Professional | $$$$ | Perfectly correct |
The Hidden Dangers Lurking in That Gap
That seemingly innocent gap is more than just a cosmetic flaw. It’s a hidden trap for the realities of a working kitchen, creating problems that are much harder to solve than the gap itself.
Over time, it becomes a perfect ledge for aerosolized grease, steam, and dust to collect. This creates a sticky, hard-to-reach film that is not only unhygienic but can also become a potential fire hazard if the buildup is significant.
More Than Just an Eyesore
This dark, warm crevice, rich with microscopic food particles, is an open invitation for pests. It provides an ideal hiding and breeding ground that is completely out of sight.
Furthermore, the gap can subtly impact your ventilation’s performance. A significant void can disrupt the smooth flow of air, creating turbulence at the hood’s edge and slightly reducing its efficiency at capturing smoke and steam from your cooking surface.
Prevention: How to Avoid the Gap in the First Place
The best way to fix a problem is to prevent it from ever happening. During a kitchen renovation or build, a few key steps can ensure a perfect, gap-free installation from the start.
Always finalize your backsplash material and thickness before determining the final mounting height for your range hood. Communicate clearly with your contractor about the desired outcome, ensuring they plan for a flush fit.
Plan for a Perfect Fit
Before installation, use a long level to check the wall for any significant bows or dips. Addressing these wall imperfections before tiling or mounting can save you a major headache later on.
Investing in quality components, from your cabinets to your ventilation system, often leads to a better installation experience. High-quality products tend to have better manufacturing tolerances and more comprehensive installation instructions. Whether you are comparing different cabinet brands or reading through Hoodsly reviews for a new range hood, quality should be a top consideration.
Frequently Asked Questions
Why is there a gap between my range hood and backsplash?
A gap can appear if the backsplash tile does not continue all the way up to the bottom of the hood. It can also be created if a range hood is mounted slightly forward to align with cabinetry, leaving a space behind it. Replacing an old hood with a new, differently sized one can also expose a previously covered gap.
Is it a problem to have a small gap?
A small gap is primarily an aesthetic issue and can trap grease and dirt, making cleaning difficult. From a functional standpoint, it does not typically impact the hood’s performance. However, sealing the gap can create a more finished look and improve kitchen hygiene.
How can I fill a gap between the range hood and backsplash?
For small gaps, applying a line of color-matched caulk or silicone sealant is a common solution. For a more integrated look or larger gaps, a piece of metal or wood trim can be fitted to cover the space. Using a filler rod behind the caulk can help in wider gaps to ensure a proper seal.
Should the backsplash be installed behind the range hood?
It is best practice to install the backsplash, such as tile or a solid panel, on the wall before mounting the range hood. Tiling the entire wall up to the cabinets ensures there won’t be a gap if you decide to replace the range hood with a different model in the future. This approach provides a continuous and easy-to-clean surface.
Are there building code requirements for the space behind a range hood?
Building codes generally focus on the required clearance between the cook top and the bottom of the range hood, as well as the distance to any combustible materials. Codes typically mandate that noncombustible materials, like a proper backsplash, have zero clearance from the hood. Always check your local building codes and the manufacturer’s specifications for exact requirements.
Achieving a Flawless Kitchen Finish
A gap between the range hood and backsplash is a common but fixable issue. By identifying the cause and choosing the right solution for the size of your gap, you can easily remedy the problem.
Whether you opt for a simple bead of caulk or a custom-cut piece of trim, addressing the gap will provide that polished, professional look your kitchen deserves. This small detail makes a huge difference in the final presentation of your space.