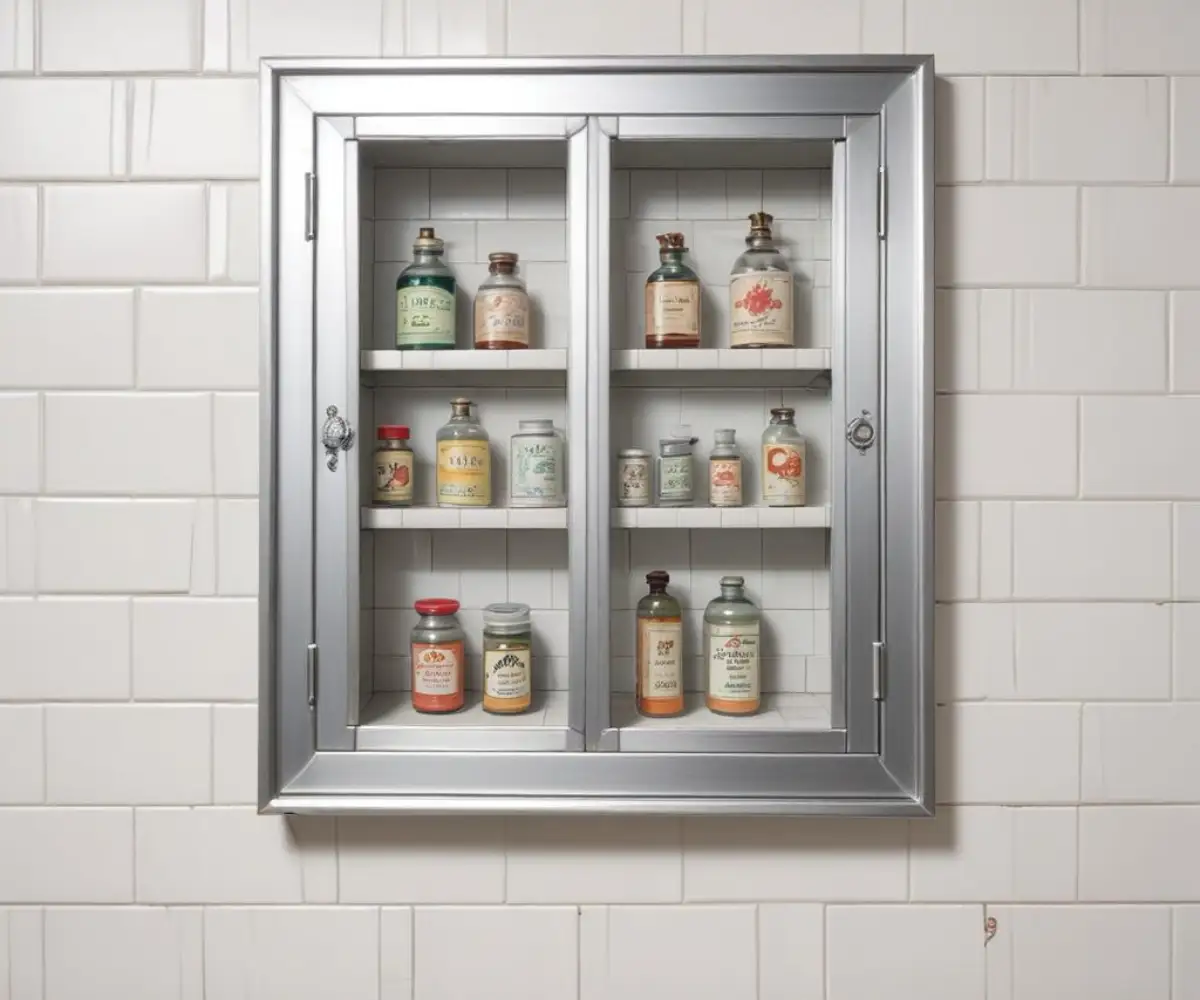
That Ugly Gap Around Your Medicine Cabinet? Here’s How to Fix It
You’ve just installed your new recessed medicine cabinet. You step back to admire your work, only to be met with a frustrating sight: a noticeable, unsightly gap between the cabinet frame and the wall. It’s a common problem that can make a sleek installation look unfinished and unprofessional.
This gap isn’t just a cosmetic issue. It can be a pathway for moisture, dust, and even pests to get into your wall cavity. Fortunately, fixing this gap is a manageable DIY project, and with the right approach, you can achieve a seamless, professional finish that makes the blemish disappear entirely.
You'll Learn About
Why This Gap is More Than Just an Eyesore
While the visual imperfection is often the primary motivation for fixing it, there are practical reasons to seal the gap around your recessed medicine cabinet. An unsealed gap can lead to several issues that affect your home’s health and integrity.
Most importantly, in a high-moisture environment like a bathroom, the gap provides an entry point for steam and water vapor into the wall. This can lead to mold and mildew growth within the wall cavity, which can cause structural damage and impact indoor air quality. Sealing the gap is a crucial step in moisture-proofing your bathroom.
Uncovering the Culprit: Common Causes of Gaps
Understanding why the gap appeared in the first place can help prevent it in future projects. More often than not, the cause is simple and straightforward.
The Rough Opening Was Cut Too Large: This is the most frequent cause. Measurement errors or the saw slipping during the cut can result in an opening that’s slightly bigger than the cabinet body, leaving a gap that the cabinet’s flange or frame can’t cover. Even a small miscalculation can lead to a visible space.
Wall Imperfections: Very few walls are perfectly flat. Bows, dips, or uneven drywall surfaces can prevent the medicine cabinet’s frame from sitting flush against the wall. This can create gaps that are wider in some areas and narrower in others.
Minimalist Cabinet Frame Design: Some modern medicine cabinets are designed with very narrow frames or flanges. While this creates a sleek, minimalist look, it offers very little forgiveness for inaccuracies in the rough opening, making any gap much more apparent.
Before You Begin: Essential Tools and Materials
Gathering your supplies before you start will make the repair process smooth and efficient. The tools you need will depend on the size of the gap you’re tackling. Below is a comprehensive list covering various repair methods.
| Tool/Material | Purpose | Used For Gaps |
|---|---|---|
| Caulking Gun | Applying caulk evenly. | Small to Medium |
| Paintable Caulk (Kitchen & Bath Grade) | Filling small gaps and providing a waterproof seal. | Small (Up to 1/4″) |
| Painter’s Tape | Creating clean, sharp caulk lines. | Small to Medium |
| Foam Backer Rod | Filling the depth of a medium-sized gap before caulking. | Medium (1/4″ to 1/2″) |
| Spackling or Drywall Compound | Filling medium gaps for a seamless wall finish. | Medium (1/4″ to 1/2″) |
| Putty Knife | Applying and smoothing spackle. | Medium |
| Sandpaper (Fine-Grit) | Sanding spackle smooth before painting. | Medium |
| Wood Trim or Molding | Covering large gaps for a decorative and clean finish. | Large (Over 1/2″) |
| Tape Measure & Pencil | Measuring for trim cuts. | Large |
| Miter Saw or Miter Box | Making precise angled cuts on trim pieces. | Large |
| Construction Adhesive | Securing trim to the wall. | Large |
| Brad Nailer or Hammer & Finishing Nails | Further securing trim pieces. | Large |
| Wood Filler | Filling nail holes in the trim. | Large |
| Primer & Paint | Finishing the repair to match the wall. | All Sizes |
Step-by-Step Solutions: Sealing the Gap Like a Pro
The best method for fixing the gap depends entirely on its size. A tiny crack requires a different approach than a gaping hole. Here’s a breakdown of the best solutions, from small to large.
For Minor Gaps (Up to 1/4 inch)
For small, hairline gaps, a high-quality, paintable caulk is your best friend. It’s flexible, easy to apply, and creates a clean, waterproof seal.
The Power of Caulk: Start by cleaning the area around the gap with a damp cloth to remove any dust or debris. Apply painter’s tape to the wall and the cabinet frame, leaving a clean, uniform channel for the caulk. Cut the tip of the caulk tube at a 45-degree angle and apply a steady bead into the gap. Smooth the bead immediately with a damp finger or a caulk tool, then carefully remove the painter’s tape before the caulk begins to skin over. This technique will leave you with a perfectly straight, professional-looking line.
For Medium Gaps (1/4 to 1/2 inch)
When the gap is too large for caulk alone, you need a method that provides more substance. A backer rod with caulk or a spackling compound are excellent options.
The Backer Rod & Caulk Combo: A foam backer rod is a flexible foam rope that you press into the gap. This fills most of the space and provides a solid surface for the caulk to adhere to. Gently push the backer rod into the gap until it’s about 1/8 inch below the surface. Then, apply a bead of caulk over the top and smooth it for a clean finish. This prevents you from using an excessive amount of caulk, which can shrink and crack over time.
Spackle for a Seamless Finish: Alternatively, you can use spackling or drywall compound to fill the gap. Apply the compound with a putty knife, pressing it firmly into the gap. You may need to apply a second coat after the first one dries. Once completely dry, lightly sand the area until it is perfectly smooth and flush with the wall. Prime and paint to match your wall color, and the gap will be completely invisible.
For Large Gaps (Over 1/2 inch)
A significant gap requires a more robust solution. Simply filling it will likely look obvious and unprofessional. In this case, covering the gap is the best strategy.
The Ultimate Fix: Custom Trim or Molding: This is the most elegant and professional solution for large gaps. Adding a frame of wood trim or molding around the medicine cabinet not only covers the gap completely but can also add a beautiful, decorative element to your bathroom. This method essentially creates a custom-built look for your cabinet.
Measure the height and width of your medicine cabinet. Using a miter saw or a miter box, cut your trim pieces to size with 45-degree angles at the corners. Apply a bead of construction adhesive to the back of each trim piece and press it firmly against the wall, covering the gap. For extra security, you can use a brad nailer to drive a few finishing nails into the trim. Fill the nail holes and the corner seams with wood filler, caulk the edges where the trim meets the wall and cabinet, and then prime and paint. Thinking about other updates? Sometimes small changes, like learning how to remove glued cabinet knobs, can refresh the entire look of your bathroom cabinetry.
Aesthetics and Finishing Touches
The final steps are what separate an obvious repair from a flawless one. Taking the time to properly finish the job will ensure your hard work pays off.
Painting for a Seamless Blend
Always use a primer over fresh spackle or wood filler before painting. Primer ensures the paint adheres properly and prevents the patched area from absorbing paint differently than the rest of the wall, a phenomenon known as “flashing.” Feather the paint onto the surrounding wall to help it blend in seamlessly.
Choosing the Right Trim Style
If you opt for the trim solution, select a style that complements your bathroom’s decor. A simple, flat stock trim works well for modern or minimalist designs, while a more decorative molding might be better suited for a traditional bathroom. Paint the trim to match the wall, the cabinet, or the other trim in the room for a cohesive look.
Preventing Gaps in Future Installations
The best way to deal with a gap is to avoid creating one in the first place. When installing a new recessed medicine cabinet, precision is key.
Always use the paper template provided by the manufacturer. Tape it to the wall and use a level to ensure it is perfectly straight before tracing the outline. When cutting the drywall, use a sharp utility knife or a drywall saw and move slowly and carefully to stay on the line. The old adage, “measure twice, cut once,” is crucial here.
When to Call a Professional
While fixing a gap around a medicine cabinet is a great DIY project, there are times when it might be best to call a professional. If the gap is the result of significant wall damage, or if you’re not comfortable using the tools required for the repair, a handyman or carpenter can get the job done quickly and correctly. Some home projects are complex, and knowing when to call for help, like figuring out the cost to replace a sub-zero compressor, can save you time and money in the long run.
A Flawless Finish is Within Reach
A gap around your recessed medicine cabinet is a correctable flaw. Whether you need a simple line of caulk or a custom-built frame, the solutions are straightforward and effective. By choosing the right method for the size of your gap and paying attention to the finishing details, you can eliminate the imperfection and achieve that polished, built-in look you wanted from the start. Taking on small home improvement projects can be empowering; soon you might be ready to tackle other creative installations, like figuring out how to hang string lights on an aluminum screen enclosure to enhance your outdoor space.