Furnace Vent Leaking in Rain? Stop Catastrophic Damage Now
That tell-tale drip or spreading water stain on your ceiling near the furnace is a sight no homeowner wants to see. When it only happens during a downpour, the cause seems obvious: rain. But the culprit isn’t the rain itself, but how your home is failing to keep it out.
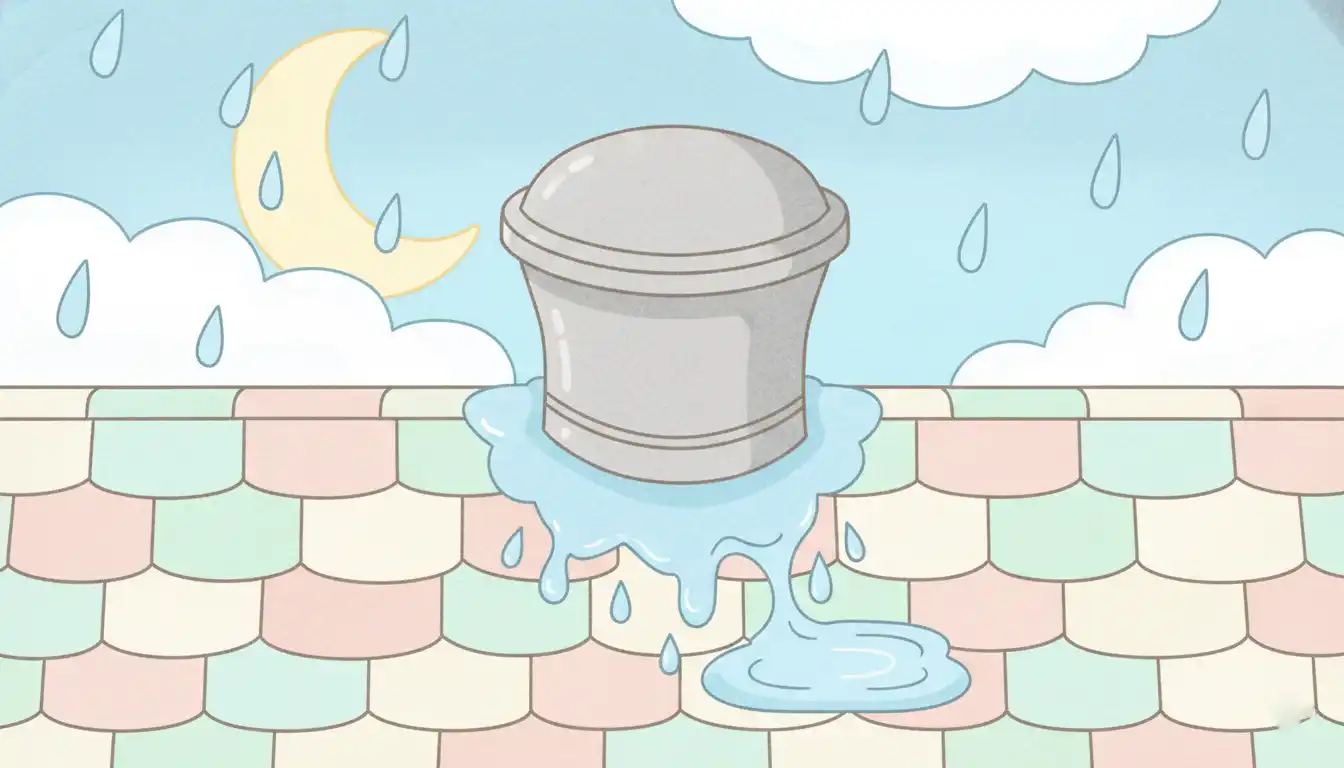
A furnace vent leaking water when it rains is a serious issue that demands immediate attention. This isn’t just a minor annoyance; it’s a direct threat to the structural integrity of your home and the longevity of your expensive HVAC system.
Ignoring this problem can lead to rotted roof decking, dangerous mold growth, and catastrophic furnace failure. Fortunately, identifying the source and fixing it is often straightforward if you know where to look.
You'll Learn About
Why Your Furnace Vent Leaks ONLY When It Rains: Pinpointing the Source
When a leak is tied directly to rainfall, the problem is almost always located where the furnace vent pipe penetrates your roof. This crucial intersection is protected by a system of components designed to create a watertight seal. When any part of this system fails, water finds a direct path into your home.
Let’s break down the most common failure points, from the most likely suspect to the often-overlooked culprits.
The #1 Culprit: Damaged or Failed Roof Flashing
The primary defense against rainwater at this penetration point is the roof flashing. This is a piece of metal, typically aluminum or galvanized steel, installed around the vent pipe and integrated with the shingles to shed water away from the opening.
Over time, this flashing can fail due to weather exposure, UV ray degradation, and house settling. Common failure modes include cracks in the metal, rust creating holes, or the sealant around its edges drying out and pulling away, creating a clear channel for water.
The Overlooked Problem: A Cracked or Missing Vent Cap
Perched atop the vent pipe is the vent cap. Its job is simple but critical: allow exhaust gases to escape while preventing rain, snow, and debris from falling directly into the flue.
These caps can be damaged by high winds, falling branches, or simply become brittle with age. A cracked, tilted, or missing cap can allow rainwater to enter the pipe, run down its length, and leak out at a joint or connection inside your attic or ceiling.
The Sneaky Leak: Degraded Sealant and a Worn-Out Rubber Boot
Many vent pipes are sealed to the flashing with a flexible rubber boot or “storm collar.” This collar fits snugly around the pipe to block water from seeping into the gap between the pipe and the metal flashing.
Constant exposure to sun and weather causes this rubber to dry out, become brittle, and crack. Even a tiny split in this boot is enough to allow a significant amount of water to enter during a steady rain, which is a common reason for a roof leak around the furnace vent.
Your Step-by-Step Guide to Inspecting the Furnace Vent Leak
Before you can fix the leak, you must safely and accurately identify the source. This requires a careful inspection of the vent pipe on your roof. If you are not comfortable with heights or working on a roof, do not proceed and call a professional roofer immediately.
Safety First: Before You Get on the Roof
Your safety is the top priority. Never attempt to get on a roof during or immediately after it has rained; wait until it is completely dry. Always use a sturdy, correctly positioned ladder and wear slip-resistant shoes.
For steeper roofs, a safety harness is essential. It’s also wise to have someone on the ground to assist you and ensure the ladder remains stable.
The Visual Inspection Checklist
Once you are safely in position, perform a detailed visual inspection of the entire vent pipe assembly. Look for these specific signs of failure:
- Cracked or Missing Sealant: Check the caulk or roofing cement around the edges of the metal flashing. Is it peeling, cracked, or are there visible gaps?
- Damaged Rubber Boot: Examine the rubber storm collar closely. Look for any splits, cracks, or signs of dry rot.
- Compromised Flashing: Inspect the metal flashing itself. Are there any signs of rust, holes, or sections that have lifted?
- Damaged Shingles: Look at the shingles immediately surrounding the flashing. Are any missing, cracked, or curled? Damaged shingles can expose the underlayment and flashing edges.
- Vent Cap Condition: Check the vent cap on top. Is it secure, intact, and properly aligned?
How to Fix a Leaking Furnace Vent Pipe: A DIY Guide
For minor issues, a determined homeowner can often perform the repair. However, if you discover extensive damage to the flashing or shingles, it’s best to call a professional. Always prioritize safety and don’t attempt a repair beyond your skill level.
Minor Repairs: Resealing the Flashing
If the only issue is old, cracked sealant, this is a straightforward fix. You will need a caulk gun, a tube of high-quality roofing sealant rated for exterior use, a putty knife, and a wire brush.
First, use the putty knife and wire brush to completely remove all the old, failed sealant. Applying new sealant over old will not create a lasting, watertight bond. Once the surface is clean and dry, apply a thick, continuous bead of new sealant around the entire perimeter of the flashing, ensuring there are no gaps.
Moderate Repairs: Replacing the Rubber Boot (Storm Collar)
If the rubber boot is the culprit, it must be replaced. You will need to purchase a replacement boot that matches the diameter of your vent pipe. The process involves carefully cutting and prying away the old, failed rubber boot.
You may need to cut the old sealant holding it in place. Once removed, slide the new boot down the pipe until it sits flush against the flashing base. Secure it and apply roofing sealant around the top edge where the boot meets the pipe and the bottom edge where it meets the flashing to create a perfect seal.
When to Stop: Signs You Need a Professional Roofer
A DIY approach is not always the answer. You should immediately stop and call a professional if you encounter any of these issues:
- The metal flashing is severely rusted, bent, or has holes.
- The shingles around the vent are rotted or missing.
- The wood decking under the shingles feels soft or spongy.
- You cannot definitively identify the source of the leak.
Attempting a complex repair without the proper skills can lead to even greater damage. Professionals have the tools and experience to do the job correctly and safely.
| Factor | DIY Repair | Professional Repair |
|---|---|---|
| Cost | Low (cost of materials like sealant/boot) | High (labor and materials) |
| Time | 1-3 hours | 1-2 hours |
| Skill Level | Basic to Moderate | Expert |
| Warranty | None | Typically offered on labor and materials |
| Risk | High (personal injury, potential for incorrect repair) | Low (insured and experienced professionals) |
Preventing Future Leaks: Proactive Maintenance for Your Roof Vents
The best way to deal with a leak is to prevent it from ever happening. A simple annual inspection can save you thousands in potential damage. Every fall, before the rainy season begins, take a few minutes to safely inspect your roof vents.
Check all sealant for signs of cracking and look for any visible damage. Also, make it a habit to check the area in your attic after a heavy storm. Catching a small stain early allows for a simple fix before it becomes a major disaster. Taking care of your roof penetrations is as important as properly insulating the furnace flue in the attic to ensure your entire system runs efficiently and safely.
The Hidden Dangers of an Ignored Furnace Vent Leak
A small drip can seem harmless, but the long-term consequences are severe. The water that enters your home can saturate insulation, rot wooden roof decking and ceiling joists, and create the perfect dark, damp environment for toxic mold and mildew to thrive.
Furthermore, moisture can get into the furnace itself, rusting critical components and causing dangerous electrical shorts. Proper airflow and system integrity are paramount. Just as you wouldn’t block a vent by placing a bed over an air vent indoors, you cannot allow the main exterior vent to be compromised by water.
Ultimately, a persistent leak that is ignored will turn a simple roof repair into a massive and expensive remediation project involving roofers, drywall contractors, and mold specialists.
Don’t Let a Small Drip Become a Deluge
Addressing a furnace vent that leaks when it rains is non-negotiable for a safe and healthy home. By carefully inspecting the flashing, sealant, and vent cap, you can identify the source of the problem.
Whether you choose a DIY repair for a minor issue or call in a professional for a more complex job, taking swift action is key. Protecting your home from water damage starts at the top, and ensuring your furnace vent is properly sealed is one of the most important steps you can take.