Front Door Different Color on Each Side: The Secret to Perfect Curb Appeal
Your front door is the handshake of your home. It’s the first impression, a focal point that sets the tone for your entire property. But a common design dilemma arises when the bold, statement color that looks stunning from the street clashes with the carefully curated calm of your interior entryway. Forcing one color to do two jobs often results in a compromise that satisfies neither.
This is the core problem: how do you achieve standout curb appeal without sacrificing interior design harmony? Many homeowners believe they are stuck with a single color, leading to awkward transitions between their outdoor and indoor spaces. The good news is there’s a professional design solution that is both elegant and surprisingly simple: painting each side of your front door a different color.
This approach isn’t a design shortcut; it’s a sophisticated technique that allows your home to present two distinct, perfectly matched personalities. It’s the secret to creating a powerful exterior statement while maintaining a seamless and welcoming flow inside. This guide will walk you through why this is a smart choice, how to execute it flawlessly, and the critical details that ensure a professional finish.
You'll Learn About
Why Paint Your Front Door Two Different Colors?
The decision to use a dual-color scheme for your front door goes beyond simple aesthetics. It’s a practical and high-impact design choice that solves several common homeowner challenges, offering a level of customization that a single color cannot.
Boosting Curb Appeal Without Compromise
A vibrant front door can dramatically enhance your home’s external appearance. Colors like deep navy, bold red, or even a classic black can make your entryway pop and increase its perceived value. However, a bright red door might feel jarring and overwhelming when viewed from your serene, neutral-toned living room.
By using two different colors, you get the best of both worlds. You can choose a daring, weather-resistant exterior paint that complements your siding and landscaping, while the interior face of the door can be a softer, more subtle shade that integrates perfectly with your indoor decor. This eliminates the need for a design compromise.
Harmonizing Your Interior Design Scheme
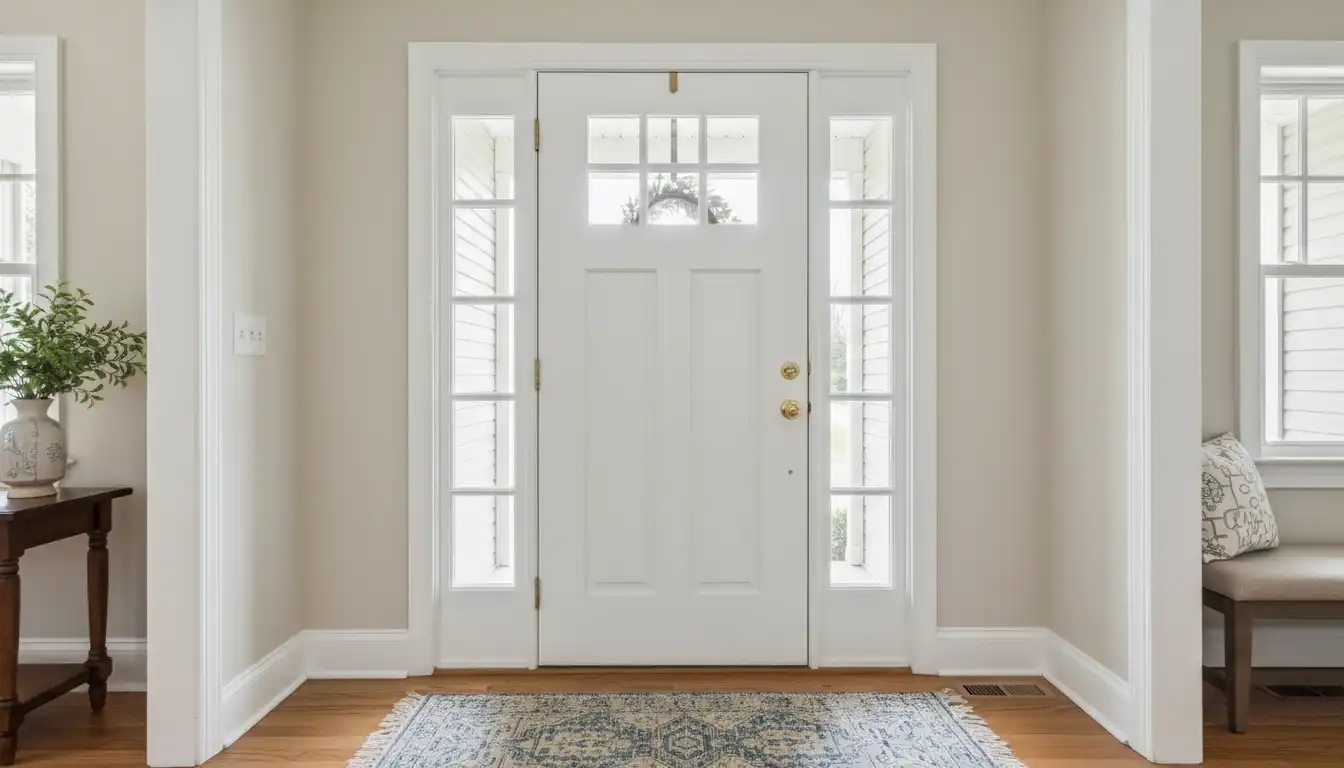
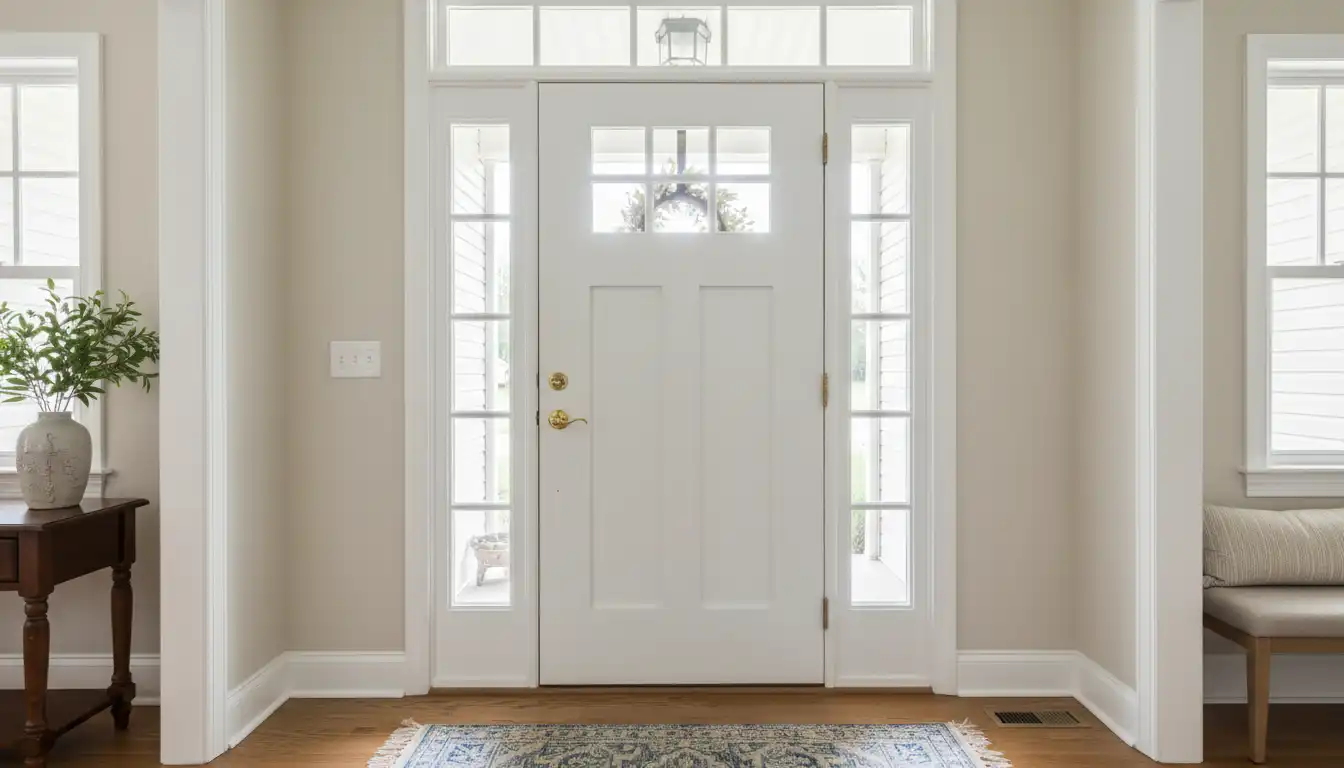
The interior side of your front door is, functionally, a wall in your entryway or foyer. Painting it to match your interior trim, or to serve as an accent color, creates a cohesive and intentional look. A front door that is dark gray on the outside can be a clean, classic white on the inside, blending seamlessly with your baseboards and crown molding.
This technique allows the door to become an integral part of the room’s design rather than an intrusion from the outside. It respects the distinct style of your interior space, contributing to a more thoughtfully designed home. This is especially important in open-concept homes where the front door is visible from multiple living areas.
A Cost-Effective, High-Impact Upgrade
Compared to replacing a door, purchasing new furniture, or undertaking major renovations, painting is a remarkably affordable way to transform your home. Painting your front door with two different colors offers a significant return on investment, both in terms of aesthetic enjoyment and potential resale value.
This project can often be completed in a single weekend with a modest budget for paint and supplies. The result is a custom, high-end look that makes your home feel more polished and professionally designed, impressing visitors and creating a more pleasant environment for you.
The Critical Detail: What Color Should the Door’s Edge Be?
Here is the single most important detail that separates a professional-looking two-tone door from an amateur mistake: the color of the door edges. It’s a question many people don’t consider until the paint cans are open, but the answer is crucial for a clean, seamless look. The rule is simple and based entirely on the door’s function.
The convention is to paint the edges of the door to match the side they are seen with when the door is open. For a standard front door that swings inward, this means:
- The Hinge Edge: This edge is visible from the outside when the door is open. Therefore, it should be painted the same color as the exterior side of the door.
- The Latch Edge (or Lock Edge): This edge is visible from the inside as it swings into your home. It should be painted the same color as the interior side of the door.
Following this rule ensures a visually consistent experience. When standing outside, you won’t see a sliver of your interior color along the hinge side. When inside, the entire visible surface of the open door, including the latch edge, will match your interior decor. This small detail provides a flawless, high-end finish.
Choosing Your Perfect Color Combination
Selecting the right pair of colors is key to the success of your two-tone door. The goal is to create a combination that feels both intentional and harmonious. Your exterior color should complement your home’s siding, trim, and roof, while the interior color should align with your entryway’s walls, flooring, and decor.
Classic & Timeless Pairings
Some combinations are classics for a reason. A glossy black exterior provides a sense of formality and elegance that boosts curb appeal for almost any style of home. Paired with a crisp white interior, it creates a clean, bright entryway that feels timeless and sophisticated.
Bold Exterior, Neutral Interior
This is the perfect strategy for homeowners who want to make a statement without overwhelming their indoor space. A vibrant color like a deep cranberry red or a rich forest green on the outside can be balanced with a soft, neutral greige or warm off-white on the inside. The exterior gets its “wow” factor, while the interior remains calm and inviting.
Harmonious and Tonal Palettes
For a more subtle and cohesive look, choose two shades from the same color family. For example, a deep navy blue on the exterior can be paired with a lighter, softer slate blue on the interior. This creates a gentle transition and a sophisticated, layered look that feels very deliberate and designer-approved.
To help visualize some popular and effective pairings, consult the table below. It offers suggestions based on different design goals, ensuring you make a choice that enhances both your home’s exterior and interior atmosphere.
| Exterior Vibe | Suggested Exterior Color | Interior Vibe | Suggested Interior Color | Primary Edge Color (Latch Side) |
|---|---|---|---|---|
| Classic & Formal | Black (e.g., Tricorn Black) | Bright & Airy | Classic White (e.g., Pure White) | Classic White |
| Bold & Welcoming | Deep Red (e.g., Rustic Red) | Calm & Neutral | Warm Greige (e.g., Agreeable Gray) | Warm Greige |
| Sophisticated & Moody | Charcoal Gray (e.g., Iron Ore) | Clean & Modern | Soft Gray (e.g., Repose Gray) | Soft Gray |
| Earthy & Natural | Olive Green (e.g., Dried Thyme) | Warm & Inviting | Creamy Off-White (e.g., Alabaster) | Creamy Off-White |
| Coastal & Serene | Navy Blue (e.g., Naval) | Light & Breezy | Light Blue-Gray (e.g., Sea Salt) | Light Blue-Gray |
How to Paint Each Side of Your Front Door: A Step-by-Step Guide
Achieving a professional finish requires patience and proper technique. While it’s tempting to paint the door while it’s still hanging, removing the door is the number one secret to a flawless result. This allows you to paint on a horizontal surface, which prevents drips and gives you better access to the edges.
Step 1: Preparation is Everything
Gather all your supplies before you begin. You will need high-quality exterior paint for the outside and durable interior paint for the inside (a semi-gloss or satin finish is recommended for both for cleanability). Also gather sandpaper (120 and 220-grit), painter’s tape, a good quality primer, brushes, mini foam rollers, a drop cloth, and basic tools like a screwdriver and hammer.
Step 2: Remove the Door and Hardware
Place a rolled-up towel under the door to keep it steady. Use a hammer and a nail set or a large nail to gently tap the hinge pins upward until they come loose, then pull them out. Carefully lift the door off its hinges and place it on sawhorses in a well-ventilated area like a garage or covered patio. Remove the doorknob, lock, and any other hardware.
Step 3: Clean, Sand, and Prime
Thoroughly clean the door with a mild detergent or a TSP substitute to remove dirt and grease. Once dry, lightly sand the entire surface with 120-grit sandpaper to scuff up the old finish, which helps the new paint adhere. Wipe away all dust with a tack cloth, then apply a thin, even coat of high-quality primer. Primer is essential for blocking old colors and ensuring the new paint bonds properly.
Step 4: Paint the First Side (Exterior) and Hinge Edge
Once the primer is dry, lightly sand it with 220-grit sandpaper for an ultra-smooth surface. Start by painting the exterior side of the door. Use a brush for detailed areas like panels and a mini foam roller for flat surfaces to minimize brush strokes. While this side is facing up, paint the hinge edge with the exterior color. Apply two coats, allowing proper drying time between each.
Step 5: Flip and Paint the Second Side (Interior) and Latch Edge
After the exterior side is completely dry (check the paint can for cure times, which can be 24 hours or more), carefully flip the door over. Now, paint the interior side with your chosen interior color. While this side is facing up, paint the latch edge with the interior color. Again, apply two coats for full coverage and durability.
Step 6: Re-hang the Door and Install Hardware
Allow the door to cure fully before re-hanging to avoid smudges or dents in the fresh paint. Once cured, carefully place the door back onto its hinges and slide the pins back in. Reinstall your doorknob and lockset. If your old hardware is looking dated, this is a great opportunity to upgrade it for a completely refreshed look. A new set of door knobs with the same key can add both style and convenience.
Common Mistakes to Avoid
A successful project is as much about avoiding pitfalls as it is about following the right steps. Steer clear of these common errors to ensure your beautifully painted door stands the test of time.
Using the Wrong Type of Paint
Never use interior paint on the exterior side of your door. Exterior paint is specifically formulated with additives that resist UV fading, moisture, and temperature fluctuations. Using interior paint outside will lead to premature peeling, cracking, and fading. Always buy a quality exterior-grade paint for the side facing the elements.
Forgetting the Edge Color Rule
As emphasized earlier, painting the edges the wrong color is a dead giveaway of a DIY job. It disrupts the visual flow when the door is open. Always remember: the hinge edge matches the exterior, and the latch edge matches the interior for an inward-swinging door. This detail makes a world of difference.
Rushing the Curing Time
Paint may feel dry to the touch in a few hours, but it takes much longer to fully cure and harden. Re-hanging the door or installing hardware too early can easily lead to nicks, scratches, and imprints that ruin your hard work. Be patient and follow the manufacturer’s recommended cure times for the most durable finish.
Navigating Potential Roadblocks
Before you start, it’s wise to consider a few external factors that could influence your project. A little forethought can save you from potential headaches down the line.
HOA Rules and Regulations
If you live in a community with a Homeowners Association (HOA), be sure to check the bylaws regarding exterior paint colors. Many HOAs have pre-approved color palettes to maintain a cohesive look in the neighborhood. While they may not regulate the interior color of your door, they will almost certainly have rules about the exterior. Getting approval beforehand can prevent a costly repaint order.
What About Doors with Windows?
For doors with glass inserts, such as French doors or doors with lites, the process is largely the same. The muntins (the grid that separates the glass panes) should be painted to match the side of the door they are on. Use high-quality painter’s tape and a detail brush for crisp, clean lines around the glass. If your door has a plastic frame around the glass that needs attention, a French door plastic insert replacement could be considered as part of the project.
Does This Affect Resale Value?
A well-executed, tastefully colored front door can absolutely boost your home’s curb appeal and positively impact its resale value. The key is to choose colors that have broad appeal. A classic black or navy exterior is a safe and stylish bet. While a niche color might appeal to you personally, sticking to timeless or sophisticated palettes is the best strategy if resale is a concern.
Conclusion: Your Door, Your Dual Statement
Painting your front door a different color on each side is more than just a clever trick; it’s a strategic design decision that solves a common problem with elegance and flair. It allows you to present a bold, welcoming face to the world while maintaining perfect harmony within your home’s private sanctuary.
By following the proper steps, paying close attention to critical details like the edge colors, and choosing a palette that reflects your style, you can achieve a high-impact upgrade that looks professional and custom. This project empowers you to stop compromising and start defining your home’s style from the very first step inside.