Forgot to Disconnect Your Garden Hose? Here’s What to Do NOW!
That sinking feeling in your stomach is all too common. You look out the window on a frosty morning and see it: the garden hose, still defiantly connected to the spigot. That simple oversight can quickly spiral into one of the most dreaded and expensive home repairs: a burst pipe.
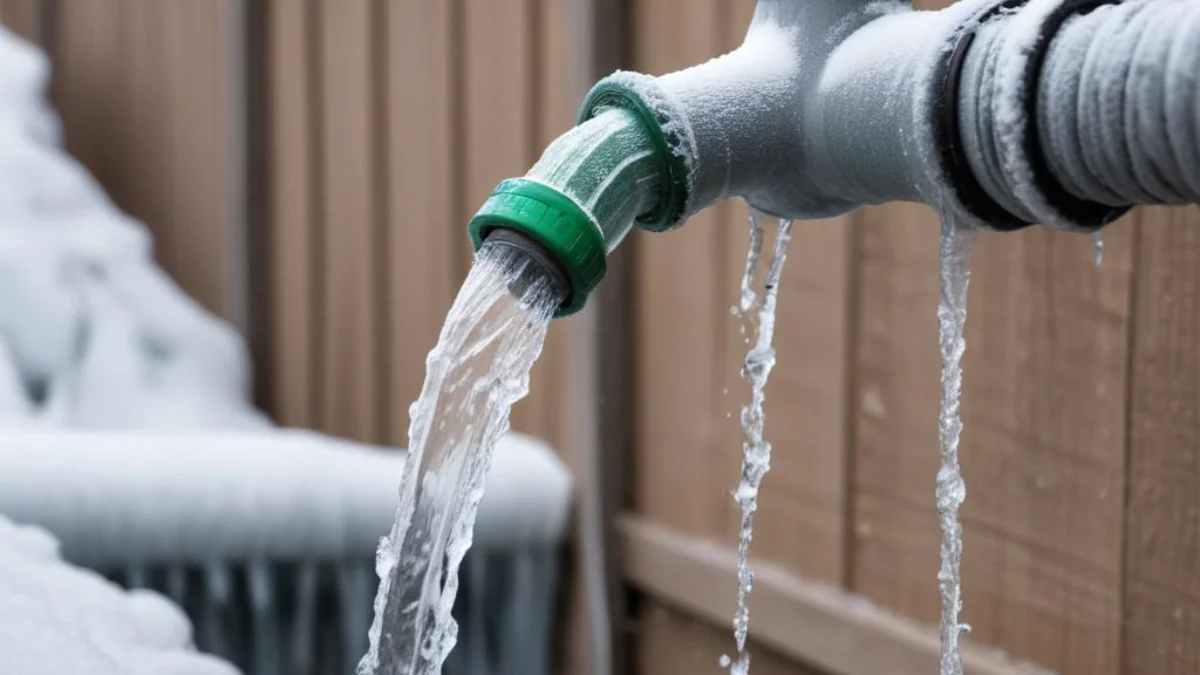
When water freezes, it expands with incredible force. This expansion can crack the hose, shatter the outdoor faucet (also known as a hose bib or sillcock), and worst of all, burst the pipe inside your wall, leading to catastrophic flooding and water damage.
You'll Learn About
The Immediate Danger: Why Leaving a Hose Connected is a Costly Mistake
The problem isn’t just a ruined garden hose; it’s a chain reaction of pressure. Water trapped in the hose and faucet has nowhere to go when it turns to ice. This immense pressure travels back up the pipe, seeking the weakest point.
Unfortunately, that weakest point is often the copper pipe just inside your heated home. A burst pipe here can go unnoticed for hours or days, silently releasing gallons of water into your walls, insulation, and foundation. The repair costs can easily run into the thousands.
First Steps: Your Emergency Action Plan
If you’ve discovered your hose is frozen to the spigot, what you do in the next few minutes is critical. Acting with a cool head can mean the difference between a simple fix and a major renovation. Follow these steps precisely.
Step 1: Do NOT Try to Force It
Your first instinct might be to wrestle the hose off or force the faucet handle. Do not do this. The components are frozen and brittle. Trying to turn a frozen handle can easily snap the valve stem, causing a much bigger problem.
Similarly, pulling on the hose can crack the already-stressed spigot. Patience is your best tool right now. The immediate goal is to prevent any further damage.
Step 2: Shut Off the Water Supply
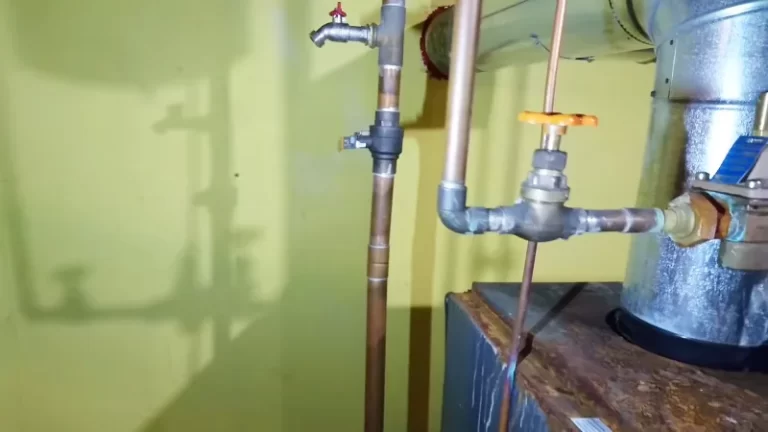
This is the single most important step. You must locate the interior shut-off valve for that specific outdoor faucet and turn it off immediately. These valves are typically found in your basement, crawl space, or a utility closet, usually on the wall directly behind the outdoor spigot.
It will likely have a small, oval-shaped handle (a gate valve) or a lever handle (a ball valve). Turn the oval handle clockwise until it’s tight, or turn the lever handle a quarter-turn so it’s perpendicular to the pipe.
Step 3: Relieve the Pressure
Once the interior valve is closed, go back outside and open the outdoor faucet by turning the handle counter-clockwise. This will allow any water remaining between the shut-off valve and the spigot to drain out. It relieves the pressure in the line, which is crucial for preventing a burst.
Assessing the Damage: A Homeowner’s Checklist
After you’ve shut off the water and opened the spigot, it’s time to investigate the extent of the damage. You’ll need to wait for the faucet and pipe to thaw completely before you can be sure there isn’t a leak.
You can gently speed up the thawing process by using a hairdryer on a low to medium setting or by wrapping the spigot in warm towels. Never use an open flame, like a propane torch, as this can superheat the water, cause a steam explosion, and poses a serious fire hazard.
Inspecting the Outdoor Spigot and Indoor Pipe
Once everything is thawed, it’s time for a careful inspection. You need to check for leaks both outside and inside your home. A small issue inside the wall can cause major problems, much like how a tiny gap between the chimney and house can lead to significant water damage over time.
After the spigot has thawed, you can safely disconnect the garden hose. Carefully inspect the faucet and the visible pipe for any cracks or bulges. Then, head inside to check the pipe leading to the faucet for any drips, moisture stains on the drywall, or visible splits in the copper.
| Component to Inspect | What to Look For | Action Required |
|---|---|---|
| Garden Hose | Bulges, splits, or cracks in the rubber/vinyl. Damaged coupling. | Likely needs to be replaced. Ice expansion damages the internal mesh. |
| Outdoor Spigot (Hose Bib) | Visible cracks in the faucet body, water dripping from the handle (when off), or leaks from the anti-siphon valve. | Minor drips may be a simple washer fix. Cracks require full replacement. |
| Interior Pipe | Drips, moisture on the pipe, water stains on drywall/insulation, hissing sounds. | Call a licensed plumber immediately. This is a critical issue. |
| Foundation/Sill Plate | Dampness or water stains on the concrete foundation or wooden sill plate below the pipe. | Indicates a leak. Shut off water and call a plumber. |
I Found a Leak! Now What?
Discovering a leak is stressful, but you’ve already taken the most important step by shutting off the main water supply to that line. Now you can address the specific problem without the risk of flooding.
For Minor Drips at the Spigot
If, after you slowly turn the water back on, you only notice a small drip from the spout or handle, you might be lucky. This could be a failed washer or packing nut, which is a relatively simple and inexpensive fix. However, if there’s any doubt, calling a plumber is the safest bet.
For a Cracked Spigot or Burst Pipe
This is not a DIY job. If you see a visible crack on the spigot or any sign of a leak on the pipe inside your home, you need to call a professional plumber. Attempting to fix a burst pipe yourself can easily lead to a much larger disaster.
A plumber has the tools and experience to replace the pipe and faucet correctly, ensuring a secure, leak-free connection that protects your home from future damage.
Never Again! A Simple Winterizing Guide
The best way to fix this problem is to prevent it from ever happening again. Winterizing your outdoor faucets should be a non-negotiable part of your annual fall home maintenance checklist, right alongside cleaning your gutters. A simple homemade tool can even help with that; it’s easy to learn how to make a gutter cleaner out of PVC pipe.
Follow these four simple steps every year before the first hard freeze:
- Disconnect: Remove all hoses, splitters, and timers from every outdoor faucet.
- Drain & Store: Drain all the water out of your garden hoses and store them in a garage or shed.
- Shut Off: Close the interior shut-off valve for each outdoor spigot.
- Bleed the Line: Go outside and open the spigots to let the remaining water drain completely. Leave them open all winter.
Frequently Asked Questions (FAQs)
Many homeowners have faced this exact situation. Here are answers to some of the most common questions.
Can I just put an insulated cover on the faucet without disconnecting the hose?
Absolutely not. This is a critical mistake. An insulated cover only protects the spigot itself from cold air; it does nothing to alleviate the pressure from water freezing inside the attached hose. The connected hose is the root cause of the problem.
Proper insulation is key throughout the home, of course. For example, understanding if you can install R-19 insulation in a 2×4 wall is vital for energy efficiency, but it’s a separate issue from preventing this type of pipe burst.
Is my garden hose ruined?
Most likely, yes. When water freezes inside the hose, it expands and can create microscopic tears in the inner lining or damage the reinforcing mesh. Even if it looks fine, it’s prone to bursting under pressure the next time you use it.
How much does it cost to replace a burst hose bib?
The cost can vary widely based on your location, the accessibility of the pipe, and the extent of the damage. A straightforward replacement of an existing hose bib by a plumber might cost a few hundred dollars. However, if the pipe inside the wall is burst and requires drywall repair, the cost can quickly climb to over a thousand dollars.