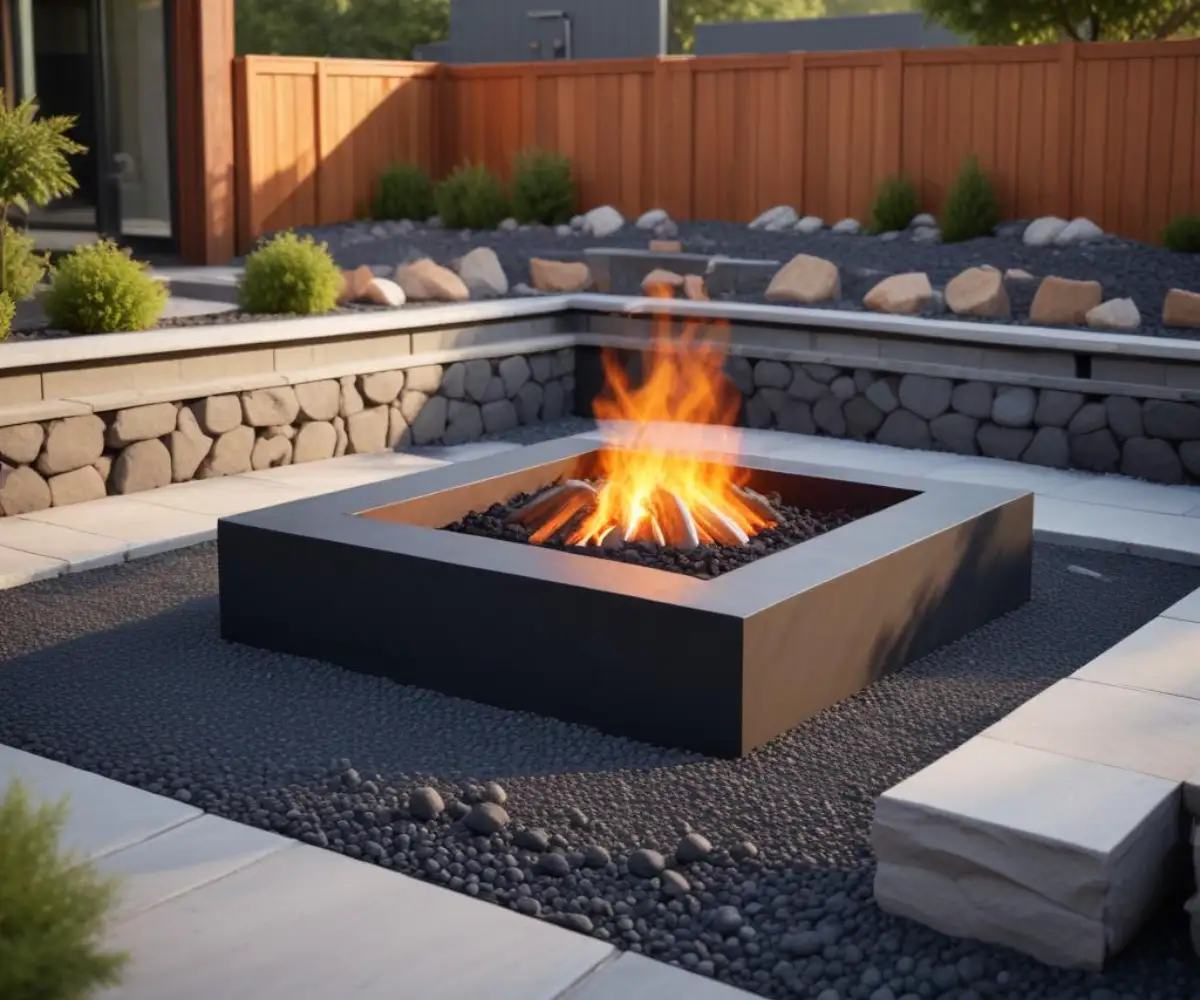
Fire Pit Gas Line Connection: Avoid This #1 DIY Disaster!
An evening by a crackling fire is a timeless pleasure. But the hassle of refilling propane tanks or dealing with smoky wood can quickly extinguish the fun. Connecting your fire pit to a permanent gas line offers an endless, clean-burning flame at the flip of a switch.
However, this upgrade is not a simple weekend project. The path from dreaming of a convenient fire pit to enjoying one is filled with critical safety rules and technical details. One wrong move can lead to devastating consequences, including gas leaks, explosions, or fire.
You'll Learn About
The Allure of Endless Flames: Why a Gas Line is a Game-Changer
The primary motivation for this project is convenience. A natural gas or large propane tank connection eliminates the most common frustration of portable fire pits: the tank running empty right in the middle of a gathering. It transforms your outdoor space into a seamless extension of your home.
Beyond convenience, a permanently installed gas fire pit offers a cleaner, more controlled burn. There’s no wood smoke to irritate your eyes and clothes, no ash to clean up, and you can easily regulate the flame height to create the perfect ambiance.
Natural Gas vs. Bulk Propane: Choosing Your Fuel Source
Your first major decision is the type of fuel. Most homes with access to natural gas will choose that route for its cost-effectiveness and never-ending supply. If natural gas isn’t available, a large, permanently installed propane tank is the next best option.
Understanding the differences in pressure, cost, and installation requirements is crucial. This choice will dictate the type of fire pit kit you buy, the pipe sizing, and the professional you hire.
| Feature | Natural Gas (NG) | Liquid Propane (LP) |
|---|---|---|
| Availability | Requires an existing utility line to your home. | Available anywhere; stored in a large, refillable tank. |
| Cost | Generally less expensive per unit of energy (BTU). | Typically more expensive than natural gas. |
| Energy Content | Lower energy content; requires larger pipe diameter for the same heat output. | Higher energy content; can use a smaller pipe diameter. |
| Installation | Line is tapped from the home’s gas meter by a licensed plumber. | Requires installation of a large storage tank and a regulator. |
| Convenience | Ultimate convenience; never runs out. | Requires periodic refilling from a propane delivery service. |
Before You Dig: Critical Planning Steps You Can’t Afford to Skip
Proper planning is more than just picking a spot on the patio. It’s a phase dedicated to safety, compliance, and ensuring your fire pit performs flawlessly. Rushing this stage is the number one cause of project failure and safety hazards.
You must consider local regulations, the technical requirements of your gas system, and the physical layout of your yard. These factors work together to create a safe and functional installation.
Codes, Permits, and the Law: The Non-Negotiable Rules
Before buying any materials, contact your local building department. Almost every municipality has strict codes governing the installation of gas lines, especially those buried underground. You will likely need to pull a permit for this work.
Working without a permit can result in fines, force you to remove the installation, and could void your homeowner’s insurance in case of an accident. Professionals will handle the permitting process for you, ensuring everything is done to code.
Sizing Your Gas Line: The Secret to a Roaring Fire
One of the most overlooked yet critical aspects of a gas fire pit installation is the pipe sizing. A line that is too small will fail to deliver enough gas pressure, resulting in a weak, disappointing flame. This is a common complaint from DIY installations.
The required pipe diameter depends on two key factors: the BTU rating of your fire pit burner and the total length of the pipe from the gas meter to the fire pit. A higher BTU rating and a longer distance demand a larger pipe diameter to prevent pressure drop.
The Big Decision: DIY Installation vs. Hiring a Licensed Professional
While the internet is full of guides for DIY projects, installing a gas line is in a different league of risk. A mistake doesn’t just mean a wobbly table; it means a potential catastrophe. You must honestly assess your skills and knowledge before proceeding.
Working with natural gas or propane involves explosive materials and the risk of carbon monoxide poisoning. There is no room for error. This is one area where saving money should not be the primary goal.
Assessing Your Skills: Are You Truly Equipped for This?
A successful and safe installation requires more than basic plumbing skills. You need to understand gas pressure, proper pipe fitting techniques, thread sealing, and how to perform a meticulous leak test. You also need specialized tools like pipe threaders and pressure testing gauges.
If you have any hesitation, the choice is clear: hire a licensed and insured gas plumber. The peace of mind that comes from knowing the job was done correctly by a professional is invaluable.
The Cost Breakdown: What to Expect Financially
Hiring a professional will significantly increase the upfront cost but protects your home and family. The cost to have a professional run a gas line can range from several hundred to a few thousand dollars, depending on the length of the run, the complexity of the job, and local labor rates.
A DIY approach saves on labor, but you’ll still need to pay for materials, tool rentals, and permit fees. When you factor in the immense safety risk, the professional route is often the most sensible investment.
A Professional’s Guide to Connecting Your Fire Pit
Even if you hire a pro, understanding the process is essential. It allows you to ask intelligent questions and ensure the work is being done to a high standard. A typical professional installation follows a precise set of steps to ensure safety and functionality.
From trenching the line to the final leak test, every phase is governed by codes and best practices. This systematic approach eliminates guesswork and minimizes risk.
Step 1: Running the Gas Line Underground
The gas line must be buried at a specific depth required by local code, typically 18 to 24 inches. The trench must be free of sharp rocks or debris that could damage the pipe. A licensed professional will use the correct type of pipe rated for direct burial.
Furthermore, an insulated copper tracer wire is always buried alongside the plastic gas pipe. This wire allows utility locators to find the line in the future, preventing accidental and dangerous damage from digging.
Step 2: Making the Connections
This is the most critical part of the installation. Connections are made at the gas meter or main line and at the fire pit location itself. A professional will use a T-fitting to tap into the existing supply, installing a dedicated shut-off valve at the source.
At the fire pit end, the underground pipe typically transitions to a flexible gas line via another shut-off valve, often called a key valve. All threaded connections must be sealed with a gas-rated pipe dope or tape to create a perfect, leak-proof seal.
Step 3: The Leak Test: Your Ultimate Safety Check
After all connections are made and before the trench is backfilled, a thorough pressure test is mandatory. The installer will cap the end of the line and use a gauge to pressurize the system with air. The line must hold that pressure for a specified time without any drop.
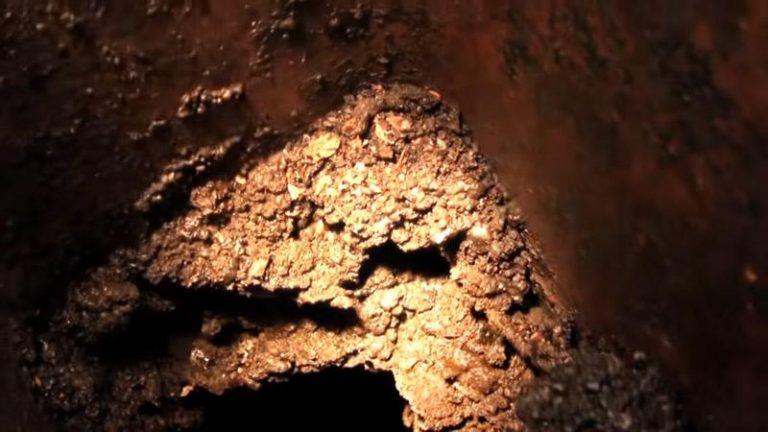
Once the system is live with gas, every single joint and connection is tested again with a leak detection solution. Any sign of a problem, such as a fuel odor, needs immediate attention. Just as when you find gas coming out of a snowblower exhaust, it indicates a serious fuel system issue that cannot be ignored.
The Hidden Dangers: Common Mistakes and How to Avoid Them
Many DIY tutorials gloss over the most dangerous mistakes. Understanding these common errors can help you spot red flags and appreciate the value of professional expertise. These mistakes often violate safety codes and create immediate hazards.
From using incorrect materials to improper placement, these pitfalls can turn your backyard dream into a liability. Awareness is the first step toward prevention.
Mistake #1: Using the Wrong Materials
You cannot use standard PVC pipe for gas lines, and not all metal pipes are suitable for direct burial. Using the wrong pipe sealant can also lead to slow leaks over time. Every single component, from the pipe to the sealant to the shut-off valves, must be specifically rated for gas.
Professionals are trained to select the correct materials based on fuel type (natural gas or propane) and local code requirements, ensuring the long-term integrity of the system.
Mistake #2: Forgetting or Misplacing Shut-Off Valves
Safety codes require an accessible shut-off valve near the fire pit. This allows you to quickly turn off the gas in an emergency or for routine maintenance. A second shut-off valve should also be located where the new line connects to the main supply.
Forgetting these valves is a serious safety violation. Ensuring easy access is just as important; a shut-off valve that is buried or hidden is useless in an emergency.
Mistake #3: Improper Ventilation and Clearances
Gas fire pits, even though they don’t produce smoke, still produce carbon monoxide. They must be installed in an open, well-ventilated area. Never install a gas fire pit in a covered porch or semi-enclosed space without explicit approval from the manufacturer and local fire codes.
You must also maintain proper clearance from combustible materials, including your house, deck railings, overhead structures, and landscaping. This proactive safety measure is vital, much like installing a fire-rated door in your garage to prevent fire spread within your home.
Beyond the Flame: Long-Term Maintenance and Safety
Your responsibility doesn’t end once the fire pit is installed. Regular maintenance is key to ensuring it operates safely and efficiently for years to come. These simple checks can prevent problems before they start.
Seasonal changes and exposure to the elements can affect the components of your fire pit. A simple annual inspection routine provides peace of mind.
Regular Inspections and Cleaning
At least once a year, visually inspect all the gas lines and connections for any signs of wear or corrosion. Clean the burner assembly according to the manufacturer’s instructions to remove debris, spider webs, or dirt that can obstruct the gas ports and cause an uneven flame.
You can also perform a simple soap-and-water leak test on the connections yourself. Simply apply soapy water to the fittings and watch for bubbles, which indicate a gas leak that needs immediate attention from a professional.
Winterizing Your Gas Fire Pit
Properly preparing your fire pit for winter can prevent damage from moisture and freezing temperatures. Turn off the gas supply at the shut-off valve and disconnect any hoses if possible. Clean the unit thoroughly and cover it with a high-quality, waterproof cover.
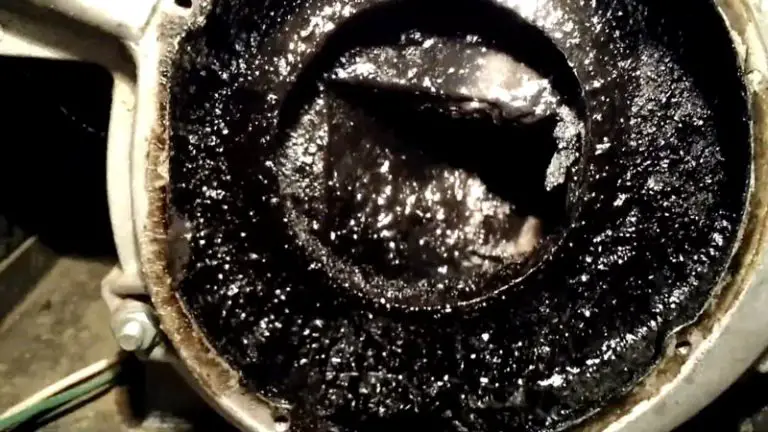
This process of preparing gas-powered equipment for storage is crucial for longevity. It’s a similar principle to the need to drain gas from a snowblower before storing it for the off-season to prevent fuel system damage.
Conclusion: Enjoy Your Oasis of Warmth Safely
A gas line-connected fire pit is a fantastic addition to any outdoor living space, providing endless warmth and ambiance. However, the installation is a serious undertaking where safety must always be the top priority.
Thorough planning, adherence to local codes, and a realistic assessment of your own skills are essential. For the vast majority of homeowners, the smartest and safest choice is to entrust the installation to a licensed and insured professional. By doing so, you can relax and enjoy the glow of your new fire pit with complete peace of mind.