Filling in a Roadside Ditch: The Ultimate Guide to Reclaiming Your Land
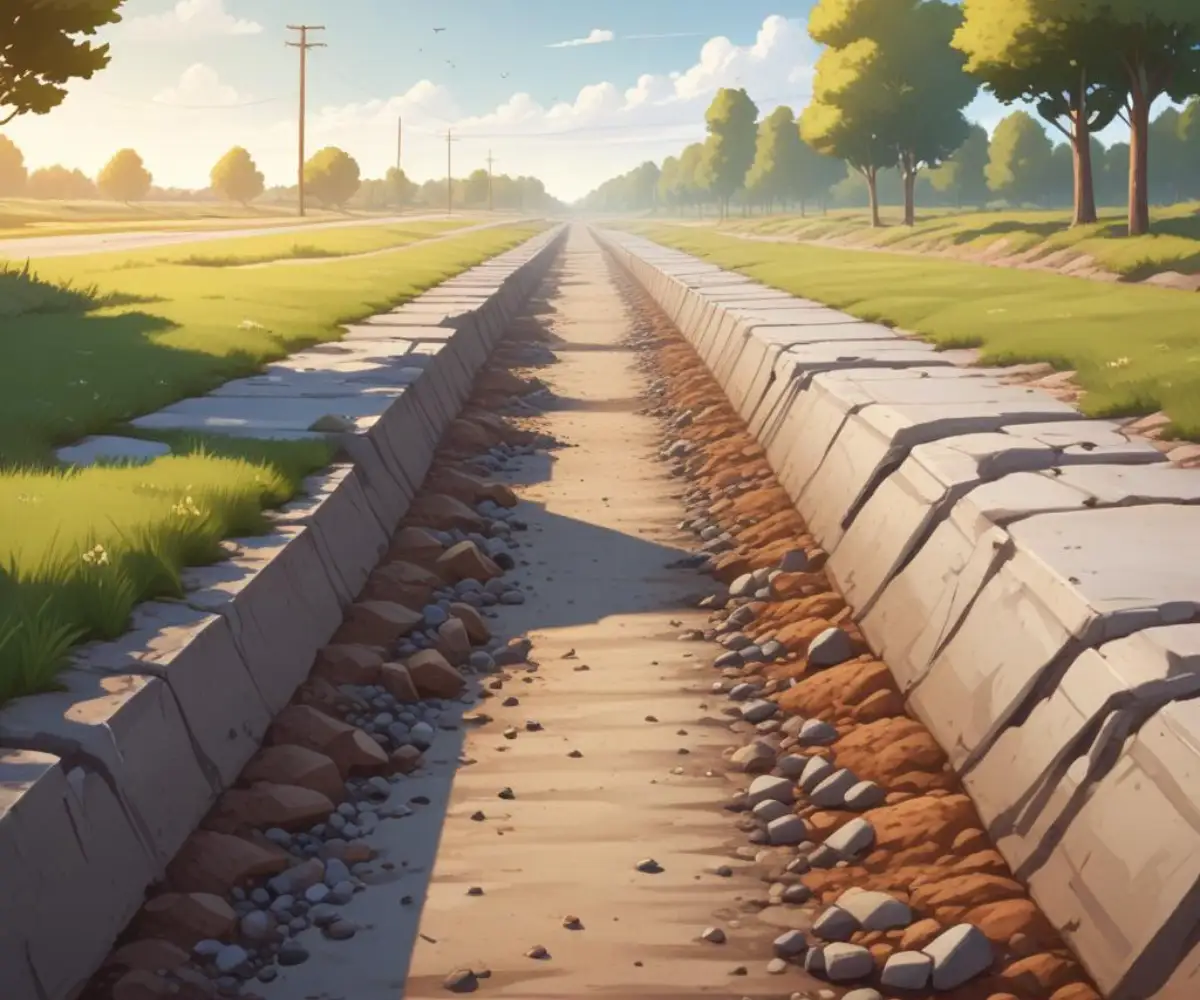
That roadside ditch might seem like a permanent fixture of your property, an unruly strip of land that’s difficult to mow and serves as a constant collector of debris. Many homeowners view it as a frustrating waste of space, a safety hazard, or an eyesore that detracts from their property’s curb appeal. But what if you could safely and effectively reclaim that space?
The problem with an open roadside ditch extends beyond simple aesthetics. They can pose a significant risk to pedestrians and vehicles, create drainage problems that lead to erosion and standing water, and become a breeding ground for pests. For these reasons, many property owners explore the possibility of filling in their roadside ditch.
You'll Learn About
Why That Open Ditch is More Than Just an Inconvenience
An open roadside ditch is a critical component of roadway drainage, designed to channel stormwater away from the road surface to prevent flooding and protect the road’s foundation. However, they are not without their drawbacks. The very design that makes them effective at water management can also introduce a host of problems for homeowners.
Deep or steep-sided ditches can be dangerous, especially for children and pets. They can also make property access difficult and limit usable yard space. Furthermore, poorly maintained ditches can become clogged with sediment and vegetation, hindering water flow and causing water to back up, potentially flooding your property or damaging the road itself.
Understanding the Risks of Improper Filling
It’s tempting to simply order a truckload of dirt and fill the ditch, but this approach is fraught with peril. Improperly filling a ditch can lead to serious drainage issues, not just for your property but for your neighbors and the public roadway as well. Blocking the natural flow of water can cause significant flooding, erosion, and costly damage.
Furthermore, most roadside ditches are located within a public right-of-way or easement, meaning you don’t have the legal authority to alter them without permission. Proceeding without the proper permits can result in hefty fines and an order to restore the ditch to its original condition at your own expense. This is why a thoughtful, well-planned approach is crucial.
The Solution: A Step-by-Step Guide to Properly Filling Your Roadside Ditch
Filling in a roadside ditch is a project that requires careful planning and execution. It’s not a simple weekend DIY task. By following a structured process, you can ensure the project is completed safely, legally, and effectively, transforming that problematic ditch into a seamless part of your landscape.
This process involves navigating local regulations, designing a new drainage system, selecting the right materials, and performing the installation correctly. Each step is critical to the long-term success of the project and the continued health of your local watershed.
Step 1: The Crucial First Step of Due Diligence and Permitting
Before you break ground, your first and most important step is to contact your local authorities. This typically means reaching out to your city or county’s public works department, road commission, or engineering department. They will provide you with the specific regulations and permit requirements for altering a roadside ditch in your area.
Do not skip this step. The regulations are in place to protect public infrastructure and prevent widespread drainage problems. Attempting to bypass the permitting process is a recipe for disaster and can lead to significant legal and financial consequences. Be prepared to provide a detailed plan of your proposed project as part of the permit application.
Step 2: Designing Your New Drainage System
Simply filling the ditch with soil is not an option; you must replace the open channel with an enclosed drainage system. The most common solution is to install a culvert pipe. A culvert is a large-diameter pipe that will carry the water that once flowed through the open ditch.
The size of the culvert is critical. It must be large enough to handle the volume of water during heavy rainfall events to prevent backups and flooding. Your local public works department will likely specify the minimum required diameter for the pipe, which is often based on the size of the existing ditch and the upstream drainage area.
Step 3: Choosing the Right Materials for the Job
Once you have an approved plan, it’s time to gather your materials. The primary components of this project are the culvert pipe, bedding material, and backfill. Each plays a vital role in the functionality and longevity of your new drainage system.
When selecting materials, it’s important to adhere to the specifications provided by your local authorities. Using substandard materials can lead to premature failure of the system, creating a host of new problems. For some projects, especially those with unique challenges, consulting with a professional can be beneficial, much like you would for a complex sunroom curved glass replacement.
Culvert Pipe Options
You have several choices when it comes to culvert pipes. The most common materials are corrugated metal, high-density polyethylene (HDPE), and concrete. Each has its own set of advantages and disadvantages.
- Corrugated Metal Pipe (CMP): This is a popular choice due to its strength and durability. It’s relatively lightweight and easy to install.
- High-Density Polyethylene (HDPE) Pipe: HDPE is a plastic pipe that is lightweight, flexible, and resistant to corrosion and abrasion. It’s often the easiest for DIY installation.
- Concrete Pipe: This is the most durable and long-lasting option, but it’s also the heaviest and most expensive. It typically requires heavy machinery for installation.
Bedding and Backfill Material
The material surrounding the pipe is just as important as the pipe itself. Proper bedding and backfill are essential for supporting the pipe and preventing it from shifting or collapsing. The bedding is the material placed directly under the pipe, creating a stable foundation.
The backfill is the material used to fill the remainder of the trench around and over the pipe. In most cases, clean gravel or crushed stone is required for both the bedding and the initial backfill around the pipe. This allows for proper compaction and provides excellent support. The final layer of fill can typically be the excavated soil, provided it is free of large rocks and debris.
Step 4: The Installation Process
With your permit in hand and materials on-site, you can begin the installation. This process requires precision and attention to detail. It’s crucial to follow the approved plan and any specific instructions from your local authorities.
The installation can be broken down into several key phases: excavation, pipe installation, and backfilling. Each phase must be completed correctly to ensure the integrity of the new drainage system.
Excavation and Trench Preparation
The first step is to excavate the ditch to the required depth and width. The bottom of the trench should be smooth and free of any rocks or sharp objects that could damage the pipe. A layer of bedding material, typically several inches of gravel, should be placed and compacted at the bottom of the trench.
It’s important to ensure the trench has a continuous, gentle slope in the direction of water flow. A laser level can be very helpful in establishing the correct grade. An improper slope can lead to standing water inside the pipe or sediment buildup that can cause blockages.
Laying and Connecting the Pipe
Carefully lower the culvert pipe onto the prepared bedding. If you are using multiple sections of pipe, ensure they are securely connected according to the manufacturer’s instructions. Watertight connections are crucial to prevent soil from infiltrating the pipe and water from leaking out, which could saturate the surrounding soil and lead to settlement.
For those who have tackled other home improvement projects, like dealing with underlayment staples popping up, the importance of proper installation to prevent future issues is a familiar concept.
Backfilling and Compaction
Once the pipe is in place, begin backfilling around it with the specified material, usually gravel. It’s critical to add the backfill in layers, or “lifts,” and compact each layer thoroughly. This ensures the pipe is evenly supported and prevents future settling of the ground above.
Take care not to damage the pipe during the compaction process. Hand tamping is often recommended for the areas immediately adjacent to the pipe. Continue adding and compacting layers of backfill until you reach the desired final grade.
A Deeper Dive: Advanced Considerations and Unique Solutions
While a standard culvert installation is the most common approach, there are other factors and alternative solutions to consider, especially in areas with unique challenges such as high water tables or steep slopes. Exploring these options can lead to a more effective and sustainable solution for your property.
Understanding the nuances of water management and landscape design can open up possibilities that go beyond simply hiding the ditch. These advanced considerations can add value and functionality to your property in unexpected ways.
Incorporating a French Drain System
In areas with significant groundwater or subsurface water flow, a standard culvert may not be sufficient. In these cases, incorporating a French drain system can be highly effective. A French drain consists of a perforated pipe surrounded by gravel, which allows it to collect groundwater in addition to the surface water flowing through the culvert.
This can be a more complex installation, but it provides a superior solution for managing both surface and subsurface water, keeping your entire yard drier and more stable. This is a far more involved project than, for example, deciding whether to convert an electric fireplace to wood burning, and may require professional consultation.
The Importance of Inlet and Outlet Protection
The points where water enters and exits the culvert pipe are vulnerable to erosion. Without proper protection, the soil around the pipe ends can wash away, undermining the stability of the entire system. Riprap, which consists of large stones or concrete rubble, is often used to armor the inlet and outlet areas.
Headwalls, which are small retaining walls built at the ends of the culvert, can also provide excellent erosion control and a more finished look. These structures help to anchor the pipe and direct the flow of water smoothly into and out of the system.
| Component | Function | Common Materials |
|---|---|---|
| Culvert Pipe | Channels water beneath the filled-in area. | HDPE, Corrugated Metal, Concrete |
| Bedding | Provides a stable foundation for the pipe. | Gravel, Crushed Stone |
| Backfill | Supports the pipe and fills the trench. | Gravel, Excavated Soil |
| Riprap | Protects the inlet and outlet from erosion. | Large Stones, Broken Concrete |
| Headwall | Provides structural support and erosion control at pipe ends. | Poured Concrete, Concrete Blocks |
Long-Term Maintenance and Care
Once your project is complete, your work isn’t entirely done. Like any drainage system, your new culvert will require periodic inspection and maintenance to ensure it continues to function properly. This proactive approach can prevent small issues from becoming major problems.
Regular maintenance is key to the longevity of your investment and the continued protection of your property. Fortunately, a properly installed system requires minimal upkeep.
Regular Inspections are Key
At least once a year, and after any major storm, it’s a good idea to inspect the inlet and outlet of your culvert. Look for any signs of debris buildup, such as leaves, branches, or sediment, that could obstruct the flow of water. Also, check for any signs of erosion around the pipe ends.
Clearing away any accumulated debris is usually a simple task that can be done with a rake or shovel. Addressing erosion early, by adding more riprap or repairing the soil, can prevent more significant damage down the road.
Ensuring a Healthy Landscape Above
The final step in your project is to establish a healthy layer of vegetation over the filled-in area. This is typically done by seeding or laying sod. A strong root system will help to stabilize the soil and prevent surface erosion.
By following these steps and giving careful consideration to the unique aspects of your property, you can successfully and safely fill in your roadside ditch. This not only enhances the beauty and usability of your land but also provides a durable and effective long-term drainage solution.