Fill Gaps Between Hearth & Hardwood: A Pro’s Guide
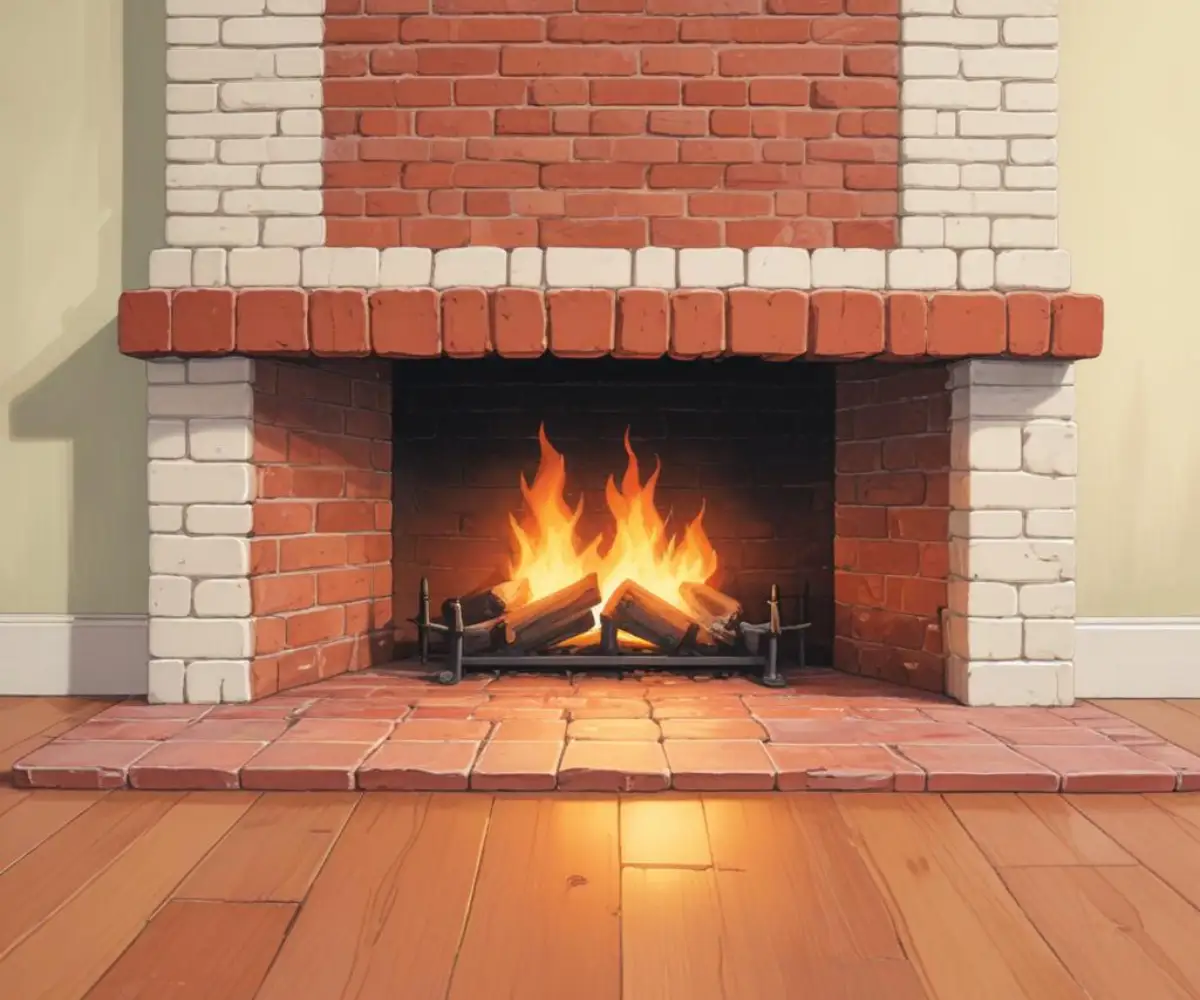
That nagging gap between your beautiful hardwood floor and the fireplace hearth—it’s more than just an eyesore. It’s a magnet for dust, pet hair, and crumbs, and it detracts from an otherwise perfect focal point in your room. You don’t have to live with it.
Fixing this gap is one of the most satisfying DIY projects you can tackle. Not only does it create a clean, seamless look, but it also prevents debris from accumulating and can even stop drafts. This guide will walk you through the causes, solutions, and step-by-step methods to achieve a professional finish.
You'll Learn About
Why That Gap Exists (And Why It’s Important)
Before you rush to fill it, it’s crucial to understand why that gap is there in the first place. Hardwood floors are natural materials, and they breathe with the seasons. They expand in humid weather and contract when the air is dry.
This movement requires what’s known as an expansion gap around the perimeter of the room, including against the solid, immovable hearth. Without this space, your beautiful floors could buckle, warp, or cup as they expand, leading to significant and costly damage. The key is to cover this necessary gap, not eliminate it entirely with a rigid material.
The Problems Caused by an Uncovered Gap
Leaving the gap exposed is not a good long-term strategy. Beyond the aesthetic issues, it can lead to practical problems like creating a hard-to-clean trap for dirt and allergens. For homes with young children or pets, it can also become a place for small toys or food to get lost.
A well-sealed transition is the mark of a finished, high-quality installation. It shows attention to detail and protects the longevity of your flooring investment.
First, Assess Your Situation
Not all gaps are created equal. The size of your gap and the shape of your hearth will determine the best solution. Take a moment to measure the space at various points.
Is the gap a uniform width, or does it vary? Is your hearth made of smooth, straight-edged tile, or is it a rustic, uneven stone or brick? Answering these questions will point you to the right method for a flawless repair.
Choosing the Right Method to Fill the Gap
There are three primary methods for tackling the gap between your hearth and hardwood floors. Each has its pros and cons, depending on the gap size, your DIY comfort level, and the desired final look. We’ll explore flexible sealants, rigid fillers, and trim molding.
For a quick comparison, this table breaks down the best uses for each approach:
| Solution | Best For (Gap Size) | Flexibility | Skill Level | Aesthetics |
|---|---|---|---|---|
| Flexible Caulk/Sealant | Small, even gaps (< 1/4″) | High | Beginner | Good (if color-matched) |
| Wood Filler | Tiny, non-expansion cracks (< 1/8″) | Very Low | Beginner | Fair to Good |
| Quarter Round/Shoe Molding | Larger, even gaps (> 1/4″) | Allows movement underneath | Intermediate | Excellent/Traditional |
| Scribe Molding | Uneven/irregular gaps (any size) | Allows movement underneath | Advanced | Superior/Custom |
Method 1: Flexible Sealant for a Minimalist Look
For small and consistent gaps, typically less than a quarter-inch wide, a high-quality flexible sealant or caulk is an excellent choice. This method is fast, easy, and creates a very subtle transition that doesn’t draw attention.
The key is to choose a product that remains flexible to accommodate the floor’s natural movement. It’s also critical to select a sealant that is appropriate for the heat-adjacent location of a hearth. An ordinary acrylic latex caulk may not be the best choice here.
Step-by-Step Guide to Caulking the Gap
- Select the Right Sealant: Look for a fire-rated or high-temperature caulk. These are often available in various colors, including sanded versions that can mimic the texture of grout for a seamless blend with a tile or brick hearth. Color-matching is crucial for a professional look.
- Clean the Area Thoroughly: Use a vacuum with a crevice tool to remove all dust and debris from the gap. A clean surface ensures proper adhesion. You can also use a putty knife to gently scrape out any stubborn bits.
- Apply Painter’s Tape: For ultra-clean lines, place painter’s tape on the hardwood floor and on the face of the hearth, leaving only the gap exposed.
- Apply a Consistent Bead: Cut the nozzle of the caulk tube at a 45-degree angle and apply a steady, even bead directly into the gap.
- Smooth the Caulk: Use a caulk finishing tool or a wet fingertip to smooth the bead, pressing it firmly into the gap.
- Remove the Tape: Carefully peel away the painter’s tape while the caulk is still wet to reveal a perfectly crisp edge. Let it cure completely according to the manufacturer’s instructions.
Method 2: Using Trim or Molding for a Classic Finish
When the gap is larger, inconsistent, or you simply prefer a more traditional architectural look, trim molding is the superior choice. Quarter round or shoe molding are the most common options. These small, decorative pieces are specifically designed to cover expansion gaps along floors and walls.
This solution provides a clean, deliberate transition and is often considered the most professional-looking method. As you might use molding for gaps elsewhere, such as when installing quarter round around a door frame, the same principles apply here for a cohesive look.
Step-by-Step Guide to Installing Trim
- Choose Your Molding: Select quarter round or shoe molding that matches your hardwood flooring. You can buy pre-finished molding or unfinished pieces that you can stain to match perfectly.
- Measure and Cut: Measure the lengths you need for each side of the hearth. Use a miter saw to make precise 45-degree cuts at the corners for a tight, professional joint.
- The Golden Rule of Installation: This is the most critical step. You must nail the molding to the hardwood floor, NOT the hearth. Nailing it to the hearth would restrict the floor’s movement, defeating the purpose of the expansion gap.
- Secure the Molding: Use a brad nailer with 1-inch or 1.25-inch brads to fasten the molding to the floor. Place nails every 12-18 inches.
- Finish the Details: Use a color-matched wood putty to fill the tiny nail holes. If you have any gaps in your mitered corners, a small dab of putty will make them disappear.
What About Wood Filler? A Word of Caution
It can be tempting to reach for wood filler, a product designed to patch holes in wood. However, for an expansion gap, standard wood filler is almost always the wrong choice. It dries hard and rigid, cracking and crumbling as the floor expands and contracts.
If you have a very tiny, stable hairline crack that is not part of the primary expansion gap, a flexible, stainable wood filler might be an option. But for the transition between two different materials like wood and masonry, flexible solutions are far superior. This is a key difference from scenarios like filling gaps between tile and wood floors in a doorway, where a T-molding is often the best solution.
Advanced Solution: Scribing for Irregular Stone or Brick
If your hearth has an uneven, natural stone or rustic brick edge, a straight piece of trim will leave awkward gaps. The ultimate professional technique for this situation is called scribing. This involves transferring the exact contour of the hearth onto a piece of trim and then cutting it for a perfect, custom fit.
Scribing requires a special tool (a compass or scribing tool) and patience, but the result is a seamless finish that looks incredibly high-end. You essentially trace the hearth’s profile onto the wood and then carefully cut along that line with a jigsaw or coping saw.
Final Preparations and Common Mistakes to Avoid
Before you begin any of these methods, proper preparation is key. A clean workspace not only ensures a better result but also makes the job more enjoyable. Taking a few moments to tidy the surrounding area can make a surprising difference—it’s a good habit for any home project, whether you’re fixing a floor or just organizing your laundry area with one of the best non-computerized washing machines.
Key Mistakes to Sidestep
- Using a Rigid Filler: Never use grout, standard wood putty, or concrete patch in an expansion gap. It will fail.
- Ignoring Flexibility: The floor must be allowed to move. Your solution must cover the gap, not fill it rigidly.
- Nailing Trim Incorrectly: Always nail trim to the floor, never to the hearth or wall.
- Poor Color Matching: Take the time to find a caulk or wood stain that closely matches your floor or hearth. A poor match will highlight the repair instead of concealing it.
A Flawless Finish is Within Reach
That distracting gap between your hearth and hardwood is a solvable problem. By correctly identifying the size and nature of the gap, you can choose a solution that fits your skill level and aesthetic goals. Whether you opt for a quick caulking job or the custom finish of trim molding, you can achieve a professional result that enhances your home’s main focal point.
Taking the time to address this small detail will elevate the entire look of your room, providing a clean, safe, and beautifully finished space you can be proud of.