Fan Rough-In Gone Wrong? Your Ultimate Fix-It Guide
There’s nothing quite like the gentle breeze of a ceiling fan on a warm day. But that peaceful comfort can quickly turn into a stressful nightmare if the fan starts to wobble, make strange noises, or worse, feels like it could detach from the ceiling at any moment. The hidden culprit behind these terrifying fan failures is almost always a poor installation, and it all starts with one critical, often overlooked step: the fan rough-in.
Getting the rough-in right is the absolute foundation of a safe and secure ceiling fan installation. It’s the work you do before the drywall goes up or before the fan even comes out of its box. A mistake here doesn’t just mean an annoying wobble; it can lead to serious electrical hazards, costly ceiling repairs, and a fan that’s a danger to everyone in the room. This guide will walk you through every step to ensure your fan’s foundation is rock-solid.
You'll Learn About
What Exactly Is a Fan Rough-In?
A “rough-in” is the stage of a construction or remodeling project where the basic framework for electrical and plumbing systems is installed inside the walls and ceilings. For a ceiling fan, the rough-in specifically involves two key components: running the electrical cable to the desired location and, most importantly, installing a heavy-duty, fan-rated electrical box and support brace that will hold the full weight and handle the constant vibration of the fan.
This isn’t just about hanging any old electrical box. Standard plastic boxes used for simple light fixtures are not designed to support a 35 to 70-pound appliance that is constantly in motion. A proper fan rough-in ensures the entire assembly is anchored directly to the structural framing of your home, providing the strength needed for a safe, lifelong installation.
The Unsung Hero: Choosing the Right Box and Brace
The single most critical mistake homeowners and even some contractors make is using a standard, non-metallic (plastic) electrical box for a ceiling fan. These boxes are only rated to hold light fixtures weighing a few pounds and are typically attached to the drywall or with small tabs to a joist. They simply cannot handle the dynamic load and torque of a spinning ceiling fan.
For a ceiling fan, you must use an electrical box that is explicitly UL-listed and marked as “Acceptable for Fan Support.” These are typically made of metal or high-density polymer and are designed to be mounted directly to a ceiling joist or a specialized fan brace. This ensures the fan’s weight is supported by your home’s framing, not the ceiling drywall.
New Construction vs. Remodel Braces
The type of brace you use depends on whether you have open access to the ceiling joists. In new construction, you can use an expandable metal brace that screws directly into the sides of two parallel joists. This provides an incredibly strong and stable anchor point for the fan-rated box.
For existing ceilings, where the drywall is already in place, you’ll need a “remodel” or “old work” brace. These clever devices are designed to be inserted through the hole you cut for the electrical box. Once inside the ceiling cavity, you rotate a mechanism that expands the brace until its sharp teeth dig securely into the neighboring joists, creating a powerful, reliable support without needing to tear down the ceiling.
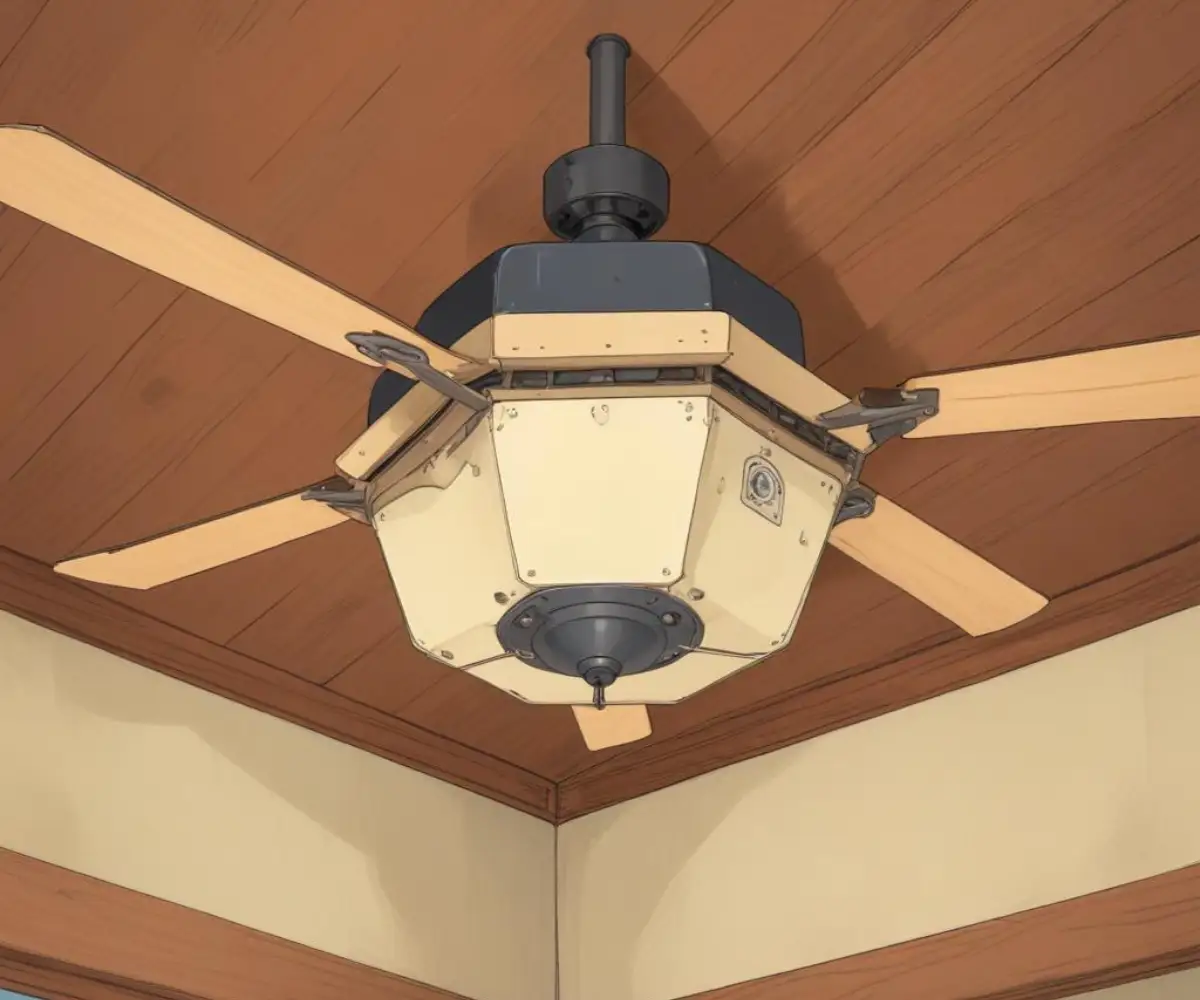
Planning Your Installation: Location and Clearance
Before you cut any holes, planning the fan’s location is crucial for both performance and safety. A well-placed fan provides optimal airflow and prevents accidents. You need to ensure the fan blades have enough clearance from the floor, walls, and the ceiling itself.
The fan should be mounted in the center of the room for the most balanced airflow. Most importantly, the blades must be at least 7 feet from the floor to prevent injury. For optimal performance, positioning the fan 8 to 9 feet above the floor allows for the best air circulation. If you have high ceilings, you’ll need a longer downrod to achieve this ideal height.
| Ceiling Height | Recommended Fan Mounting | Minimum Blade Clearance from Floor |
|---|---|---|
| 8 feet | Flush Mount (“Hugger”) | Approximately 7′ 6″ |
| 9 feet | Standard Mount (3-5″ downrod) | Approximately 8′ |
| 10 feet | 12″ Downrod | Approximately 8′ 6″ |
| 12 feet | 24″ Downrod | Approximately 9′ |
| 14 feet+ | 36″ or longer Downrod | Maintained at 9′ or higher |
Step-by-Step Guide: The Fan Rough-In Process
Whether you’re working with open framing or an existing ceiling, the core principles are the same: safety first, then secure mounting. Always begin by shutting off power at the circuit breaker for the area you’re working on. Use a voltage tester to confirm there is no power at the fixture or switch before touching any wires.
For New Construction (Open Joists)
1. Position the Brace: Determine your fan’s center point and position your expandable metal brace between two ceiling joists, ensuring it is level. The brace should be mounted so the bottom of your electrical box will sit flush with the finished ceiling surface (typically 1/2 inch for standard drywall).
2. Secure the Brace: Use the provided screws to securely fasten the ends of the brace into the sides of the ceiling joists. It should be completely rigid with no movement.
3. Mount the Box: Attach the fan-rated electrical box to the brace using the included hardware. Ensure it is tightly secured.
4. Run the Electrical Wire: Run your NM-B (Romex) cable from the wall switch location to the electrical box. Staple the wire to the framing members every few feet, leaving about 8-10 inches of excess wire at the box for connections.
For Existing Ceilings (Remodel/Old Work)
1. Locate Joists and Cut the Hole: Use a stud finder to locate the ceiling joists. Mark the center point for your fan and use the new electrical box as a template to trace and cut a hole in the drywall.
2. Install the Remodel Brace: Insert the remodel brace through the hole. Turn the hex mechanism with a wrench or drill, which will expand the brace until it is firmly wedged between the joists.
3. Mount the Box: Fish the electrical cable through the opening, feed it into a knockout on the new electrical box, and then mount the box to the brace using the provided U-bolt and hardware.
Wiring Your Fan Rough-In for Success
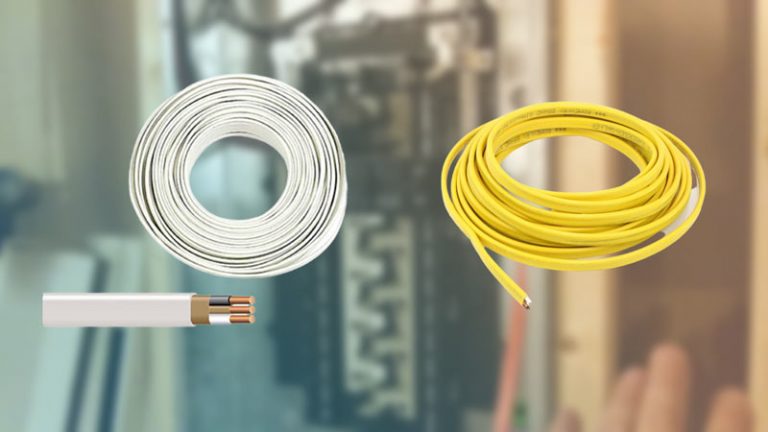
The wiring you run during the rough-in phase determines how you can control your fan later. You have two primary options: using a 14/2 cable or a 14/3 cable. The number “14” refers to the wire gauge, while the second number indicates the number of insulated conductors (not including the bare ground wire).
14/2 Wire for Single Control
A 14/2 cable contains one black (hot), one white (neutral), and one bare copper (ground) wire. This setup allows you to control both the fan and its light kit (if it has one) from a single wall switch. You would then use the fan’s pull chains to operate the fan speed and the light independently.
14/3 Wire for Dual Control
A 14/3 cable contains a black (hot), a red (second hot), a white (neutral), and a bare ground wire. This is the preferred method for modern installations. The extra red wire allows you to wire the fan motor and the light kit to two separate wall switches, giving you independent control without ever touching a pull chain. This is a huge convenience and a feature many homeowners appreciate. Correctly managing all of your home’s systems is vital; for instance, understanding why an ac drain pipe facing up causes solutions for proper drainage is as important as proper wiring.
Common Mistakes to Avoid
A flawless fan installation depends on avoiding a few common but critical errors. Getting these details right during the rough-in will save you from major headaches later.
1. Using the Wrong Electrical Box: This is the most dangerous mistake. Never use a standard plastic box. Always verify that your box is specifically rated for ceiling fan support. They are built to withstand the weight and vibration that a simple light fixture box cannot.
2. Not Securing the Brace to Joists: The brace must be firmly attached to the solid wood framing of your ceiling. A brace that is loose or improperly installed will transfer vibration and lead to a wobbly, noisy, and unsafe fan.
3. Incorrect Wiring: Loose wire connections are a common cause of fans not working or creating a fire hazard. Ensure all connections are tight and secure within the wire nuts. If using 14/3 wire for separate controls, make sure you correctly identify and connect the red wire for the light and the black wire for the fan motor.
The functionality of all home appliances relies on correct installation, as issues with one system can sometimes point to broader problems. For example, troubleshooting something like Mr. Heater Big Maxx short cycling might lead you to check your home’s gas pressure or electrical supply, revealing issues that affect other appliances as well. Furthermore, paying attention to detail extends to the finishing touches; selecting the right hardware, perhaps even a stylish Buster and Punch alternative, can complete the look of your project and add to your home’s overall design coherence.
Conclusion: The Foundation for a Flawless Fan
A successful ceiling fan installation isn’t about the final step of hanging the blades; it’s about the foundational work that no one sees. The fan rough-in—choosing the correct fan-rated box, securely mounting a support brace to your home’s structure, and running the proper wiring—is what guarantees a safe, silent, and wobble-free fan for years to come.
By taking the time to understand and properly execute the rough-in, you are not just installing a fan; you are investing in your home’s safety and your own peace of mind. With this guide, you have the knowledge to ensure your ceiling fan rests on a foundation as solid as your home itself.