EZ-Brace 101: Your Ultimate Guide to Installing Fans & Lights Anywhere
You found the perfect spot for that stunning new chandelier or high-performance ceiling fan. There’s just one problem: when you look up, you realize there is no ceiling joist right where you need to mount it. It’s a common scenario that can bring any home improvement project to a screeching halt.
Mounting a heavy fixture to drywall alone is a recipe for disaster. Even a standard electrical box isn’t rated for the weight and dynamic motion of a ceiling fan. This is where the EZ-Brace comes in as the definitive solution to a potentially dangerous problem.
You'll Learn About
What is an EZ-Brace and Why Do You Need One?
An EZ-Brace is a specially designed telescoping metal support brace that installs between two ceiling joists. It creates an incredibly strong and stable mounting point for a fan-rated electrical box, exactly where you need one, without needing attic access.
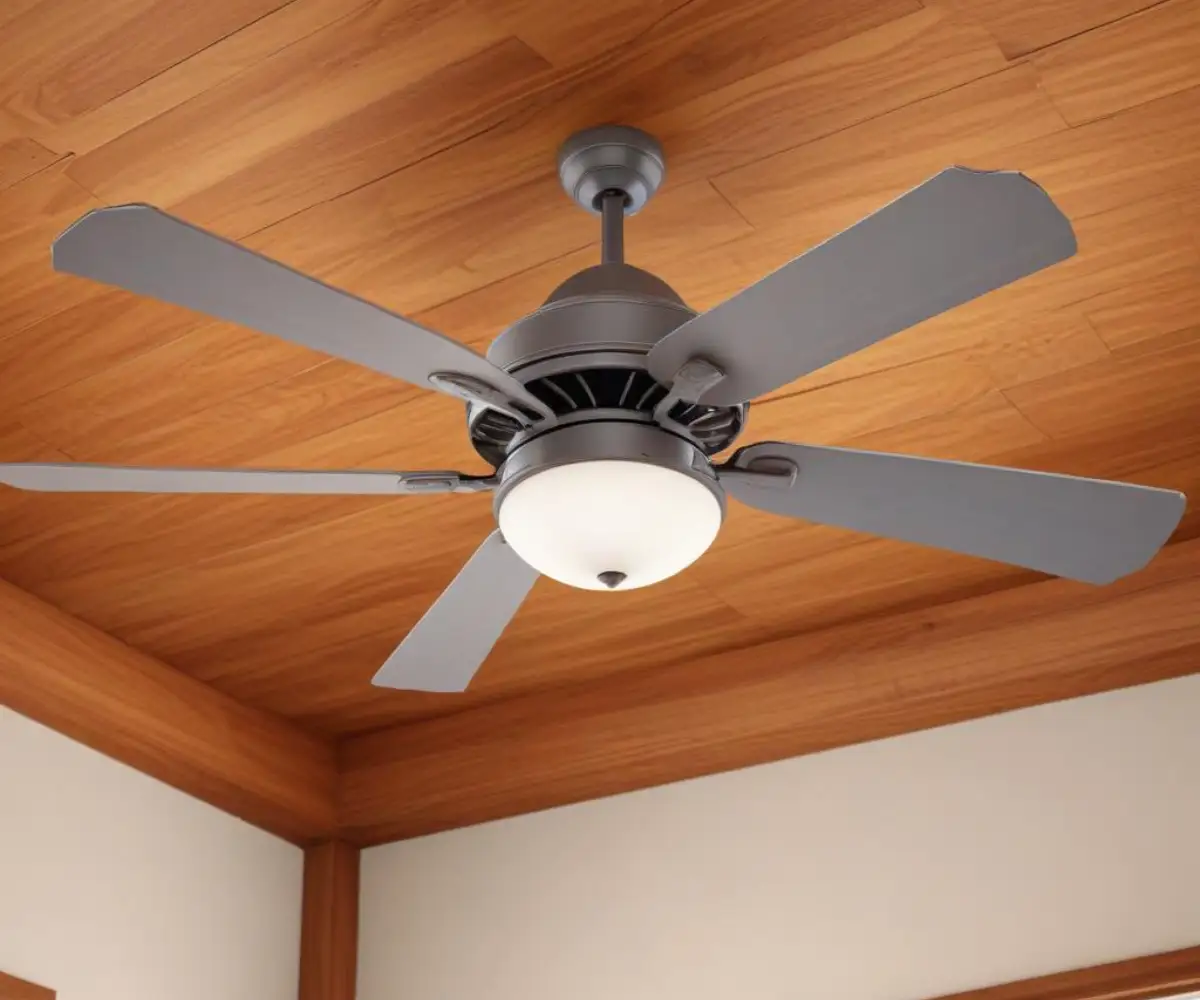
This tool is essential for remodel or “old work” projects where the ceiling is already finished. It allows you to safely add a heavy fixture, like a ceiling fan that can weigh up to 70 pounds or more, without tearing out large sections of drywall. It ensures your installation is secure, up to code, and gives you complete peace of mind.
When is an EZ-Brace Absolutely Necessary?
You need an EZ-Brace if you are installing a ceiling fan or a heavy light fixture in a location between two joists. Standard plastic or metal electrical boxes are not designed to support this kind of weight or movement. A failed mounting can lead to a real fan rough-in gone wrong situation, risking damage to your home and personal injury.
Even if you are replacing an old light fixture, the existing box is likely not fan-rated. An EZ-Brace allows you to upgrade the support system to modern safety standards quickly and easily.
Before You Begin: Safety and Preparation
Proper preparation is the key to a smooth and safe installation. Before you even think about cutting a hole in your ceiling, taking the right preliminary steps will prevent headaches and hazards down the line.
Safety First: The Non-Negotiables
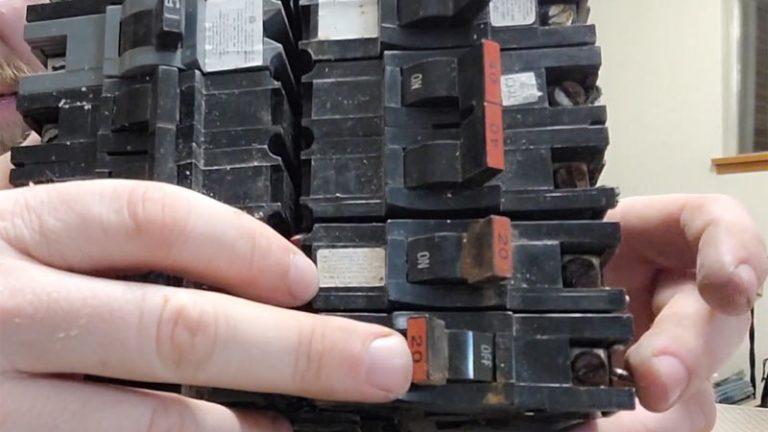
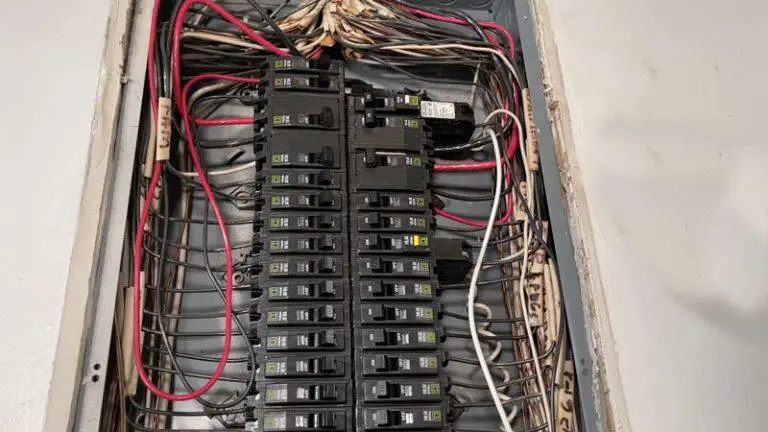
Working with electricity requires the utmost caution. Always turn off the power to the corresponding circuit at your home’s main electrical panel. Use a non-contact voltage tester to double-check that the wires in the existing electrical box or at your work area are completely dead before touching them.
Also, be sure to wear safety glasses to protect your eyes from drywall dust and debris. Just as you wouldn’t ignore a structural issue like a shower panel separating from the wall, you should never ignore basic electrical safety protocols.
Gathering Your Tools and Materials
Having everything you need on hand will make the job go much faster. You will typically need a stud finder, drywall saw, adjustable wrench, screwdrivers, wire strippers, and a ladder. Your EZ-Brace kit should include the brace itself, a fan-rated electrical box, and all necessary mounting hardware.
Planning Your Placement
Use a stud finder to locate the two ceiling joists you’ll be working between. Mark their locations lightly with a pencil. Decide on the exact center point for your new fixture. While sometimes an off-center vanity light can be a deliberate design choice, an off-center ceiling fan usually just looks awkward and can create imbalanced airflow.
Step-by-Step EZ-Brace Installation Guide
With your preparations complete, you are ready to install the brace. Follow these steps carefully for a secure, professional-quality installation that will last for years.
Step 1: Cutting the Opening
Place the new electrical box face down on the ceiling at your marked center point and trace around it. Use a drywall saw to carefully cut along the traced line. Make the hole just big enough for the box to fit through snugly.
Be cautious as you cut, as there could be unexpected wiring or plumbing behind the drywall. A slow and steady approach is best.
Step 2: Inserting and Positioning the Brace
With the hole cut, you can now insert the EZ-Brace. Slide the brace through the opening in the ceiling and orient it so it spans the distance between the two joists you located earlier. Center the brace over the hole.
Step 3: Expanding and Securing the Brace
This is the most critical step. Using an adjustable wrench, rotate the hexagonal outer pipe of the brace. This action will expand the brace, causing the sharp teeth on each end to dig securely into the wooden joists.
Continue turning until the brace is firmly locked in place. You should feel significant resistance, and the brace should not move at all. Do not over-tighten, as this could damage the joists or the brace itself.
Step 4: Mounting the Electrical Box
Once the brace is secure, attach the provided U-bolt saddle over the brace, with the bolts facing down into the room. If there are existing electrical wires, carefully feed them through one of the knockouts in the new electrical box.
Push the box up onto the U-bolt and secure it with the provided nuts. Ensure the front edge of the box sits flush with the finished ceiling for a clean installation.
Step 5: Wiring and Finishing
With the box securely mounted, you can complete the electrical wiring according to the fan or fixture manufacturer’s instructions. Typically, this involves connecting the black (hot), white (neutral), and green or copper (ground) wires. Once wired, attach the fixture’s mounting bracket to the electrical box and hang your new fan or light.
EZ-Brace vs. Other Mounting Methods: A Head-to-Head Comparison
While the EZ-Brace is a superior solution for remodel projects, it’s helpful to understand how it compares to other methods. This knowledge confirms why it is the go-to choice for safe, reliable fixture installation in existing ceilings.
| Mounting Method | Best Use Case | Typical Weight Capacity | Pros | Cons |
|---|---|---|---|---|
| EZ-Brace (Remodel Brace) | Existing/Finished Ceilings | Up to 70 lbs (Fan) / 150 lbs (Fixture) | Installs from below, no attic access needed, very secure | Requires cutting a hole in the ceiling |
| Wood Blocking | New Construction / Open Ceilings | 100+ lbs | Extremely strong, low cost | Requires attic access or open ceiling to install |
| “Pancake” Box | Light fixtures directly under a joist | Up to 50 lbs (Fixture Only) | Very slim profile, simple installation | Not fan-rated, must be directly on a joist |
| Standard Plastic Box | Light fixtures only | Under 25 lbs | Inexpensive, easy to find | Never safe for fans, low weight limit |
Advanced Tips and Tricks for a Professional Finish
Going beyond the basic instructions can elevate your installation from good to great. These professional insights address subtle issues that can make a big difference in the final result and long-term performance of your fixture.
Future-Proofing Your Installation
Even if your current ceiling fan doesn’t have a light, it’s wise to plan for a future upgrade. When running a new wire, use a 14/3 or 12/3 cable instead of a standard 14/2. The extra wire (usually red) can be capped off for now but will be ready to power a light kit separately if you ever change fixtures.
The Secret to a Whisper-Quiet Fan
A common complaint with ceiling fans is the transfer of motor noise and vibration through the ceiling structure. The metal-on-metal contact of the EZ-Brace can sometimes amplify this. A simple pro trick is to place a thin rubber or neoprene gasket between the electrical box and the metal brace saddle before tightening it down. This small addition can significantly dampen vibrations for a quieter operation.
Common EZ-Brace Problems and How to Solve Them
Even the best DIY projects can hit a snag. Knowing how to troubleshoot common issues will keep your installation on track and ensure a secure outcome.
Problem: The Brace Won’t Grip the Joists
If you turn the brace and it doesn’t seem to tighten, stop immediately. The most likely cause is that the joists are spaced wider than the brace’s maximum extension. Double-check your measurements and the product specifications. Another possibility is that the brace is not perpendicular to the joists, causing the ends to slip.
Problem: The Box Isn’t Flush with the Ceiling
An electrical box that hangs too low or is recessed too high will interfere with mounting the fan canopy. This is usually caused by not positioning the U-bolt saddle correctly on the brace. Loosen the nuts, adjust the box position, and re-tighten until it is perfectly flush.
Conclusion: The Confidence of a Secure Installation
The EZ-Brace transforms the challenging task of mounting a heavy ceiling fixture into a safe and manageable project for any confident DIYer. It provides the structural integrity required by the electrical code and, more importantly, offers the peace of mind that your fan or chandelier is securely anchored for the long haul.
By following a methodical approach focused on safety and precision, you can achieve a professional-quality installation. You can enjoy the comfort and style of your new fixture, knowing it is supported by a solid, reliable foundation.