Exhaust Vent Flaps Clattering in Wind? Your Ultimate Fix Is Here
That persistent, rhythmic clatter against the side of your house on a windy day. It’s a sound that can go from a minor annoyance to a major distraction, disrupting your peace and quiet. The culprit is almost always the small but significant exhaust vent flaps in wind, battling against gusts and creating a racket.
This isn’t just about noise. That constant flapping is a signal that your home’s exterior defenses are being compromised. This guide will walk you through why it happens, the hidden problems it causes, and exactly how to stop it for good.
You'll Learn About
The Unseen Battle: Why Your Vents Are So Noisy
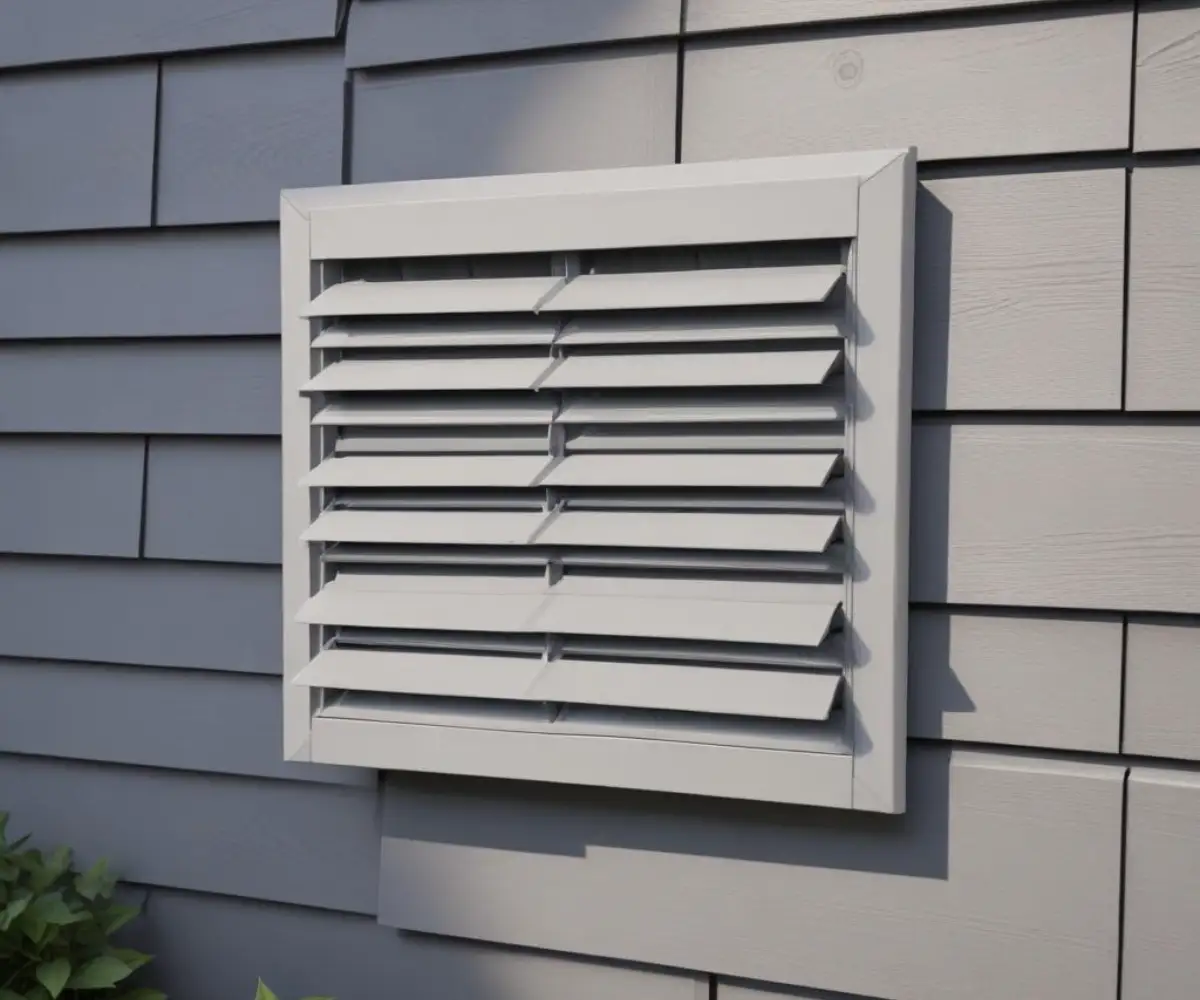
Every home has vents for dryers, bathroom fans, and kitchen range hoods. That unassuming vent on the side of your house serves the critical function of expelling moist, stale, or lint-filled air. To prevent outside air from coming back in, these vents are fitted with simple flaps or louvers designed to open only when air is flowing out.
The problem begins with their basic design. Most standard vents use lightweight plastic flaps that rely on gravity to stay closed. This makes them incredibly vulnerable to changes in exterior air pressure caused by wind, forcing them to lift and slam shut repeatedly.
The Science of Flap Noise: Beyond Simple Annoyance
The noise you hear isn’t just random rattling. It’s a direct result of aerodynamic principles at play on your home’s exterior. As wind flows over and around your house, it creates areas of high and low pressure. A strong gust can create a low-pressure zone directly in front of the vent, essentially sucking the lightweight flap open.
When the gust subsides for a split second, the pressure equalizes, and gravity slams the flap shut, creating the distinct “clack.” This cycle can repeat dozens of times per minute in turbulent conditions, leading to the maddening noise and, over time, significant wear and tear.
Common Culprits: From Poor Installation to Wear and Tear
Several factors can make a vent flap more susceptible to wind. UV degradation from years of sun exposure can make plastic brittle and warped, preventing a flush seal. Lint from a dryer or grease from a range hood can build up, causing the flap to stick partially open, allowing wind to catch it more easily.
Sometimes the issue is the installation itself. If the vent duct is not angled slightly downwards towards the exterior, the flap won’t have gravity’s full assistance to stay closed. A broken hinge pin or a missing weather seal around the housing only makes the problem worse.
The Hidden Dangers of a Flapping Vent Cover
While the noise is the most obvious problem, a constantly flapping or poorly sealed vent creates more serious issues that can affect your comfort, budget, and even your health. These secondary problems are often overlooked but can have significant long-term consequences.
More Than Just Noise: Energy Loss and Cold Drafts
A vent flap that doesn’t seal properly is like leaving a small window open all year round. In winter, this allows frigid air to flow back into the ductwork, creating cold spots in your bathroom, laundry room, or kitchen. This backdraft forces your heating system to work harder to maintain a stable indoor temperature, leading to noticeably higher energy bills.
Conversely, in the summer, hot and humid air can infiltrate your home. This puts an extra load on your air conditioner, reducing its efficiency and increasing cooling costs. Sealing these air leaks is a critical step in maintaining an energy-efficient home.
An Open Invitation for Pests and Moisture
A vent flap that is stuck open, even by a small amount, is a welcome mat for unwanted guests. Insects and rodents are adept at finding these small entry points into your home. This is a common cause when you suddenly find flies coming in through range hood vents, as the greasy buildup can be an attractant.
Moisture is another significant threat. Wind-driven rain and snow can be forced into the ductwork through a faulty seal. This moisture can lead to rust, water damage inside your walls, and the growth of mold and mildew, which poses a serious health risk and can cause extensive damage. This is especially true in enclosed, dark areas, highlighting the importance of addressing crawl space dryer vent problems promptly.
Long-Term Structural Strain and Material Fatigue
The constant, repetitive motion of a vent flap slamming shut does more than just make noise. This vibration can transfer to the entire vent assembly and the surrounding siding. Over months and years, this can loosen fasteners, damage the siding, and compromise the weatherproof seal around the vent.
The flap itself also suffers from material fatigue. Plastic becomes brittle and can crack or break off entirely, leaving your home completely exposed. This gradual degradation often goes unnoticed until a major problem, like a pest infestation or water leak, occurs.
The Definitive Guide to Silencing Your Vent Flaps for Good
Fortunately, you don’t have to live with the noise and risks of a flapping vent. There are several effective solutions, ranging from simple DIY fixes to a full replacement with a modern, wind-resistant design. The best approach depends on the condition of your current vent and your budget.
Step 1: A Thorough Inspection
Before attempting any fix, perform a careful inspection of the vent from the outside. You will likely need a ladder for this, so please prioritize safety. Look for obvious signs of damage like cracks in the housing or the flap itself.
Gently lift the flap to see if it moves freely on its hinges. Check for any obstructions like lint, leaves, or animal nests that might be preventing it from closing fully. Also, examine the seal around the vent housing to ensure it’s properly caulked and weatherproof.
Simple DIY Fixes You Can Do Today
If your vent is in relatively good condition, a few simple tweaks can make a big difference. First, clean it thoroughly. Remove any accumulated lint or debris from the flap and the inside of the vent opening to ensure a smooth, unobstructed closure.
Another common DIY solution is to add a small amount of weight to the flap. A small, strong magnet or a metal washer secured with high-quality, weather-resistant adhesive can provide just enough extra resistance to counteract the wind without preventing the flap from opening during use. It is crucial to not add too much weight, as this could impede airflow and cause your appliance to overheat.
Applying a thin strip of foam weatherstripping tape to the inside of the vent housing where the flap makes contact can also solve the problem. This cushions the impact, dramatically reducing the noise from plastic-on-plastic or metal-on-metal contact.
The Ultimate Solution: Upgrading Your Exterior Vent Cover
For a permanent, worry-free solution, replacing the old, cheap vent cover is the best course of action. Modern vent covers are engineered specifically to combat wind and provide a superior seal. An upgrade not only solves the noise issue but also enhances energy efficiency and protection against pests and moisture.
| Vent Cover Type | Key Features | Pros | Cons | Best For |
|---|---|---|---|---|
| Standard Louvered Vent | Multiple lightweight plastic slats that open with airflow. | Inexpensive and widely available. | Highly prone to wind noise, warping, and breaking. Poor seal. | Low-wind areas or as a temporary, budget-friendly fix. |
| Hooded Vent with Damper | A single, solid flap protected by an overhanging hood. | Hood offers protection from direct wind and rain. Better seal than louvered vents. | The flap can still be lifted by strong updrafts. | General purpose use for bathroom and kitchen vents. |
| Spring-Loaded Vent | Damper is held closed by a light-tension spring. | Provides positive closure against wind. Good seal. | Spring can weaken over time; may not be suitable for low-power fans. | High-wind areas for bathroom and range hood exhausts. |
| Magnetic Damper Vent | Flap is held shut by small magnets. | Excellent seal, quiet operation, and strong wind resistance. | Higher initial cost. Requires a metal contact point. | Dryer and fan vents in locations with extreme wind conditions. |
Choosing and Installing a Wind-Resistant Vent Cover
When selecting a new vent cover, prioritize durability and design. Models made from heavy-duty galvanized steel or high-grade, UV-stabilized plastic will last much longer than basic, builder-grade options. Look for features like a built-in pest guard and a high-quality weather seal for maximum protection.
A Step-by-Step Installation Guide
Replacing a vent cover is a manageable project for a confident DIYer. Always start by ensuring your ladder is secure. Begin by cutting through the old caulk around the vent housing with a utility knife.
Remove the screws holding the old vent in place and gently pry it away from the wall. Clean the siding and the exposed duct pipe thoroughly, removing all old caulk and debris. Slide the pipe of the new vent cover into the duct, ensure it is level, and secure it to the wall with the provided screws.
The final, most critical step is to apply a continuous bead of high-quality, exterior-grade silicone caulk around the entire perimeter of the new vent housing. This creates a durable, waterproof seal that prevents air and water from getting behind your siding.
When to Call a Professional
While many of these fixes are straightforward, there are times when it’s best to call a professional. If the vent is located in a hard-to-reach area, such as on a second story or a steep roofline, a handyman or HVAC technician has the proper safety equipment for the job.
Additionally, if you notice signs of water damage on the interior wall near the vent or find that the ductwork itself is damaged, it’s wise to get an expert opinion. They can assess the full extent of the problem and ensure the entire system is functioning safely and efficiently.
Reclaim Your Peace and Quiet
That annoying flapping sound is more than just a nuisance; it’s a sign that your home is vulnerable. By addressing your exhaust vent flaps in wind, you’re not just stopping a noise. You are also preventing energy loss, blocking entry points for pests, and protecting your home from moisture damage.
Whether you choose a simple DIY repair or a full upgrade to a modern, wind-resistant vent, taking action will restore tranquility to your home and provide you with lasting peace of mind.