Emerald Urethane Cure Time: The #1 Mistake Ruining Your Finish
You’ve spent hours meticulously prepping and painting your trim, doors, or cabinets. The finish looks flawless, the color is perfect, and you’re ready to call the project a success. But then, disaster strikes—a persistent sticky feeling, a door that peels paint from the jamb, or a deep gouge from a minor bump. This is the frustrating reality for many who misunderstand one critical concept: the Emerald Urethane cure time.
Sherwin-Williams Emerald Urethane Trim Enamel is a premium, high-performance coating known for its incredible durability and smooth, factory-like finish. However, achieving that promised toughness isn’t just about application; it’s about patience. Rushing the process is the single biggest mistake that can undermine all your hard work, leading to a soft, vulnerable finish that fails prematurely.
You'll Learn About
The Critical Difference: Dry Time vs. Cure Time
To prevent these common issues, it’s essential to understand that “dry” and “cured” are not the same thing. Confusing the two is where most problems begin. Think of it like baking a cake; it might look solid on the outside long before it’s fully cooked on the inside. Paint behaves similarly, going through distinct stages to reach its final, durable state.
This distinction is even more important than the general emerald paint dry time for wall paints, as trim and cabinets endure much more contact and abuse. The urethane component in this enamel is what provides its signature hardness, but it requires a complete chemical process to achieve it.
What is “Dry to the Touch”?
This is the first and most deceptive stage. “Dry to the touch” simply means the solvents and water on the very surface have evaporated enough that the paint no longer feels tacky or transfers to your finger. For Emerald Urethane, this can happen in as little as one to two hours under ideal conditions. While it’s a good sign of progress, the paint film underneath is still incredibly soft and fragile.
Understanding “Recoat Time”
The “recoat time,” typically around four hours, is the minimum window you should wait before applying another coat. This allows the initial layer to become stable enough to accept another coat without causing issues like bubbling, wrinkling, or dragging. Adhering to this window is crucial for proper adhesion between layers, but it still has nothing to do with overall durability.
The All-Important “Cure Time”
Curing is the final and longest stage. This is a chemical process where the paint molecules cross-link and bond together to form a hard, durable, and chemically resistant film. While the paint may feel dry, the curing process continues for days or even weeks. For Sherwin-Williams Emerald Urethane, a full cure takes approximately 30 days. Only after this period has the paint reached its maximum hardness and resistance to scratches, stains, and cleaning.
What Factors Influence Emerald Urethane Cure Time?
The 30-day cure time is a guideline based on ideal conditions. In the real world, several environmental and application factors can either shorten or, more commonly, dramatically extend this period. Paying attention to these variables is key to managing your project timeline and expectations effectively.
Temperature and Humidity: The Curing Environment
Temperature and humidity are the two most significant environmental factors. Paint cures best in moderate temperatures, typically between 60°F and 80°F (15°C to 27°C), with low to moderate humidity (around 40-50%).
High humidity is the enemy of curing. Excess moisture in the air slows down the evaporation of water from the paint, trapping solvents and preventing the urethane resins from cross-linking efficiently. In very humid conditions, the cure time can be extended significantly. Conversely, extremely low humidity can cause the surface to dry too quickly, which may lead to cracking or an uneven finish.
Application Thickness: Thicker Isn’t Better
It can be tempting to apply one thick coat to save time, but this is a critical mistake. A heavy coat of paint traps solvents and moisture deep within the film. The surface may skin over and feel dry, but the underlying paint will remain soft and gummy for an extended period, sometimes for weeks longer than expected.
For the best results, always apply two or more thin, even coats rather than one thick one. This allows each layer to dry and begin curing properly before the next is applied, leading to a much stronger and faster-curing final finish.
Airflow and Ventilation: The Unsung Hero
Good air circulation is essential for carrying away the evaporating water and solvents from the paint’s surface. Stagnant air allows a moisture-heavy layer to form right above the paint, slowing down the entire process. Using a fan can dramatically improve cure times.
However, you should never point a fan directly at the freshly painted surface. This can cause the paint to dry too rapidly on the surface, creating ripples, brush marks, or other imperfections. Instead, place a fan in the room to promote general air circulation, helping to maintain a consistent and ideal curing environment.
The Official Cure Time: A Practical Timeline
Knowing that a full cure takes up to 30 days can be daunting, especially when you need to get a room back in service. The good news is you don’t have to treat the surface like a delicate artifact for the entire month. You can gradually return items to service by following a careful timeline. The key is to avoid putting stress on the finish until it has had adequate time to harden.
| Timeframe | Activity Level | What You Can Do |
|---|---|---|
| 1-4 Hours | Initial Drying | Dry to the touch. Avoid all contact. After 4 hours, you can typically apply a second coat. |
| 24-48 Hours | Light Handling | Carefully handle items like doors or cabinet fronts for reinstallation. Avoid closing doors completely if they make contact with the jamb. |
| 3-7 Days | Gentle Use | You can gently close doors and drawers. Avoid placing any heavy or sharp objects on painted shelves or surfaces. |
| 7-21 Days | Moderate Use | Light items can be placed on surfaces. Still, be cautious with anything that could scrape or put pressure on the finish. |
| 30+ Days | Fully Cured | The paint has reached maximum hardness. You can resume normal use and clean the surface with a mild, non-abrasive cleaner and a soft cloth. |
Pro Tips for Managing Cure Time (Safely)
While you can’t rush the chemical process of curing, you can create the perfect environment to ensure it happens as efficiently as possible. A few professional tricks can help you manage the process and protect your finish during the vulnerable curing period.
Mastering Your Environment
Take active control of the temperature and humidity. In damp or humid conditions, use a dehumidifier to remove excess moisture from the air. This single step can make a massive difference in how quickly the paint film hardens. In cooler temperatures, a space heater can help maintain an optimal temperature, but be cautious not to create hot spots.
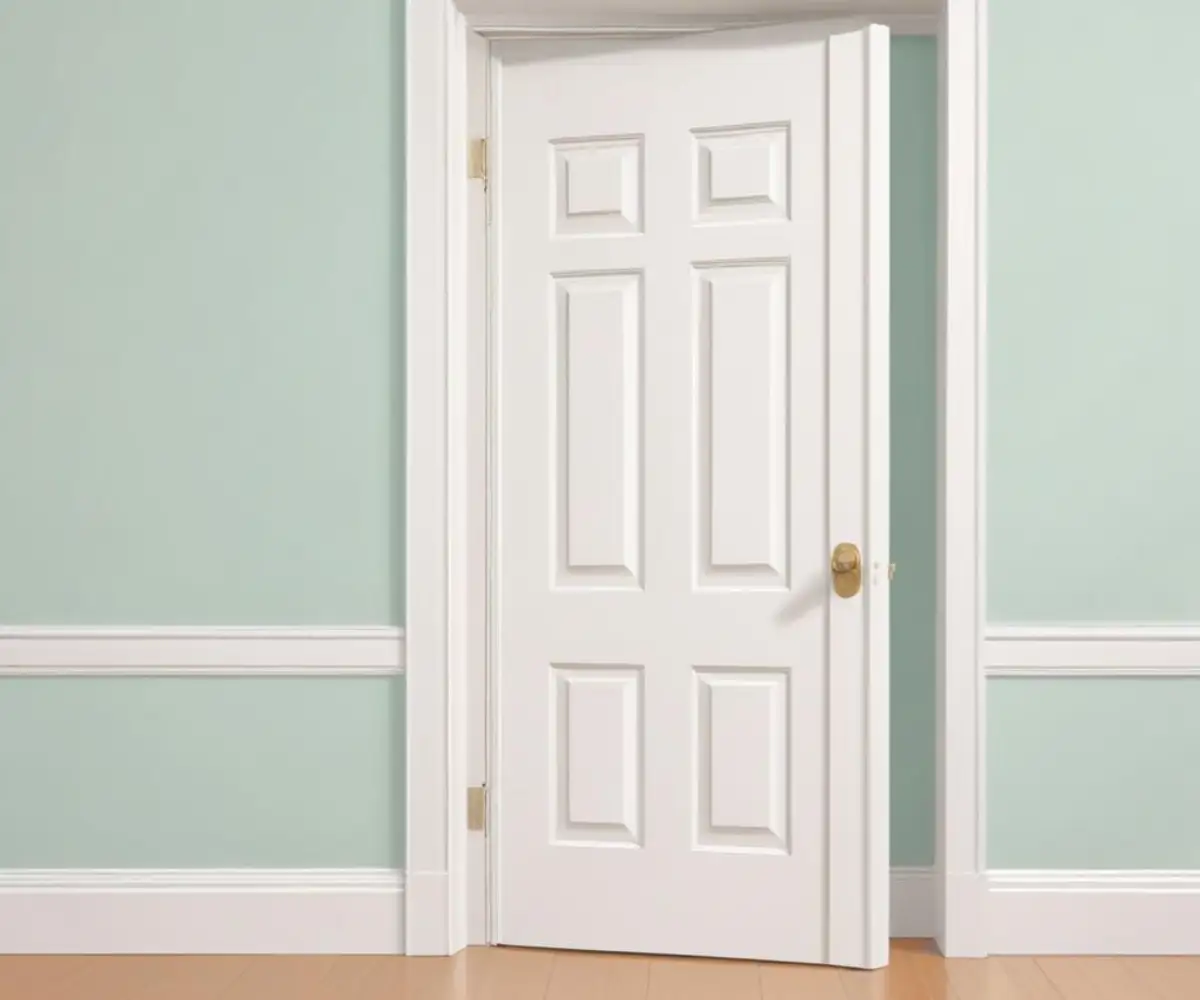
The “Wax Paper” Trick for Doors and Cabinets
One of the most common issues is paint sticking on contact points, like a door jamb or the face of a cabinet. To prevent this, place a small piece of wax paper between the door and the frame or the cabinet door and the face frame before closing it. The wax paper creates a non-stick barrier that protects the soft paint until it has hardened enough to resist pressure.
This is a far better solution than leaving doors and cabinets ajar for weeks, especially in a busy household. This is similar to understanding how long for loctite roof & flashing to fully cure, where patience prevents immediate failure.
The Cost of Impatience: Common Mistakes and How to Fix Them
Rushing the curing process inevitably leads to problems. Fortunately, most of these issues can be fixed, although it requires time and careful work. Understanding the common pitfalls can help you avoid them in the first place.
Problem: Dents, Dings, and Scratches
An uncured paint surface is soft and susceptible to damage. A fingernail, a piece of furniture, or even a vacuum cleaner bumping against it can leave a permanent mark. The urethane technology is designed for ultimate hardness, but only once it’s fully cured.
The Fix: For minor dents or scratches, you often have to perform a spot repair. Lightly sand the damaged area with fine-grit sandpaper (220-grit is usually sufficient) to smooth the edges of the imperfection. Wipe away the dust, apply a thin coat of paint to the area, and use a small, soft brush to “feather” the edges into the surrounding paint to blend the repair. You may need a second coat after the first has dried.
Problem: Sticking and Peeling
This is most common with doors and windows. When closed before the paint is sufficiently hard, the pressure can cause the two surfaces to fuse. When you later open the door or window, a strip of paint peels off one surface and remains stuck to the other, ruining the finish on both sides.
The Fix: If the damage has already occurred, you’ll need to repair both surfaces. Scrape away any loose or peeling paint. Sand the area smooth, feathering the edges. Prime any bare spots, then repaint the damaged sections, being careful to apply thin coats. Afterward, use the wax paper trick mentioned earlier until the new paint is fully cured.
Problem: Surface Stains and Chemical Damage
An uncured surface has poor “block resistance,” meaning it can absorb stains and be damaged by chemicals. Wiping a soft, uncured surface with a household cleaner can soften or even remove the paint. Even a simple water spill can leave a permanent mark if left to sit.
The Fix: For the first 30 days, clean surfaces with nothing more than a soft, damp cloth. Avoid all household cleaners, scrubbing pads, or abrasive materials. If a stain occurs, it’s often better to wait until the paint has fully cured before attempting a repair, as trying to fix it too early can make the problem worse. This is different from a product like Restor-A-Finish on wood floors, which is designed for immediate aesthetic improvement on a fully cured surface.
Frequently Asked Questions About Emerald Urethane Curing
Even with a clear understanding of the process, specific questions often arise. Here are answers to some of the most common queries regarding the Emerald Urethane cure time.
Can I use a hairdryer or heat gun to speed up curing?
Absolutely not. While heat can speed up drying, applying intense, direct heat with a hairdryer or heat gun is a recipe for disaster. It will cause the surface of the paint to skin over far too quickly, trapping solvents underneath. This leads to a weak, under-cured film that is prone to bubbling, wrinkling, and premature failure. Gentle, ambient heat and good air circulation are the only safe ways to encourage faster curing.
Why does my paint still feel soft after a week?
If your paint feels unusually soft after a week or more, it’s almost always due to one of the factors discussed earlier. The most likely culprits are high humidity, low temperature during application, or applying the paint too thickly. Review your application conditions and give it more time; it will likely harden eventually, though it may take longer than the standard 30 days.
What happens if it rains on my freshly painted exterior trim?
Emerald Urethane is an interior/exterior product, but it is vulnerable to moisture before it has had a chance to cure. A light rain on a surface that has been dry for at least 4-6 hours may not cause significant issues. However, a heavy, driving rain can leave permanent water spots, streaks, or even wash away some of the paint if it’s very fresh. Always plan exterior painting projects with a clear weather forecast for at least 24 hours.
Conclusion: Patience Is the Key to a Perfect Finish
Achieving the tough, beautiful, and long-lasting finish that Sherwin-Williams Emerald Urethane Trim Enamel is known for is not just about technique—it’s about respecting the chemistry of the product. The 30-day cure time is not a mere suggestion; it is a fundamental requirement for the paint to develop the resilience you paid for.
By understanding the difference between drying and curing, controlling your environment, and resisting the urge to rush the process, you can avoid the common pitfalls that lead to damaged and disappointing results. A little patience in the short term will reward you with a flawless, professional-grade finish that will stand the test of time for years to come.
