Basement Shower Drain Nightmare? An Elevated Base Is Your Fix
Finishing a basement is a fantastic way to add valuable living space and comfort to your home. But when the plan includes a new bathroom, homeowners often hit a major snag: the concrete floor. The core challenge lies in the plumbing, specifically creating a drain for a new shower when the main waste line is higher than the basement floor. This below-grade dilemma can make a simple shower installation seem like an impossible, and expensive, nightmare.
Traditionally, the solution involved a jackhammer, a lot of dust, and a significant expense to break through the concrete slab. This allows a plumber to dig trenches and install new pipes that rely on gravity. However, this process is not only messy and disruptive but can also be prohibitively expensive and, in some cases, structurally risky. For many, the dream of a basement bathroom stops right there.
You'll Learn About
The Below-Grade Problem: Why Basement Drains Are So Tricky
Standard plumbing relies on a simple, powerful force: gravity. Waste and water flow downhill through a series of pipes until they reach the main sewer or septic line. In the upper levels of a home, this is straightforward. In a basement, however, you’re starting at the lowest point of the house, often below the main drain line.
The Concrete Challenge and Plumbing Physics
To make a shower drain work in a basement, you need to create a downward slope in the drainpipe of at least 1/4 inch per linear foot. If your main drain line is several inches or even feet above the floor, achieving this slope is impossible without either breaking up the concrete to lower the pipes or finding a way to raise the shower. This is the fundamental conflict that makes basement shower installations so daunting.
Breaking up concrete is more than just a messy job; it can be a costly one, often requiring specialized tools and professional labor. Furthermore, once you’ve trenched the floor, you need to properly install not just the drainpipe but also a P-trap, which is essential for blocking sewer gases. All of this must be done with precision before pouring new concrete, making it a complex task for even seasoned DIYers.
Up-Flush Systems as an Alternative
An alternative to breaking concrete is an up-flush system, which features a macerating pump. This system collects waste and water from the shower, sink, and toilet, grinds it into a slurry, and then actively pumps it upward to the main drain line. While effective, these systems require electricity to function, can be noisy, and introduce mechanical components that may require maintenance or replacement over time.
The Smart Solution: The Elevated Shower Base
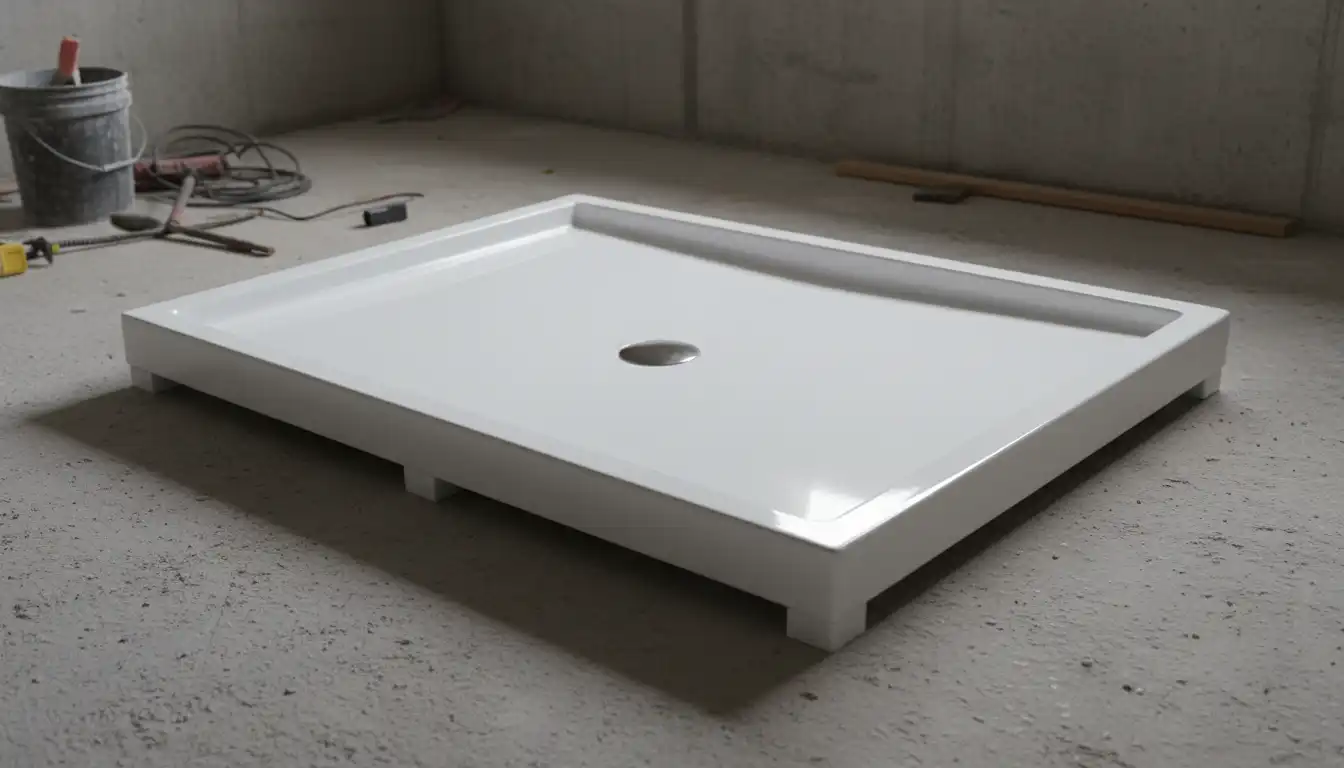
Fortunately, there is a third option that is simpler, cleaner, and often more cost-effective: the elevated shower base. This innovative solution tackles the gravity problem head-on by raising the shower floor. By creating additional height, you create the necessary space underneath the shower pan for the drain and P-trap, allowing for proper slope to an above-floor drain or an adjacent pump system.
This approach completely eliminates the need to break up your concrete floor. An elevated shower base creates a platform, typically 6 to 8 inches high, which is enough clearance to run the plumbing above the slab. This transforms a major construction project into a much more manageable plumbing and framing task.
Key Benefits of an Elevated Shower Platform
Opting for an elevated base offers a host of advantages over traditional methods. It’s a strategic choice that saves time, money, and significant hassle during your basement renovation.
- No Concrete Demolition: This is the most significant benefit. You avoid the dust, noise, and expense of jackhammering your basement floor, preserving its structural integrity.
- Simplified Plumbing: All drain plumbing can be installed above the floor, making it easier to access, install, and service in the future. This approach greatly simplifies achieving the correct drainage slope.
- Cost-Effective: By avoiding concrete work and extensive below-floor plumbing, you can dramatically reduce labor and material costs.
- Faster Installation: The installation process is significantly quicker. A platform can be framed and the base set in a fraction of the time it takes to trench, plumb, and re-pour concrete.
- DIY-Friendly: For those with solid framing and basic plumbing skills, building a platform and installing an elevated shower base is a very achievable DIY project.
How to Install Your Elevated Basement Shower: A Step-by-Step Guide
Installing an elevated shower base involves building a sturdy, level platform to support the shower pan. This platform must be strong enough to handle the weight of the shower, water, and a person without any flex, which could lead to cracks and leaks down the line.
Step 1: Planning and Layout
First, finalize the location of your shower. Place the shower base in the desired position and trace its outline on the concrete floor. Mark the exact location of the drain hole. This is your blueprint for both the support frame and the plumbing route.
Before you build, consider your plumbing exit strategy. Will the drainpipe run to a nearby sewage ejector pump or macerator? Or is there an existing floor drain it can be tied into? Ensure you have a clear, sloped path for the drainpipe from the shower to its destination.
Step 2: Building the Support Frame
Using pressure-treated lumber (to resist moisture), construct a frame that matches the footprint of your shower base. A common method is to build a box frame with 2×6 or 2×8 joists. Install cross-members every 16 inches on-center to provide robust support across the entire bottom of the shower pan.
Ensure the top of your frame is perfectly level. Use shims if necessary to account for any unevenness in the concrete floor. Once level, secure the frame to the concrete floor using appropriate fasteners to prevent any movement.
Step 3: Setting the Base and Connecting the Drain
With the frame built, perform a dry fit of the shower base to ensure it sits perfectly level and is fully supported. This is also the time to install the drain fitting onto the shower base itself, using plumber’s putty or silicone caulk as recommended by the manufacturer to create a watertight seal.
Next, connect the P-trap and the drainpipe to the shower drain fitting from underneath. Route the pipe through the framing toward your main drain connection. It is critical to maintain a consistent downward slope of 1/4 inch per foot along the entire run of the pipe. Once you are confident in the fit and slope, glue the PVC pipe and fittings together. It’s wise to perform a leak test before permanently setting the shower base.
Step 4: Securing the Shower Base
Many shower bases require a bed of mortar to be set into for a rock-solid, fully supported foundation. If this is the case for your model, mix the mortar to a pancake-batter consistency and spread it evenly over the top of your support frame’s subfloor (typically 3/4″ plywood).
Carefully lower the shower base into the wet mortar, pressing down firmly until it is seated and level. The mortar will fill any small gaps and prevent the base from flexing under weight. Finally, attach the shower base flanges to the wall studs as per the manufacturer’s instructions.
Choosing the Right Elevated Shower Base
Shower bases come in a variety of materials, each with its own set of advantages and price points. The best choice for your basement will depend on your budget, style preferences, and the expected wear and tear.
Material Breakdown and Feature Comparison
Understanding the differences between common materials is key to making an informed decision. Consider the long-term durability and maintenance requirements, as a basement environment can be demanding.
| Material | Pros | Cons | Typical Lifespan |
|---|---|---|---|
| Acrylic | Lightweight, easy to clean, warm to the touch, resistant to chipping and cracking. | Can be scratched; may feel less solid than heavier materials. | 10-20 years |
| Fiberglass | Very affordable and lightweight, making it easy to install. | Porous surface can stain and scratch easily; can become brittle over time. | 5-10 years |
| Solid Surface/Composite | Extremely durable, non-porous, premium feel, consistent color throughout. | Heavier and more expensive than acrylic or fiberglass. | 20+ years |
Beyond the Base: Finishing Your Basement Shower Project
With the elevated base securely in place, the rest of your shower installation follows standard procedure. Proper waterproofing and ventilation are especially crucial in a basement setting to prevent mold and moisture issues.
Waterproofing and Ventilation are Non-Negotiable
Install a vapor barrier behind the cement board or other tile backer surrounding the shower. Use a quality waterproofing membrane over the backer board before tiling to create a fully sealed, waterproof enclosure. Good ventilation is equally important. Install a high-capacity exhaust fan ducted to the exterior to effectively remove moisture-laden air from the bathroom.
For finishing the walls, especially if you have older plaster, you might need specific fastening solutions. Using appropriate anchors for lath and plaster can ensure that shelves, grab bars, and other fixtures are securely mounted. This attention to detail ensures the longevity and safety of your entire bathroom project.
Frequently Asked Questions (FAQs)
Navigating a basement bathroom project can bring up many questions. Here are answers to some of the most common queries about using an elevated shower base.
Is an elevated shower a safety concern?
The step up into an elevated shower is typically around 6-8 inches, similar to the height of a standard stair riser. For most people, this is perfectly manageable. You can enhance safety by installing a grab bar and ensuring the bathroom floor is a non-slip surface. For a more integrated look, some homeowners choose to raise the entire bathroom floor, creating a single step up into the room itself and leaving the shower entry curbless within the bathroom.
Can I tile the platform around the shower base?
Absolutely. Tiling the face of the platform is a popular way to create a seamless, built-in look. This aesthetic touch makes the elevated design feel intentional and high-end rather than purely functional. Be sure to use proper tile underlayment and waterproofing techniques on the platform structure before tiling.
What if I don’t have space for a P-trap even with an elevated base?
In very tight situations, there are low-profile P-traps available that require less vertical clearance than standard traps. It’s important to check your local plumbing codes to ensure these are permitted for use in your area. Always consult with a licensed plumber if you are unsure about code compliance.