Dyson Scratching Hardwood Floors? The Truth & Ultimate Fix
You’ve invested in beautiful hardwood floors and a premium Dyson vacuum. Yet, a nagging fear persists: could the very tool meant to keep your floors pristine actually be causing irreparable damage? This concern is a common pain point for homeowners who cherish both the aesthetic of wood flooring and the powerful performance of a Dyson.
The internet is filled with conflicting accounts. Some users swear their Dyson has left a web of fine scratches, while others report years of flawless use. This article cuts through the noise to provide a definitive guide on protecting your hardwood floors while using a Dyson vacuum, ensuring they remain a source of pride, not anxiety.
You'll Learn About
Why Hardwood Floor Owners Fear Their Dyson: The Core Problem
The primary fear stems from the powerful suction and aggressive brush rolls that make Dyson vacuums so effective on carpets. On a delicate surface like hardwood, this power can seem like a liability. The concern is that the vacuum’s components could be grinding dirt and debris into the wood’s finish, leading to scratches.
It’s a valid worry. The wrong vacuum head or improper use can indeed harm your floors. Understanding the mechanics of your specific Dyson and how it interacts with your flooring is the first step toward a scratch-free cleaning routine.
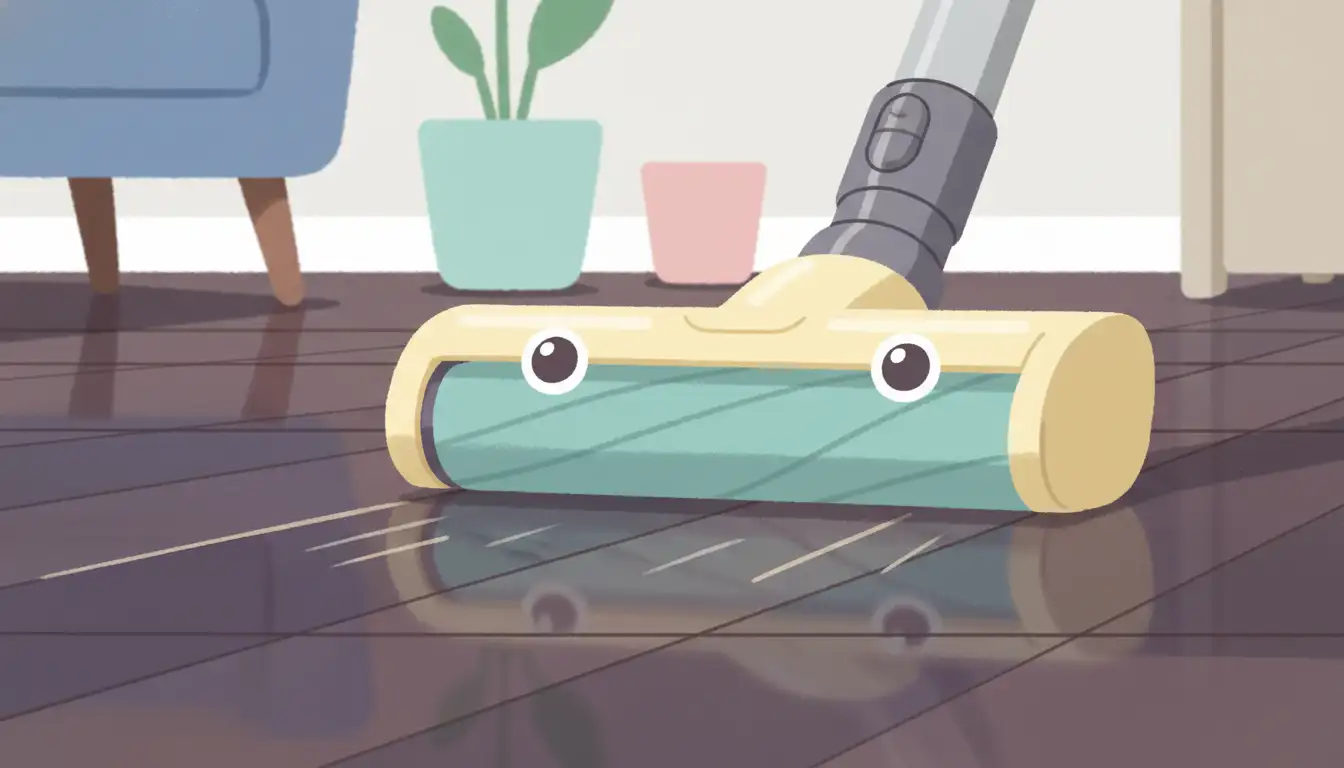
Understanding Different Dyson Cleaner Heads
Dyson offers a variety of cleaner heads, and not all are created equal when it comes to hardwood. The most significant distinction is between a traditional beater bar with stiff bristles and a soft roller head. A beater bar is designed to agitate carpet fibers to dislodge dirt, a feature that can be too harsh for wood.
In contrast, the Dyson Soft Roller Cleaner Head, often called the “Fluffy” head, was specifically engineered for hard floors. It uses a soft, fabric-like roller to gently capture fine dust and larger debris simultaneously without the abrasive action of stiff bristles. Using the correct head is the single most important factor in preventing scratches.
The Real Culprits: Debris, Worn Parts, and Wrong Technique
A Dyson vacuum itself is not inherently designed to scratch floors. The damage is almost always caused by external factors. Small, hard debris like sand, tiny pebbles, or even crystallized sugar can get caught in the vacuum’s wheels or brush roll and be dragged across the floor, acting like sandpaper.
Worn-out components are another major cause. If the soft, protective padding on the underside of the cleaner head or wheels wears down, hard plastic parts can make direct contact with your floor. Regular maintenance and inspection of your vacuum are crucial to catch these issues before they cause damage.
The Science of Scratches: How Vacuums Damage Wood Surfaces
Understanding how scratches occur helps in their prevention. It’s a simple matter of physics: a hard object being dragged with force across a softer surface. The finish on your hardwood floor, typically polyurethane, is durable but not impervious to damage from abrasive particles.
When a vacuum’s stiff bristles or hard plastic wheels roll over a piece of grit, it creates a pressure point. This concentrates the force onto that tiny particle, which is then dragged along, incising a line into the floor’s finish. The depth and visibility of the scratch depend on the hardness of the debris and the pressure applied.
Micro-Scratches vs. Deep Gouges: Identifying the Damage
Not all scratches are the same. Micro-scratches are very fine, often only visible in certain lighting. These are typically caused by fine dust and debris being lightly abraded across the surface. While individually small, an accumulation of micro-scratches can dull your floor’s finish over time.
Deep gouges are more serious, cutting through the finish and into the wood itself. These are usually caused by larger, harder debris or significant pressure from a damaged part of the vacuum. Repairing deep gouges is a much more involved process than buffing out minor surface scratches.
The Role of Wood Hardness and Finish
The type of hardwood you have plays a significant role in its susceptibility to scratches. The Janka hardness scale measures a wood’s resistance to denting and wear. Harder woods like Hickory or Maple are more resilient than softer woods like Pine or Cherry.
The finish is your floor’s first line of defense. Modern polyurethane finishes are tough, but they can be compromised. It’s essential to use cleaning products designed for hardwood that won’t strip or weaken this protective layer, making it more vulnerable to scratches from any source, including vacuums.
Your Dyson Model and Its Hardwood Floor Compatibility
Choosing the right Dyson, or the right accessories for your model, is paramount. Different models come with different standard attachments. For homes with extensive hardwood, investing in a model that includes a soft roller head, or purchasing one separately, is the best course of action.
The table below provides a quick reference for some popular Dyson models and their suitability for hardwood floors, highlighting the importance of the cleaner head.
| Dyson Model Series | Standard Cleaner Head(s) | Hardwood Floor Suitability | Recommended Action |
|---|---|---|---|
| Dyson V15 Detect | Laser Slim Fluffy & Digital Motorbar | Excellent | Use the Laser Slim Fluffy head for all hard surfaces. |
| Dyson V11 Series | High Torque Cleaner Head (Varies by sub-model) | Good to Excellent | If your model didn’t include a soft roller, purchase one for optimal care. |
| Dyson V8 Absolute | Soft Roller & Direct Drive Heads | Excellent | Comes equipped with the ideal head for hardwood floors. |
| Dyson Ball Animal 2 | Motorized Brush Bar | Fair (With Caution) | Always turn off the brush bar on hard floors. Consider a separate hard floor tool. |
| Dyson Omni-glide | Omnidirectional Fluffy Cleaner Head | Excellent | Specifically designed for hard floors. |
The Ultimate Prevention Guide: Keep Your Floors Flawless
Preventing scratches is easier than repairing them. By adopting a careful and consistent cleaning methodology, you can use your Dyson with confidence, knowing your hardwood floors are safe. This involves choosing the right tools, maintaining your equipment, and using proper technique.
Think of it as a three-step system: the right gear, regular check-ups, and mindful operation. Mastering these three areas will virtually eliminate the risk of vacuum-induced scratches.
Step 1: Choosing the Right Dyson Cleaner Head
As emphasized, the soft roller “Fluffy” head is the gold standard for hardwood. Its design is fundamentally different from a carpet head. Instead of bristles that can potentially push debris around, it uses a large, soft roller that engulfs both fine dust and larger particles, lifting them into the vacuum’s suction stream.
If your Dyson model came with a multi-floor head that has stiff bristles (like the High Torque or Motorbar heads), it’s crucial to check if the brush bar can be turned off or if it has adjustable settings. For older upright models like the Dyson Ball, there is typically a button to stop the brush roll’s rotation, a step that must be taken before vacuuming hard surfaces.
Step 2: Impeccable Maintenance Routines for Your Vacuum
A clean tool is a safe tool. Before each use, take 30 seconds to inspect your vacuum’s cleaner head. Check the wheels for embedded debris and ensure they spin freely. Hardened grit stuck in a wheel is a primary cause of long, straight scratches.
Regularly clean the brush roll itself. Hair and fibers can wrap around the roller, trapping abrasive particles. On soft roller heads, the fabric can be removed and washed according to the manufacturer’s instructions to keep it free of grit that could scratch the floor.
Step 3: Perfecting Your Vacuuming Technique
Your technique matters. Avoid aggressive, rapid back-and-forth motions. Instead, use smooth, deliberate passes. Be mindful when maneuvering around furniture to prevent the hard plastic body of the vacuum from bumping into and scuffing your baseboards or furniture legs.
Lift the vacuum over thresholds and area rug edges instead of dragging it. When turning, use gentle arcs rather than sharp pivots on the vacuum’s wheels, which can grind in any unseen debris. This mindful approach to movement greatly reduces the risk of accidental damage.
Beyond the Vacuum: Holistic Hardwood Floor Care
Protecting your hardwood floors from scratches isn’t just about your vacuuming habits. A comprehensive approach to floor care creates an environment where damage is less likely to occur in the first place. This means reducing the amount of abrasive debris that enters your home and being mindful of other potential sources of scratches.
Your vacuum is just one tool in your floor care arsenal. Integrating other practices will preserve the life and beauty of your hardwood for years to come.
The Importance of Regular Dusting and Sweeping
The single best way to prevent scratches is to keep your floors clean of the debris that causes them. Daily sweeping or dust mopping, especially in high-traffic areas, removes the small particles of sand and grit that are the main culprits. This means your vacuum has less potentially damaging debris to deal with.
By pre-cleaning the floor of larger debris, you ensure the vacuum is primarily picking up dust and hair, minimizing the risk of dragging something sharp across the finish.
Dealing with Abrasive Debris Like Drywall Dust
After a home improvement project, you might be faced with cleaning up fine, abrasive powders. This is especially true when dealing with things like spackle dust, which can be highly abrasive. In these situations, it’s often better to sweep or use a shop vac with a soft floor attachment for the initial cleanup before using your Dyson.
Even small renovations, such as repairing a 45 degree drywall corner, can introduce gritty materials onto your floors that require careful removal.
Choosing the Right Flooring for Your Lifestyle
If you’re in the process of choosing new flooring, considering its durability is key. When looking at options, a comparison like malibu wide plank vs lifeproof vinyl flooring can be enlightening. While both offer a wood look, their resistance to scratches can vary significantly, which might influence your decision based on your household’s activity levels and pets.
What to Do If Scratches Have Already Happened
Discovering a scratch on your beautiful hardwood floor can be disheartening, but don’t panic. Many minor scratches are superficial and can be easily remedied without the need for professional intervention. The key is to assess the depth of the scratch and use the appropriate method for repair.
Acting quickly and correctly can often make a scratch disappear completely, restoring the flawless look of your floor.
DIY Solutions for Minor Scratches
For very light surface scratches that are only in the finish, a simple fix might be all that’s needed. Start by cleaning the area thoroughly. Then, you can try using a dedicated hardwood floor scratch repair pen or a wax stick that matches your floor’s color.
Another popular DIY method involves using the natural oils from a walnut. Simply rub the meat of a walnut over the scratch; the oils can help darken and conceal the mark. For slightly deeper scratches, a stain-filled marker designed for furniture touch-ups can be very effective.
When to Call a Professional Floor Refinisher
If a scratch is deep enough to have penetrated the stain and exposed the raw wood, or if you have widespread scratching that has dulled the entire floor, it may be time to call a professional. A flooring expert can assess the damage and determine if a simple recoat of the finish is sufficient or if the floor needs to be sanded down and completely refinished.
Attempting to sand a deep scratch yourself without the proper equipment can often lead to a more noticeable, uneven spot on your floor. Professionals have the tools and expertise to blend the repair seamlessly.
Debunking Common Myths About Dyson Vacuums and Hardwood
Misinformation can cause unnecessary worry. It’s important to separate fact from fiction when it comes to vacuums and hardwood floors. Many of the “common knowledge” warnings are outdated or oversimplified.
By understanding the nuances, you can make informed decisions about how you clean your floors.
Myth: All Dyson Brush Rolls are Bad for Wood.
This is the most pervasive myth. As we’ve detailed, the Dyson Soft Roller head is not only safe but specifically designed for hardwood. The myth originates from the use of aggressive, stiff-bristled carpet heads on wood floors. The tool, not the brand, is the issue.
Myth: You Should Never Use a Beater Bar on Hardwood.
While it’s a good general rule, it’s not absolute. Many modern vacuums, including Dyson uprights, allow you to turn the beater bar off. When the brush roll is not spinning, the vacuum functions on suction alone, making it safe for hard floors. The problem arises only when the spinning, stiff-bristled bar is engaged on a wood surface.
The Final Verdict: Is a Dyson Safe for Your Hardwood Floors?
Yes, a Dyson vacuum can be perfectly safe for your hardwood floors. The key to preventing scratches lies not in avoiding this powerful cleaning tool, but in using it correctly. This means equipping your Dyson with the appropriate cleaner head, maintaining the machine diligently, and employing a gentle vacuuming technique.
By pairing the advanced engineering of a Dyson with mindful usage and a holistic approach to floor care, you can enjoy both a spotlessly clean home and beautiful, scratch-free hardwood floors for many years to come.