Roof Replacement Dust: The Toxic Mess & How to Protect Your Home
A new roof is a major investment that protects your home, but the installation process can unleash an astonishing amount of dust and debris. This isn’t just dirt; it’s a fine, pervasive powder that can infiltrate every corner of your house, posing risks to your health and property.
Many homeowners are completely unprepared for the sheer volume of dust generated during a roof tear-off. This oversight can lead to extensive cleaning bills, potential damage to sensitive electronics and HVAC systems, and health issues for your family.
You'll Learn About
Why Roof Replacement Dust is a Serious Hazard, Not Just a Mess
Understanding what you’re up against is the first step in creating a defense plan. The dust from your old roof is a complex cocktail of materials that have been baking in the sun and weathering storms for decades.
The Hidden Composition of Roofing Dust
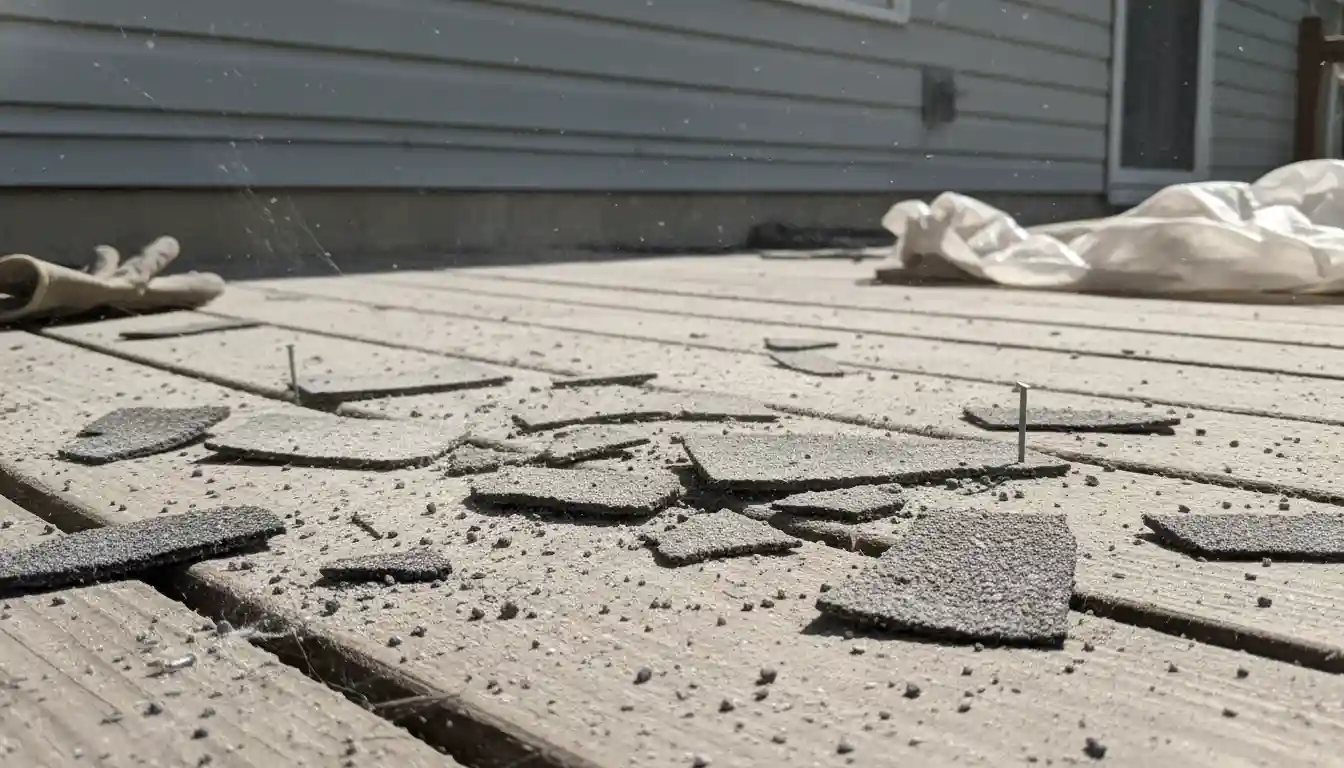
When roofers tear off old shingles, a cloud of microscopic particles is released into the air. This dust is primarily composed of asphalt granules, which give shingles their color and texture, along with fine fiberglass particles that can be highly irritating.
Additionally, the dust contains wood splinters from the roof decking, bits of old tar, and accumulated environmental pollutants. For homes with tile or slate roofs, the dust can contain crystalline silica, a known carcinogen that requires special handling and precautions.
Health Risks Hiding in Plain Sight
Inhaling this dust can cause significant respiratory irritation, triggering asthma attacks and allergic reactions. The fine fiberglass particles can irritate the eyes, skin, and lungs, leading to discomfort that lasts long after the project is complete.
The most serious risk comes from older homes. Roofs installed before the 1980s may contain asbestos, a material whose fibers can cause severe lung disease and cancer. If your home is older, it is critical to have materials tested before any demolition begins.
The Silent Damage to Your Home’s Systems
This fine, gritty dust is the enemy of modern technology and home systems. It can easily be sucked into your central air conditioning unit, clogging filters and potentially damaging the sensitive condenser coils. This is a common issue many homeowners face; you can learn more about how to navigate AC damage after roof installation to be better prepared.
Dust can also work its way into computers, televisions, and other electronics, causing them to overheat and fail prematurely. It settles on every surface, scratches delicate finishes, and can be incredibly difficult to remove from textiles like carpets and upholstery.
Your Proactive Defense Plan: Preparing for the Dust Invasion
The key to managing roofing dust is to act before the first shingle is removed. A comprehensive containment strategy involves coordination with your contractor and thorough preparation of your property, both inside and out.
Step 1: The Critical Conversation with Your Roofing Contractor
Before signing a contract, have a detailed discussion about dust control. A professional, reputable roofer will have a clear plan. Ask them these specific questions:
- What specific dust control measures do you use? Look for answers that go beyond “we use tarps.” Do they use specialized equipment like an Equipter, a self-propelled debris container that can be raised to the roofline to catch falling debris directly?
- How do you protect landscaping and sensitive areas? They should have a plan for covering flower beds, AC units, and other important features.
- What is your daily cleanup protocol? Crews should clean the site thoroughly at the end of each day, including using magnetic sweepers to pick up stray nails.
- How do you protect the home’s interior from dust entry? Ensure they have a plan for covering windows and vents if necessary.
A contractor who dismisses your concerns about dust is a major red flag. This part of the job is just as important as installing the shingles correctly.
Step 2: Fortifying Your Home’s Exterior Perimeter
You must create a barrier around your home’s foundation to protect it from the deluge of debris. Cover all landscaping, including bushes, small trees, and flower beds, with heavy-duty tarps or plywood.
Your outdoor air conditioning unit is extremely vulnerable. Shut off the AC system at the thermostat and the breaker, then cover the top of the unit with a sheet of plywood, ensuring the sides remain open for ventilation in case it is accidentally turned on. This prevents granules and nails from falling directly into the fan and fins.
Move all patio furniture, grills, toys, and potted plants far away from the house or into a garage or shed. Ensure all windows and doors are firmly closed and locked to create the best possible seal against airborne dust.
Step 3: Creating an Interior “Clean Zone”
Dust will find a way inside, so you need to make the interior as impenetrable as possible. The attic is ground zero for dust infiltration during a roof replacement. If you use your attic for storage, remove all valuable or sensitive items or cover them completely with thick plastic sheeting.
Inside your living space, cover furniture, electronics, and floors near windows with plastic or old sheets. Pay special attention to areas with large windows, like those often found in sunrooms. Protecting these spaces is crucial, just as you would during a sunroom wall panel replacement project.
Close all HVAC vents in rooms on the upper floors and consider sealing them temporarily with painter’s tape and plastic to prevent dust from entering the ductwork from inside the house.
Managing Dust During the Roofing Project
Once the work begins, your preparation will be put to the test. Stay vigilant and communicate with the roofing crew chief throughout the process to ensure the containment plan is working effectively.
Containment Best Practices for Professionals
A top-tier roofing crew will actively work to minimize the spread of debris. This includes using debris chutes to guide material directly from the roof into a dumpster, reducing the amount of dust that becomes airborne.
Some companies invest in “catch-all” netting systems that extend from the eaves to the ground, creating a massive funnel that directs almost all debris away from your foundation and landscaping. This is a sign of a highly professional and considerate contractor.
Your Role as the Vigilant Homeowner
Your job during this phase is to monitor the situation. Keep all windows and doors closed at all times, even on pleasant days. Remind children and other family members not to use doors that are near the work zone.
Walk the property at the end of each day (after the crew has left) to check on the protective coverings. If a tarp has blown off your prize-winning roses, fix it. If you notice dust accumulating heavily on window sills inside, it may indicate a poorly sealed window that needs extra attention.
| Containment Method | Effectiveness | Typical Cost | Best For |
|---|---|---|---|
| Standard Ground Tarps | Low to Moderate. Catches most falling debris but does little to control airborne dust. Can damage plants underneath. | Included by most roofers. | Basic protection for single-story homes with minimal, hardy landscaping. |
| “Catch-All” Netting Systems | High. Extends from the roof to the ground, preventing debris from hitting the house, windows, and landscaping. | May be included by premium roofers or offered as an upgrade. | Homes with delicate landscaping, multi-story houses, and homeowners wanting maximum protection. |
| Self-Propelled Debris Trailer (e.g., Equipter) | Very High. The container is raised to the roofline, catching debris directly from the source with minimal drop. | Often included by high-end, efficient roofing companies. | Properties with difficult access or where protecting the lawn and landscape is a top priority. |
| Interior Sealing & HVAC Shutdown | Crucial. The only way to significantly reduce interior dust infiltration. | DIY; cost of plastic sheeting and tape. | All roofing projects. This is a non-negotiable step for homeowners. |
The Meticulous Post-Roofing Cleanup Operation
Once the last shingle is in place and the crew has packed up, your work begins. Do not underestimate the scope of the final cleanup; it requires a systematic, multi-stage approach.
Phase 1: The Exterior Deep Clean
The roofer’s cleanup should be just the start. First, use a leaf blower to remove loose granules and dust from siding, window ledges, and porches. Start from the top of the house and work your way down.
Next, carefully inspect your lawn and landscaping for debris and nails. A magnetic sweeper is an invaluable tool for this job. Finally, gently rinse your siding, windows, and hardscaping with a garden hose. Avoid using a high-pressure washer, as it can damage siding and force water into unwanted places.
Phase 2: Reclaiming Your Home’s Interior
Cleaning the inside requires a top-down strategy. Start with ceiling fans and light fixtures, then move to walls, window sills, and finally, the floors. Use a vacuum with a HEPA filter to trap the fine dust particles instead of recirculating them into the air.
Wipe down all hard surfaces with a damp microfiber cloth, which will capture dust rather than just pushing it around. Plan on vacuuming carpets and rugs multiple times over the course of a week as the dust settles. It is also wise to wash all curtains, drapes, and bedding.
Phase 3: The Forgotten Frontier – The Attic
The attic is the area most homeowners forget, yet it often suffers the worst dust contamination. During the tear-off and decking phase, a significant amount of dust and debris falls directly into the attic space, covering insulation and stored items.
Wear a high-quality respirator mask (N95 or better) and eye protection before entering the attic. Use a shop vacuum with a fine dust filter to carefully clean the surfaces of trusses, joists, and any stored belongings. Be extremely careful not to disturb insulation more than necessary.
Your New Roof is Installed: Long-Term System Checks
Even after the visible dust is gone, the microscopic particles can linger and cause problems. A few final checks are essential to ensure your home’s systems are healthy after the assault.
HVAC System Health Assessment
Your HVAC system has been your home’s lungs through this process. The very first thing you should do after the cleanup is replace your HVAC air filter. It will likely be completely clogged with gritty, damaging roofing dust.
Write a reminder to check the filter again in two weeks, and again a month later, as residual dust in the home will continue to be pulled into the system. If you notice a significant amount of dust coming from the vents when the system kicks on, it may be a sign that you need a professional air duct cleaning.
Final Thoughts on a Clean and Safe Home
A roof replacement is a messy, disruptive process, but the dust doesn’t have to be a nightmare. By understanding the risks and implementing a robust protection and cleaning plan, you can safeguard your home and family’s health.
Proactive communication with your contractor and meticulous preparation are your most powerful tools. With these strategies in place, you can focus on the peace of mind that comes with a beautiful, durable new roof over your clean and safe home.