Drywall Over Wallpaper: The Pro-Secret to Avoiding Messy Removal
That old, dated wallpaper has been staring you down for years. Whether it’s faded floral, peeling at the seams, or simply a pattern you can no longer stand, you know it has to go. But the thought of the removal process—steamers, chemical strippers, endless scraping, and the inevitable damage to the wall underneath—is enough to make anyone put off the project indefinitely.
What if there was a shortcut? A way to get a perfectly smooth, modern wall without the nightmare of removal. Many homeowners and DIYers wonder if they can simply install new drywall directly over the old wallpaper. It seems like the perfect solution: a clean slate, less mess, and a fraction of the labor.
The answer is yes, you absolutely can install drywall over wallpaper. However, it is not a simple matter of covering up the problem. Doing it incorrectly can lead to serious issues down the road, including mold growth, structural instability, and a poor final finish. This guide will walk you through the professional method for ensuring a successful, long-lasting result.
You'll Learn About
Why Removing Wallpaper Is Such a Dreaded Task
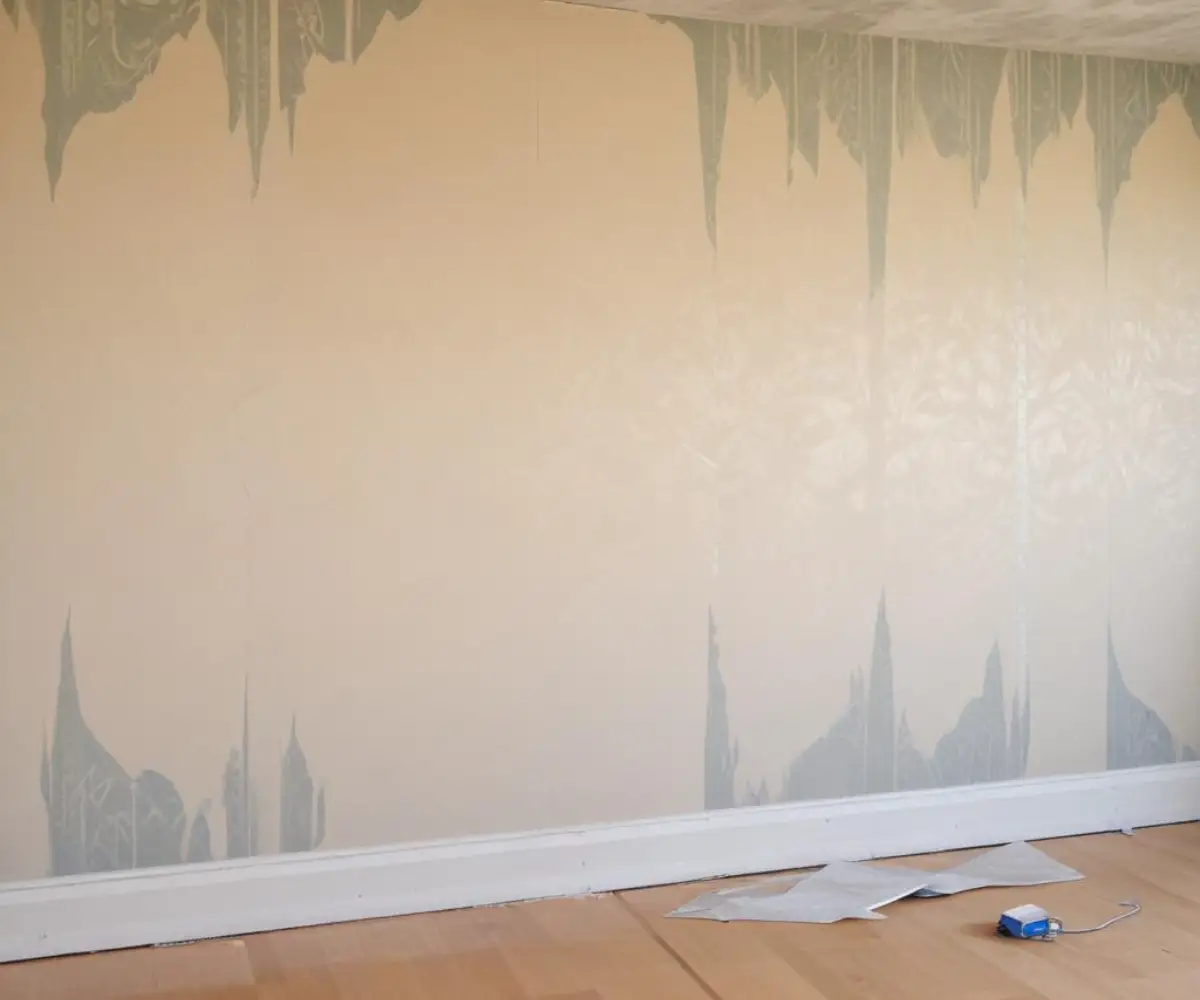
To understand the appeal of covering wallpaper, it’s important to appreciate the common frustrations of removing it. The process is notoriously difficult and unpredictable. Often, homeowners start what they think will be a simple weekend project only to discover a much larger problem lurking beneath the surface.
The biggest issue is when wallpaper has been applied directly to unprimed drywall. The wallpaper adhesive bonds intensely with the gypsum and paper facing of the drywall, essentially fusing the two together. When you try to remove the wallpaper, you end up tearing the drywall’s paper face, creating a widespread, damaged surface that requires extensive skim coating and repair before it can be painted.
The Hidden Problems Underneath
Wallpaper is often used to hide imperfections in a wall. Beneath that dated pattern, you might find cracks, holes, or crumbling plaster. Removing the paper can expose these issues, turning a simple redecorating job into a major wall repair project. This uncertainty is a major reason why covering the entire surface with a fresh layer of drywall is such an appealing alternative.
By opting to cover the wall, you create a guaranteed smooth, stable surface ready for modern finishing, bypassing the messy and laborious process of removal and repair entirely. But to do it right, preparation is everything.
The Hidden Danger: Trapped Moisture and Mold
The single biggest risk of putting drywall over wallpaper without proper preparation is trapped moisture. Wallpaper, especially older vinyl types, can act as a vapor barrier. When you place another layer of drywall on top, you create a sealed cavity between the old wall and the new one. Any moisture that gets trapped in this space has no way to escape.
The organic materials in the wallpaper and its adhesive paste become a food source for mold and mildew. This can lead to a serious mold problem that grows undetected until it causes health issues or a musty odor. The key to preventing this is to properly seal the old wallpaper before you begin.
The Step-by-Step Guide to Installing Drywall Over Wallpaper
Following these steps meticulously is the difference between a successful project and a future failure. Do not be tempted to cut corners, especially on the preparation and sealing stages.
Step 1: Inspect and Prepare the Existing Wall
Before you do anything else, assess the condition of the wallpaper. Look for any areas that are peeling, bubbling, or have loose seams. These sections are not stable and must be addressed.
Use a putty knife or scraper to remove any loose wallpaper. You don’t need to strip the whole wall, only the parts that are failing. For the remaining edges where you scraped, apply a very thin coat of joint compound and feather it out to create a smooth transition. This ensures the new drywall sheets will lie flat against a stable surface.
Step 2: Clean the Wallpaper Surface
Walls accumulate grease, dust, and grime over the years. This residue can interfere with the primer’s ability to adhere properly. Clean the entire wallpapered surface thoroughly.
A solution of trisodium phosphate (TSP) substitute and water is excellent for this. Wear gloves and eye protection, and wash the walls from the bottom up to prevent streaking. After washing, rinse the wall with a sponge and clean water to remove any TSP residue and let it dry completely.
Step 3: Seal the Wallpaper with the Right Primer (The Most Critical Step)
This is the non-negotiable step that prevents moisture problems. You need to apply a primer that will create a complete vapor barrier, effectively sealing the old wallpaper and its adhesive from any new moisture. Do not use a water-based or latex primer.
The moisture in latex primers can reactivate the wallpaper glue, causing widespread bubbling and peeling underneath your new drywall. You must use either an oil-based or shellac-based primer. Products like Zinsser B-I-N (a shellac-based primer) or a quality oil-based Kilz are ideal for this application. They block moisture and create an excellent surface for the new installation. For more on surface sealers, consider looking into a Gardz problem surface sealer alternative to ensure you’re using the best product for the job.
Step 4: Locate and Mark Wall Studs
Your new drywall sheets must be fastened securely to the wall studs, not just the old wall surface. Use a reliable stud finder to locate every stud in the wall. Mark their locations clearly on the ceiling and the floor, just beyond where the edges of the new drywall will be. Snap chalk lines to create a visible guide for every stud.
Step 5: Choose the Right Drywall and Fasteners
You have a choice in drywall thickness. While 1/4-inch drywall is often marketed for covering existing surfaces, 1/2-inch drywall is almost always the better choice. It is more rigid, provides better sound insulation, and is more forgiving of imperfections in the wall underneath. The 1/4-inch variety is more flexible and can sometimes telegraph underlying issues.
You will also need longer drywall screws. Standard screws are designed to go through one layer of drywall into a stud. You now need screws that can pass through the new drywall, the old drywall/plaster, and still penetrate the stud by at least 3/4 of an inch. For 1/2-inch drywall, 1 5/8-inch or 2-inch drywall screws are typically required.
Step 6: Measure, Cut, and Hang the Drywall
This part of the process follows standard drywall installation techniques. Measure your wall carefully and cut the drywall sheets to size. It’s often easiest to hang the top row first. Position the sheet against the ceiling and use your chalk lines to drive screws into every stud, placing screws about every 12 inches.
Ensure the screw heads are driven just below the surface of the paper without breaking it—creating a small dimple. Stagger the joints on the second row to create a stronger wall.
Step 7: Taping, Mudding, and Finishing
Once all the drywall is hung, the finishing process begins. This involves taping the seams, filling the screw dimples with joint compound, and sanding everything smooth for a flawless finish. This process typically involves three or more coats of compound.
When choosing a joint compound, understanding the differences between setting-type and air-drying compounds is key. For more detail on mud that hardens chemically, our guide on Easy Sand 45 vs 90 can help you make the right choice for your base coats. After the final sanding, the wall must be primed with a quality PVA drywall primer before painting.
Drywall Thickness Comparison for Overlay Projects
| Drywall Thickness | Best Use Case | Pros | Cons |
|---|---|---|---|
| 1/4-Inch | Covering smooth, perfectly flat surfaces. Good for creating curved walls. | Flexible, lightweight, easier to handle. Minimal impact on trim depth. | Can telegraph imperfections from the wall beneath. Less sound insulation. Less impact resistance. |
| 3/8-Inch | Sometimes used for repairs or overlays where 1/2-inch is too thick. | Slightly more rigid than 1/4-inch while still being relatively lightweight. | Not a standard stock item in all stores. Offers marginal benefits over 1/4-inch. |
| 1/2-Inch (Recommended) | Most overlay applications, especially over imperfect or textured walls. | Standard size, rigid and durable, provides a flat and stable surface, better sound dampening. | Heavier, increases wall thickness more significantly, impacting trim and electrical boxes. |
| 5/8-Inch (Fire-Rated) | Garages, furnace rooms, or party walls where a fire rating is required by code. | Excellent rigidity and soundproofing. High fire resistance. | Very heavy and more difficult to cut and hang. Significant impact on trim depth. |
Critical Adjustments: Outlets, Switches, and Trim
Adding a new layer of drywall makes your wall thicker. This creates two important issues that must be addressed for a professional and safe installation: electrical boxes and trim work.
Electrical Box Extenders: A Non-Negotiable Safety Requirement
When you add 1/2-inch of drywall, your electrical outlets and switches will now be recessed into the wall. This is not just a cosmetic issue; it’s a fire hazard and against electrical code. The gap between the device and the new wall surface must be filled.
The solution is an electrical box extender or “goof ring.” This simple plastic or metal ring fits inside your existing electrical box and brings the edge flush with the new drywall surface. They are inexpensive and easy to install, ensuring your outlets and switches mount securely and safely.
Dealing with Doors, Windows, and Baseboards
The added wall thickness will also affect all your trim. Baseboards and crown molding must be carefully removed before you hang the new drywall and then reinstalled afterward. Door and window casings present a bigger challenge. The jambs will now be recessed behind the new wall surface.
You have two primary options: add thin strips of wood, called jamb extensions, to make the jambs flush with the new wall before reinstalling the casing, or replace the trim with a wider style that can cover the new transition. Planning for this trim work is essential to achieving a clean, finished look.
Is Drywalling Over Wallpaper Better Than Skim Coating?
The main alternative to covering with drywall is skim coating. This involves applying multiple thin layers of joint compound over the sealed wallpaper to create a new, smooth surface. While it avoids issues with wall thickness, skim coating is an art that is very difficult for most DIYers to master.
Achieving a perfectly flat, smooth surface requires significant skill and patience. It’s also an incredibly dusty and messy process. For most people, hanging new drywall is a more forgiving method that guarantees a professionally flat and durable result, even if it requires more planning around trim and electrical boxes. While some projects involve more aggressive overlays like applying concrete to drywall, the choice between skim coating and a drywall overlay is the most common dilemma in this scenario.
The Verdict: A Smart Shortcut When Done Right
Installing drywall over wallpaper is a viable and often excellent alternative to the messy, unpredictable process of wallpaper removal. It allows you to bypass potential wall damage and create a brand-new surface that is strong, smooth, and ready for a modern finish.
However, it is not a shortcut on preparation. The success of the entire project hinges on meticulous prep work: securing any loose paper, cleaning the surface, and, most importantly, sealing the old wallpaper with an oil-based or shellac-based primer. By following these professional steps and paying careful attention to details like electrical box extenders and trim, you can confidently transform your dated walls and achieve a result that will look great and last for decades.