Drylok and Mold: Don’t Just Cover Up a Deeper Problem
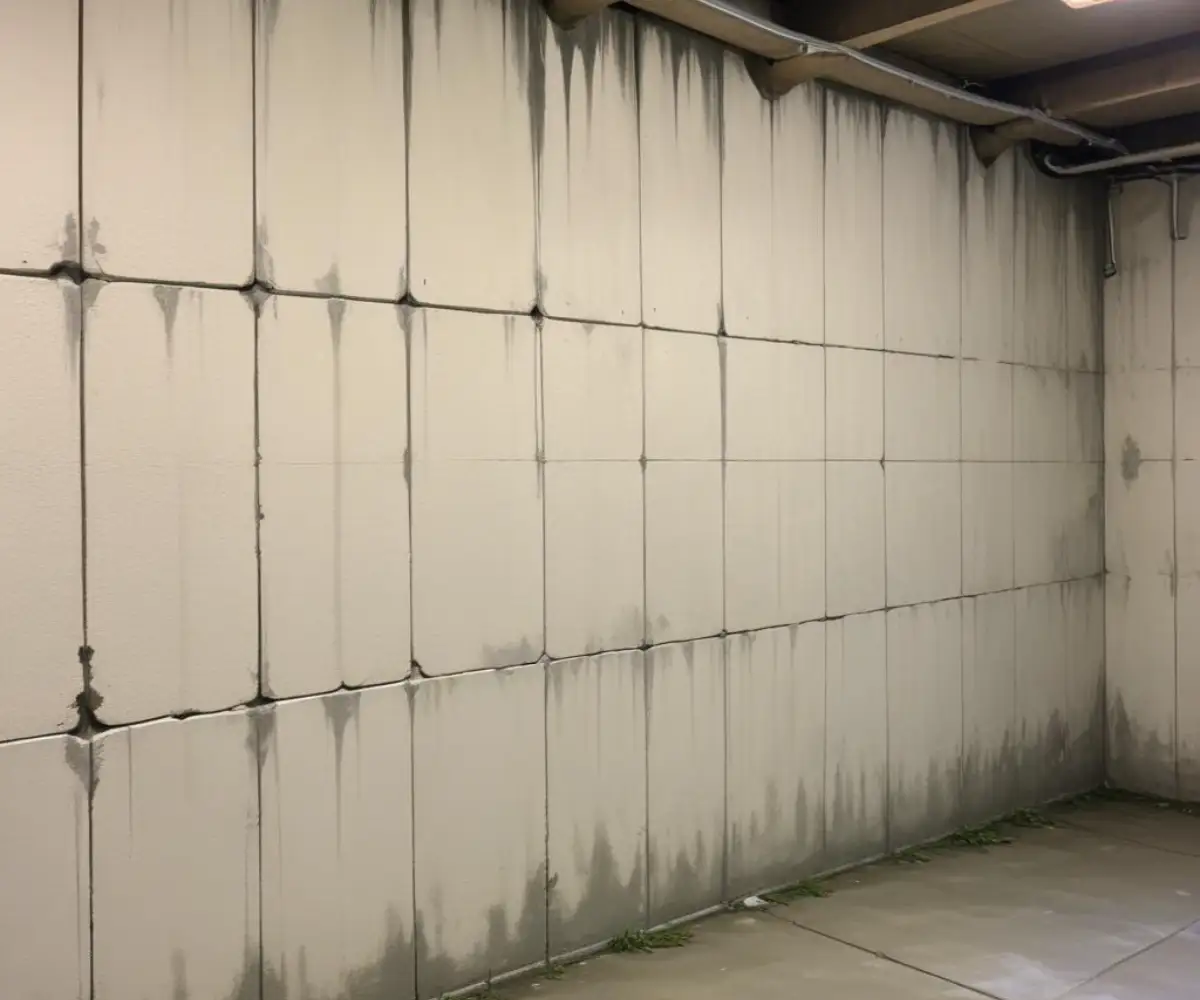
You see the creeping signs of a moisture problem in your basement: a musty smell, dark stains on the concrete blocks, and that chalky white powder called efflorescence. You want a dry, usable space, so you head to the hardware store and find Drylok. It promises a waterproof seal, but then you’re faced with a critical question: can you apply Drylok over mold?
The short, emphatic answer is no. Painting over existing mold with Drylok, or any paint, is a common mistake that doesn’t solve the problem—it only hides it. In fact, this approach can trap moisture and allow the mold to thrive, leading to bigger issues down the road, including peeling paint and potential health hazards.
You'll Learn About
What is Drylok and How Does It Work?
Drylok is a brand name for a line of specialty masonry waterproofing products. It’s not just regular paint; it’s a heavy-bodied coating designed to penetrate the pores of concrete and masonry, where it expands as it dries to form a thick, watertight barrier. This barrier is formulated to hold back significant water pressure, making it a popular choice for basement walls, retaining walls, and foundations.
Its primary function is to stop water from seeping through from the outside. When applied correctly to a properly prepared surface, it’s an incredibly effective tool for moisture control. However, its effectiveness hinges on that crucial phrase: “properly prepared surface.”
The Root of the Problem: Why Mold Grows on Concrete
Before you can solve a mold problem, you need to understand why it appeared in the first place. Mold is a living organism that requires three key ingredients to grow: moisture, a food source, and a suitable temperature. Basements often provide the perfect environment for all three.
Concrete and cinder blocks are porous, meaning they have tiny holes that can absorb and transmit water from the damp soil outside. This provides the moisture mold craves. While concrete itself is not an organic food source, the dust, dirt, and old paint clinging to its surface are. This combination of moisture and a food source is what allows mold to take hold and spread.
The Big Question: Can You Apply Drylok Directly Over Mold?
Let’s be perfectly clear: you must never apply Drylok directly over mold. Thinking of Drylok as a mold-killing solution is a fundamental misunderstanding of the product. It is a waterproofer, not a fungicide. Painting over mold spores simply covers them up.
Here’s what happens when you paint over mold: the mold is still alive and trapped underneath the Drylok film. The trapped moisture and organic material on the wall create a perfect breeding ground, allowing the mold to continue growing. Eventually, this growth will push the Drylok off the surface, causing it to bubble, peel, and fail, leaving you right back where you started, but with a bigger mess to clean up.
Step-by-Step Guide: How to Properly Prepare a Moldy Surface for Drylok
To use Drylok effectively and create a lasting waterproof barrier, you must first address the mold problem head-on. This requires a thorough, multi-step process that ensures the wall is clean, stable, and completely dry before any waterproofing product is applied.
Step 1: Safety First – Gear Up!
Before you begin any mold remediation, protecting yourself is paramount. Mold spores can become airborne during cleaning and can be hazardous if inhaled. Always wear personal protective equipment (PPE), including an N95 respirator mask, safety goggles, and rubber gloves.
Step 2: Identify and Stop the Moisture Source
Drylok is designed to stop water seepage, but it’s not a solution for active leaks or major water intrusion problems. Before you can hope to create a dry basement, you must find and fix the root cause of the moisture. Inspect the exterior of your home for common culprits like clogged gutters, downspouts that discharge too close to the foundation, or improper grading that allows water to pool against the house.
Step 3: Clean and Kill the Mold
With your safety gear on, it’s time to remove the mold. Start by using a stiff wire brush to scrub away any loose or peeling old paint, dirt, and the white, powdery efflorescence. Once the loose debris is gone, you must treat the surface with a solution that will kill the mold.
There are several effective options for killing mold on concrete. While household bleach is sometimes used, it is often not recommended for porous surfaces as it may not kill the mold’s roots. Natural alternatives can be very effective.
| Solution | Effectiveness | Pros | Cons |
|---|---|---|---|
| Commercial Mold Killer | High | Specifically formulated for the job. | Can contain harsh chemicals; requires good ventilation. |
| White Vinegar Solution (1:1 with water) | High | Natural, non-toxic, and effective on porous surfaces. | Strong odor that dissipates as it dries. |
| Hydrogen Peroxide (3% solution) | Moderate to High | Antifungal, antiviral, and antibacterial; safer than bleach. | May have a slight bleaching effect on some surfaces. |
Apply your chosen solution with a spray bottle, let it sit for about 10-15 minutes, then scrub the area again. After scrubbing, rinse the wall thoroughly with clean water to remove any remaining cleaning solution and dead mold spores.
Step 4: Ensure the Surface is Completely Dry
Drylok must be applied to a dry surface to adhere properly and form an effective barrier. After cleaning and rinsing, you must allow the walls to dry completely. This can take 24 to 48 hours or more. Use fans and a dehumidifier to speed up the process and remove moisture from the air.
Step 5: Patching and Repairs
Once the wall is clean and dry, inspect it for any cracks, holes, or gaps, especially at the joint where the wall meets the floor. Use a hydraulic cement product, like Drylok Fast Plug, to patch these areas. This type of cement sets very quickly and expands as it dries to create a waterproof seal.
Tackling these repairs can be a great way to learn new skills. If your project involves more extensive work, you might even find yourself needing to know how to cut drywall on a stud, a handy skill for any DIY enthusiast.
Step 6: Applying the Drylok Waterproofing Paint
Finally, with a clean, dry, and patched wall, you are ready to apply the Drylok. Stir the product thoroughly before and during application. For the best results, a minimum of two coats is required. Use a stiff, heavy-duty brush or a thick-nap roller to apply the first coat, working the thick material into every pore and pinhole in the concrete.
Allow the first coat to dry according to the manufacturer’s instructions, typically for at least 3 hours. Then, apply a second coat to ensure a complete, unbroken waterproof barrier. Pay close attention to ensure all pinholes are filled.
Common Mistakes to Avoid When Dealing with Drylok and Mold
Successfully waterproofing a basement requires avoiding common pitfalls. The biggest mistake is impatience—failing to properly clean the mold, not allowing the wall to dry completely, or applying the second coat too soon can all lead to product failure. Another frequent error is ignoring the source of the water, as Drylok cannot hold back a serious leak.
Drylok as a Mold *Preventative* Measure
While Drylok is not a solution for existing mold, it is an excellent tool for mold prevention. When applied to a clean, dry, and properly prepared masonry surface, it creates a barrier that blocks water. By eliminating the moisture source, you remove one of the essential elements that mold needs to grow.
Combining a Drylok application with good moisture management practices, such as running a dehumidifier and ensuring proper exterior drainage, is the most effective strategy for maintaining a dry, mold-free basement for years to come.
When to Call a Professional
While a small area of surface mold can often be handled as a DIY project, there are times when it’s best to call in a professional mold remediation service. If you have extensive mold growth (generally more than 10 square feet), if you suspect the mold is toxic black mold (Stachybotrys chartarum), or if anyone in your household has severe allergies or respiratory conditions, it is safer to rely on experts.
Considering a Bigger Project?
Often, dealing with basement moisture is part of a larger renovation project. If you’re tackling a bathroom remodel, for instance, you’ll want to ensure every component is properly sealed against moisture, which might lead you to research the best shower waterproofing system for your needs.
Larger renovations can also bring unexpected challenges and costs. For example, you might discover that a small plumbing adjustment is needed. Understanding how much to move a toilet 6 inches can help you budget for these unforeseen expenses and keep your project on track.
Conclusion: The Final Word on Drylok and Mold
Drylok is a powerful and effective waterproofing product, but it is not a magic bullet for a mold problem. Remember the golden rule: clean, kill, and dry before you apply. By taking the time to properly diagnose your moisture issues, thoroughly remediate any existing mold, and meticulously prepare the surface, you can use Drylok to create the dry, healthy, and usable basement space you’ve been aiming for.