Drive Over Cable Protector DIY: Build Yours in Under an Hour!
Exposed cables snaking across your driveway or garage floor are a disaster waiting to happen. They are a significant tripping hazard and a constant threat to the integrity of your expensive electrical cords, hoses, and wires.
Every time a car rolls over an unprotected cable, the internal wiring is crushed, leading to costly damage and dangerous electrical faults. This guide will show you how to solve this problem for good with a DIY drive-over cable protector.
You'll Learn About
The Hidden Dangers Lurking on Your Driveway Floor
The problem is more serious than just a messy-looking space. Unprotected cables in a high-traffic area, whether it’s your home garage, a workshop, or an event space, create a minefield of potential hazards that you simply cannot ignore.
Ignoring this issue can lead to consequences ranging from inconvenient equipment failure to severe personal injury. The risks are real, and understanding them is the first step toward creating a safer environment.
Risk 1: Severe Cable and Equipment Damage
Your power cords and hoses are not designed to withstand the crushing weight of a vehicle. The typical car weighs over 4,000 pounds, and that pressure is concentrated on the small surface area of your cable. This repeated stress quickly leads to internal wire breakage and insulation damage.
This damage isn’t always visible from the outside. You might have a cable that looks fine but has compromised wiring, leading to intermittent power, short circuits, and eventual failure of the equipment it’s connected to. The cost of replacing a specialized industrial extension cord or a generator cable can be substantial.
Risk 2: The Shocking Truth About Electrical Hazards
Once the outer protective jacket of a cable is breached, the live electrical conductors can become exposed. If this exposed wire comes into contact with a puddle of water, a metal tool, or even the steel belts in your car’s tires, it can create a life-threatening electrical shock hazard.
This is especially dangerous in outdoor or garage environments where moisture is common. A frayed cable in a wet driveway is a severe electrocution risk that puts your family, your pets, and your property in jeopardy.
Risk 3: Costly Tripping and Falling Accidents
A loose cable is a classic tripping hazard. In a busy workshop or even just carrying groceries from the car, it’s easy to overlook a cord on the ground. A fall can lead to serious injuries, from sprains and fractures to head trauma.
As a homeowner or business owner, you could be held liable for injuries that occur on your property due to such a preventable hazard. The potential legal and medical costs far outweigh the small investment in time and materials needed to build a simple cable protector.
Take Control with a Custom DIY Cable Protector
While commercial-grade cable ramps are available, they can be expensive, bulky, and might not perfectly fit your specific needs. Building your own protector is a fast, affordable, and incredibly effective solution. You get to customize the size, channel width, and durability for your exact situation.
Creating your own drive-over cable protector is not just about saving money; it’s about empowerment. It allows you to build a perfect-fit solution for your unique cable management challenges, ensuring maximum safety and durability.
You can design a ramp that accommodates a single small extension cord or one that can handle multiple thick industrial hoses. This level of customization is something you simply can’t get from off-the-shelf products.
Planning Your Perfect DIY Cable Ramp
Before you start cutting and assembling, a little bit of planning goes a long way. Proper preparation ensures your final product will be safe, durable, and perfectly suited to its task. Take a few minutes to think through these key considerations.
Assess Your Cable and Traffic Needs
First, identify what you need to protect. Gather the cables, hoses, or wires that will run through the protector. Measure the diameter of the largest cable or bundle them together to determine the minimum size for the channel you’ll create.
Next, consider the type of traffic. Will it just be a standard passenger car, or will heavier trucks and equipment be driving over it? The weight and frequency of the traffic will heavily influence your choice of materials and the overall sturdiness of your design.
Choosing the Right Materials
The material you choose is the most critical factor in your project’s success. Wood is the most common and accessible material for a DIY build, but other options exist for different applications. You need a material that can withstand compression without shattering or deforming.
Think about the environment as well. If the cable protector will be used outdoors, you’ll need a material that can resist moisture and temperature changes. Making the right choice here is similar to deciding on flooring for your home; just as you’d compare options like LifeProof vs. NuCore for durability, you must choose a protector material that will last.
| Material | Pros | Cons | Best For |
|---|---|---|---|
| Pressure-Treated Wood (e.g., 2x6s) | Strong, widely available, easy to work with, affordable. | Heavy, can crack under extreme weight, susceptible to rot if not maintained. | Most residential driveways and garages with standard car traffic. |
| Plywood (Laminated) | Very strong when layered, customizable thickness. | Requires more effort (cutting and laminating), edges must be sealed. | Heavy-duty applications needing specific dimensions. |
| Hard Rubber (e.g., Stall Mats) | Excellent durability, flexible, high traction. | Difficult to cut and shape, can be expensive. | Temporary or semi-permanent setups in high-traffic commercial areas. |
| PVC Pipe (Large Diameter) | Lightweight, cheap, simple for single cables. | Not suitable for heavy vehicles, can be slippery, may roll if not secured. | Light-duty, temporary protection from foot traffic or bicycles. |
Essential Tools and Safety Gear
You don’t need a professional workshop to build a great cable protector. Most designs can be completed with a few basic tools. However, having the right tools will make the job safer and the results more professional.
Gather these items before you begin: a circular saw or miter saw for straight cuts, a drill with various bits, a tape measure, a pencil, and sandpaper or a sander for smoothing edges. For safety, always wear safety glasses to protect your eyes from debris and consider work gloves to prevent splinters.
Step-by-Step: Build a Wooden Drive-Over Ramp
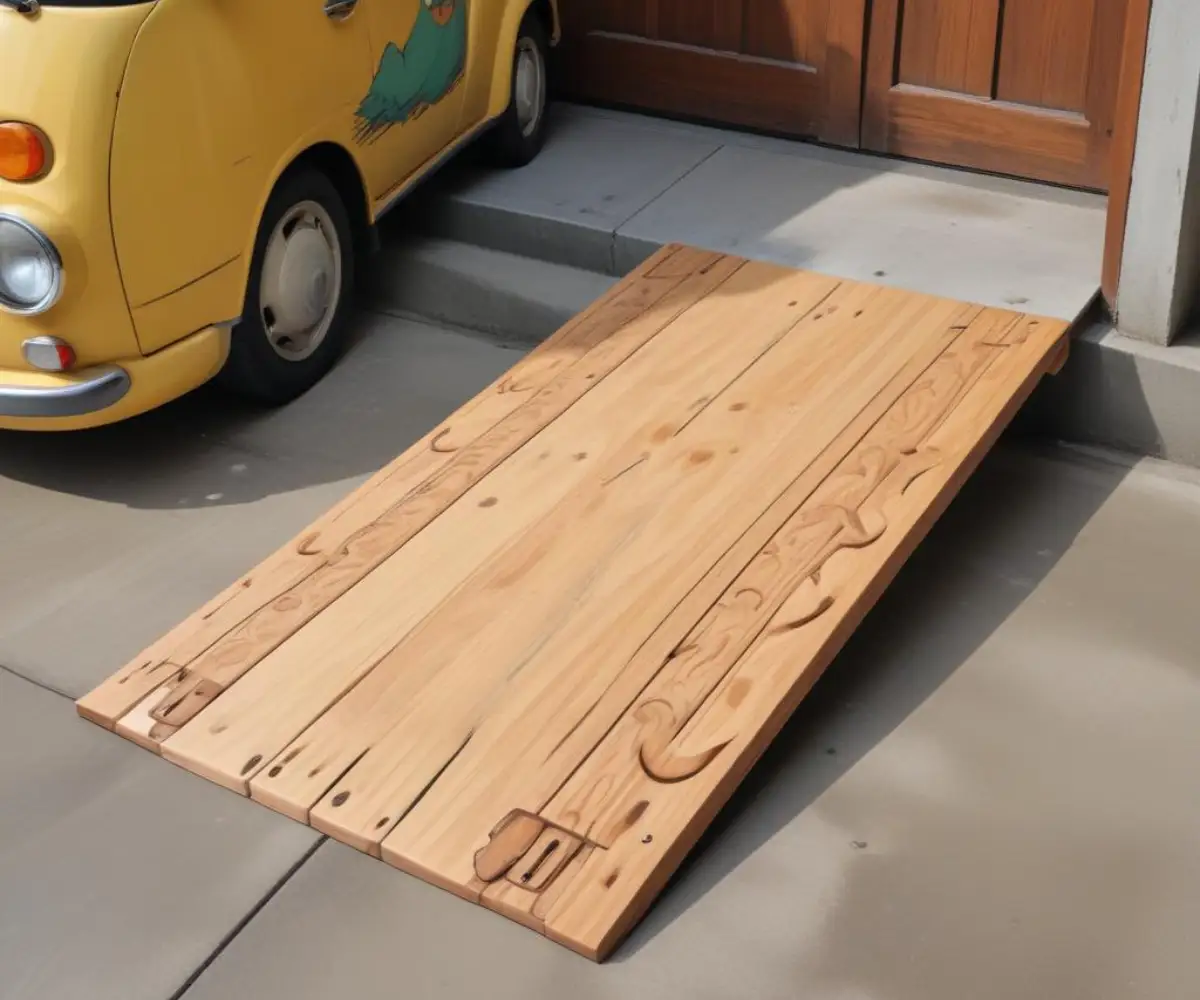
This tutorial will guide you through building a robust and reliable cable protector using standard pressure-treated lumber, like 2×6 boards. This design is strong enough for most cars and light trucks and can be built in about an hour.
Follow these steps carefully for a professional and safe result. We’ll focus on creating a ramp with a central channel and beveled edges to allow vehicles to pass over it smoothly and safely.
Step 1: Measure and Cut Your Lumber
Your ramp will consist of three main pieces: two outer ramp sections and a central spacer piece that creates the top of the cable channel. Let’s assume you’re using a 2×6 board, which is actually 1.5 inches thick and 5.5 inches wide.
First, determine the required length of your protector—it should be wide enough to span the traffic path. For this example, let’s make it 3 feet long. Cut three identical 3-foot sections from your 2×6 lumber.
Step 2: Create the Beveled Edges
To ensure a smooth transition for vehicle tires, you need to create a slope on the two outer pieces. Set the bevel angle on your circular saw or miter saw to 45 degrees. This angle provides a gentle incline that won’t jolt the vehicle.
Take one of the 3-foot sections and rip a 45-degree bevel cut along one of its long edges. Repeat this process for the second 3-foot section. The third piece will remain untouched with square edges.
Step 3: Determine and Create the Cable Channel
Now you need to decide how wide your cable channel needs to be. This is based on the measurements you took earlier. Let’s say you need a 2-inch wide channel to accommodate your cables.
Take your third (unbeveled) 2×6 piece. This piece will be split to form the spacers that create the height and width of your channel. Rip this board down its length to create two spacer strips. The combined width of these two strips, when placed on either side of the channel, should be 5.5 inches (the original width of the board). For a 2-inch channel, you would rip one piece at 2 inches and the other at 3.5 inches, but for symmetry, it’s better to make them equal. Let’s aim for a 1.5-inch channel. You would rip the 5.5-inch wide board into two 2-inch wide strips, leaving you with your 1.5-inch channel gap.
Step 4: Assemble the Protector
It’s time to put it all together. You’ll need some strong, weather-resistant screws, typically 2.5 inches long, to ensure they go through the top boards and securely into the base. For added strength, you can also use a strong construction adhesive between the layers.
Lay your two spacer strips on a flat surface, parallel to each other, leaving your desired 1.5-inch gap between them for the cable channel. Apply construction adhesive to the top of these spacers. Now, place the two beveled 2×6 ramp pieces on top, with the beveled edges facing outwards. Ensure everything is aligned perfectly, then drive screws through the top ramp pieces down into the spacer strips every 6-8 inches.
Step 5: Finishing Touches for Safety and Longevity
Your cable protector is assembled, but a few final touches will make it safer and last much longer. First, thoroughly sand all surfaces and edges to remove any splinters and sharp corners. Pay special attention to the beveled ramps.
For high visibility, paint the entire protector with a bright color like yellow or orange. You can add diagonal black stripes for a classic “caution” look. Use a durable outdoor or traffic-marking paint. For added traction in wet conditions, sprinkle some sand onto the final coat of paint while it’s still wet or apply adhesive non-slip safety strips.
When a DIY Solution Isn’t the Answer
While a DIY protector is fantastic for many situations, it’s crucial to recognize its limitations. These are best for temporary or semi-permanent use where you have full control over the environment, like your own home or workshop. There are times, however, when you should not use a homemade device.
Never use a DIY cable protector for high-voltage power lines or in public spaces where you could be liable for accidents. If you are running power for a large event or a construction site, you must use commercially manufactured, professionally rated cable ramps that meet specific safety standards. Similarly, a DIY project can’t fix underlying electrical issues. If your home has strange electrical behavior, such as a wall heater that turns on by itself, you need to call a licensed electrician immediately.
Your Driveway is Safer Already
You have successfully transformed a common household hazard into a feature of safety and control. By investing just a small amount of time and effort, you’ve protected your expensive equipment, eliminated a serious tripping and electrical hazard, and gained peace of mind. A simple task like this can even improve your home’s curb appeal, much like small details such as figuring out how to signal outgoing mail on your mailbox.
Your custom-built, drive-over cable protector is a testament to your commitment to a safe and efficient environment. Remember to periodically inspect it for any signs of wear and tear, and enjoy the confidence of knowing your cables and your family are properly protected.