Drip Edge Installed Wrong? Stop Roof Damage Before It Starts!
That subtle water stain on your fascia board or the mystery drips behind your gutter might seem like minor annoyances. However, they could be silent alarms signaling a much bigger problem lurking at the edge of your roof: a drip edge installed wrong. This small piece of metal flashing is one of your home’s most critical, yet overlooked, lines of defense against water damage.
When installed correctly, a drip edge is an unsung hero, guiding water away from your fascia and into the gutters. But a flawed installation can channel water directly into the vulnerable wooden structures of your roof, leading to rot, pests, and expensive repairs. Understanding the signs of a bad installation is the first step to protecting your investment and ensuring your home’s long-term health.
You'll Learn About
What is a Drip Edge and Why is it Crucial?
A drip edge is a non-corrosive metal flashing installed along the eaves and rakes of a roof. Its primary purpose is to direct water runoff away from the fascia and prevent it from seeping underneath the roofing components. Think of it as a final, crucial ramp that ensures water makes a clean leap into the gutter system.
Without a properly functioning drip edge, water can cling to the edge of the shingles and, through surface tension, curl back underneath, soaking the roof decking and fascia boards. This constant moisture exposure is a direct invitation for wood rot, mold growth, and structural decay. It also helps to protect the edge of the roof from wind-driven rain and can deter pests from entering the gap between the fascia and the roof deck.
Top 5 Signs Your Drip Edge Was Installed Incorrectly
Spotting an improperly installed drip edge early can save you thousands in future repairs. Most signs are visible from the ground or with a quick, careful ladder inspection. Here are the most common red flags to watch for.
1. Water Stains and Peeling Paint on Fascia
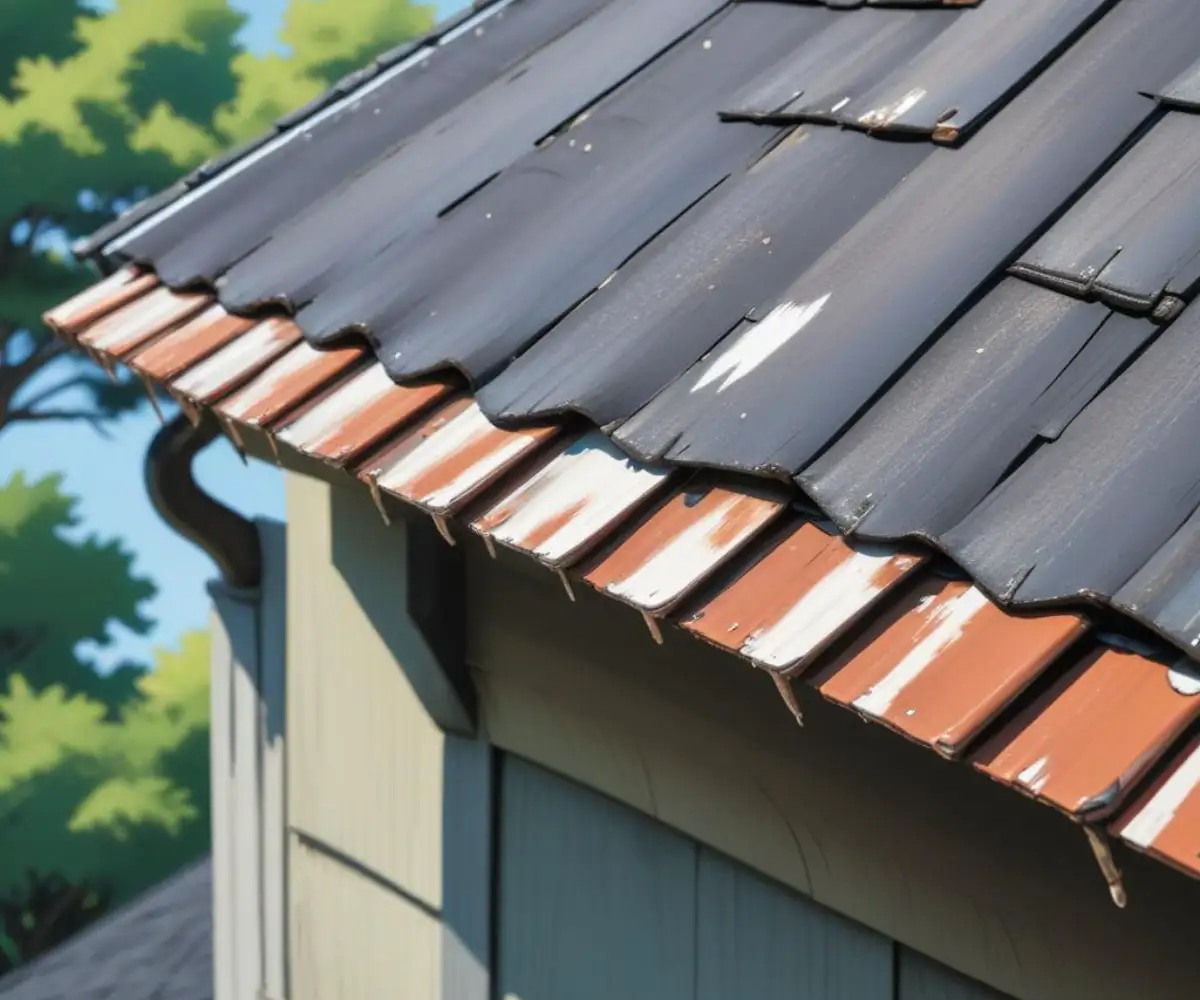
One of the most obvious signs of a problem is visible water damage on your fascia boards—the long, straight boards that run along the lower edge of the roof. If you see dark streaks, peeling paint, or soft, rotting wood, it’s a strong indicator that water is getting behind your gutters instead of into them. A correctly installed drip edge should extend beyond the fascia, preventing this from happening.
2. Water Dripping Behind the Gutter
During a rainstorm, take a moment to observe how water flows off your roof. If you notice water leaking between the gutter and the fascia, the drip edge is likely the culprit. This can happen if the drip edge was installed too short, is bent, or if the gutter was installed in front of the drip edge, rendering it useless.
3. Gaps Between the Drip Edge and Fascia
There should be a very slight, consistent gap—often described as the width of a finger—between the drip edge’s vertical leg and the fascia board. If the drip edge is pressed tight against the fascia, water’s natural surface tension can cause it to cling and seep back onto the wood. Conversely, a large, uneven gap is also a sign of poor installation and can expose the underlying structure to the elements.
4. Shingles Lifting at the Roof’s Edge
A properly installed drip edge provides a solid, straight line for the first course of shingles. If you notice shingles at the eaves or rakes are lifting, curling, or appear unsupported, it could be due to a misaligned or improperly fastened drip edge. This not only looks bad but also creates an entry point for wind and rain to get under the shingles.
5. The Great Underlayment Debate: Is it Over or Under?
This is a critical, and often misunderstood, aspect of drip edge installation. The layering of the drip edge and the roofing underlayment (the waterproof barrier between the sheathing and shingles) is different for the eaves and the rakes.
At the eaves (the horizontal bottom edges of the roof), the drip edge should be installed under the underlayment. This ensures that any water getting under the shingles flows over the underlayment, onto the drip edge, and safely into the gutter. If the drip edge is placed over the underlayment at the eaves, it creates a path for water to get directly onto the wooden roof deck.
At the rakes (the sloped side edges of the roof), the drip edge should be installed over the underlayment. This prevents wind-driven rain from getting underneath the underlayment from the side.
Consequences of a Faulty Drip Edge Installation
Ignoring the signs of a drip edge installed wrong can lead to a cascade of problems that extend far beyond a simple water stain. The consequences can be severe and costly, impacting both your home’s structure and your wallet.
The most immediate and common issue is fascia and soffit rot. These wooden components are the first to suffer from constant moisture exposure. Once rot sets in, it can spread to the rafter tails and the roof decking itself, compromising the structural integrity of your entire roof system.
Furthermore, moisture that penetrates the roof deck can lead to leaks inside your attic. This can ruin insulation, damage ceilings and walls, and create the perfect environment for dangerous mold and mildew growth. In some cases, a poorly installed drip edge can even contribute to ice dams in the winter, where melting snow refreezes at the roof’s edge, forcing water back up under the shingles.
How to Fix an Improperly Installed Drip Edge
If you’ve identified that your drip edge is the source of your problems, you have two primary options: a DIY repair or hiring a professional. The right choice depends on the extent of the problem, your comfort level working at heights, and the type of roofing material you have.
DIY Repair: A Step-by-Step Guide
For minor issues like a small section of drip edge that is bent or improperly nailed, a DIY fix may be possible. Safety is paramount; always use a sturdy, properly positioned ladder and wear appropriate safety gear.
Tools and Materials Needed:
- Ladder with a stabilizer
- Flat pry bar
- Hammer
- Galvanized roofing nails (1 ¼ inch)
- Tin snips
- New drip edge matching your roof’s style
- Roofing sealant/cement
The Process:
- Gently Pry Up the Shingles: Starting at one end, carefully use the flat pry bar to break the sealant bond of the first row of shingles and lift them just enough to access the old drip edge nails.
- Remove the Old Drip Edge: Use the pry bar to carefully remove the nails holding the old drip edge in place. Slide the damaged section of drip edge out from under the shingles.
- Install the New Drip Edge: Slide the new piece of drip edge into position, ensuring its top flange is flat against the roof deck and its outer edge hangs slightly over the fascia. If installing multiple pieces, overlap them by at least two inches.
- Fasten Securely: Nail the new drip edge to the roof deck every 12-16 inches with galvanized roofing nails.
- Reseal the Shingles: Apply a dab of roofing sealant under the shingle tabs you lifted to help them reseal and protect against wind uplift.
This kind of hands-on home repair can be satisfying, but it’s important to know your limits. Sometimes, what seems like a simple fix can be part of a larger system. For instance, if you’re experiencing issues with water pressure in your home, you might wonder how to warm up shower water more quickly, which could be a separate plumbing concern entirely.
When to Call a Professional Roofer
While a DIY fix is tempting, many situations warrant a professional’s expertise. If the damage is extensive, involves rotted wood that needs replacing, or if the incorrect layering of underlayment is the issue, it’s best to call a qualified roofer.
A professional has the experience to diagnose the full extent of the damage and the right tools to perform the repair safely and effectively. Trying to tackle a complex repair yourself could lead to more significant damage to your shingles or roof structure, turning a manageable problem into a major expense. Home maintenance can be complex; just as you might need an expert for your roof, troubleshooting other systems, like a sudden sprinkler blowout air coming out of backflow preventer, often requires specialized knowledge.
| Factor | DIY Drip Edge Repair | Professional Drip Edge Repair |
|---|---|---|
| Cost | Low (cost of materials only, typically $50-$150) | Higher ($200 – $600+ depending on scope) |
| Scope | Best for minor, localized issues like bent sections or replacing a single piece. | Necessary for widespread issues, wood rot repair, or incorrect underlayment layering. |
| Safety Risk | High; involves working on a ladder at the roof edge. | Low; professionals have training and safety equipment. |
| Required Skill | Basic carpentry and roofing skills. Must understand material layering. | Expert knowledge of roofing systems, materials, and building codes. |
| Warranty | None. Any damage caused is your own responsibility. | Work is typically guaranteed, providing peace of mind. |
Protecting Your Home for the Long Haul
A properly installed drip edge is a small detail that makes a huge difference in the longevity and performance of your roof. By learning to spot the signs of a faulty installation, you can address problems before they escalate into costly structural damage.
Regularly inspect your roof edges, especially after severe weather, and keep your gutters clean to ensure water can flow freely. A well-maintained home is a system of parts working together, from the roof protecting you from above to the fixtures inside. Even seemingly unrelated tasks, like figuring out how to remove a ceiling fan canopy without screws, are part of the overall upkeep that keeps your home safe and comfortable. Don’t let a drip edge installed wrong compromise your home’s first line of defense; take action to ensure it’s doing its job correctly.