Drill Bit Stuck in Wall? Don’t Panic! Your Ultimate Rescue Guide
It’s a scenario that plays out in homes everywhere. You’re in the middle of a project, drilling a hole to hang a shelf or mount a TV, and suddenly, the drill stops. The motor whirs, but the bit is completely, stubbornly stuck in the wall. It’s a moment of pure frustration, but take a deep breath. A stuck drill bit is a common problem with solvable solutions.
This situation can halt your project and leave you wondering if you’ve done permanent damage. Fortunately, with the right techniques and a little patience, you can free the trapped bit and get back to work. This comprehensive guide will walk you through why this happens, the exact steps to take, and how to prevent it from ever happening again.
You'll Learn About
Why Do Drill Bits Get Stuck? Uncovering the Hidden Culprits
Understanding the root cause of a stuck drill bit is the first step toward freeing it and preventing future jams. The issue often boils down to a conflict between the drill bit and the material it’s trying to penetrate. Here are the most common reasons your drill bit has become lodged in the wall.
One of the primary culprits is hitting an unexpected obstruction. Behind your drywall or plaster could be a dense wood stud, a metal plumbing pipe, electrical conduit, or even steel rebar in concrete. When a standard drill bit hits a material it wasn’t designed for, it can stop dead in its tracks and become wedged.
Your drilling technique also plays a significant role. Applying excessive force can cause the bit to overheat, expand, and bind inside the hole. Similarly, drilling at an awkward angle can create immense friction on the sides of the bit, locking it in place. The flutes—the spiral grooves on the bit—can also become clogged with debris, preventing the bit from moving freely.
The Science of the Seizure: More Than Just an Obstacle
Beyond simple obstructions, micro-mechanics are at play. As the bit drills, it creates intense heat and pressure, which can cause the surrounding material, like old plaster or concrete, to develop micro-fractures. These tiny cracks can clamp down on the bit’s flutes, creating a surprisingly powerful grip. This is why simply yanking on the drill is often ineffective and can make the situation worse.
Another factor is a phenomenon known as work hardening. If you try to aggressively twist or pull a stuck bit, the friction and stress can alter the metal’s crystalline structure, making it harder and more brittle. This not only makes the bit more difficult to remove but also dramatically increases the risk of it snapping off inside the wall—a far more challenging problem to solve.
First 60 Seconds: Your Immediate Action Plan
What you do in the first minute after a drill bit gets stuck can make the difference between a simple fix and a major headache. The most important rule is to resist the urge to panic and apply more force. Stop drilling immediately and take your finger off the trigger.
Continuing to run the drill forward will only embed the bit deeper and could burn out your drill’s motor. Do not try to yank the drill straight out of the wall, as this can damage the wall, the bit, and the drill itself. The first logical step is to switch the drill’s rotation to reverse. If a gentle pull on the trigger doesn’t immediately back the bit out, stop and proceed with more methodical approaches.
The Essential Toolkit for Freeing a Stuck Drill Bit
Before you attempt any extraction, gather a few essential tools. Having the right equipment on hand will make the process smoother and safer. You likely already have most of these items in your toolbox.
You will need:
- Locking Pliers (Vise-Grips): This is your most valuable tool for getting a firm, non-slip grip on the bit.
- Adjustable Wrench: Useful for applying torque to the drill’s chuck or the pliers.
- Penetrating Oil (like WD-40): To lubricate the bit and surrounding material, reducing friction.
- Hammer: For gentle, strategic tapping to break the bit free from the material’s grip.
- Safety Goggles and Gloves: Always protect yourself from flying debris or snapping metal.
6 Proven Methods to Free Your Trapped Drill Bit
With your tools ready, you can now approach the problem systematically. Start with the gentlest method and escalate only as needed. Patience is your greatest asset here.
Method 1: The Simple Reverse and Wiggle
This is the first and easiest technique. Ensure your drill is set to reverse rotation. While gently pulling the trigger, carefully wiggle the drill from side to side and up and down. This slight movement can be enough to break the friction and allow the flutes of the bit to back out of the hole.
Method 2: The Power of Pliers
If the drill’s reverse function isn’t enough, it’s time to bring in more muscle. First, loosen the drill’s chuck and remove the drill from the bit, leaving the bit in the wall. Clamp the locking pliers tightly onto the exposed shank of the drill bit. Once you have a secure grip, turn the pliers counter-clockwise to slowly “unscrew” the bit from the wall. This manual approach gives you more control and torque than the drill alone.
Method 3: Lubrication and Patience
Friction is your enemy. Spray a generous amount of penetrating oil into the hole, all around the drill bit. The oil will seep into the tiny spaces between the bit and the wall material, reducing the grip. Let the oil sit for at least 15-20 minutes to work its magic before attempting to turn the bit again with the locking pliers.
Method 4: The Percussive Tap Technique
Sometimes, a sharp vibration is all that’s needed to break the static friction. With the locking pliers still clamped onto the bit, use a hammer to give the handle of the pliers a few firm but controlled taps in a counter-clockwise direction. These small impacts can jolt the bit loose where steady pressure might fail. Be careful not to hit the wall itself or the bit so hard that it snaps.
Method 5: The Two-Wrench Method
For incredibly stubborn situations where the chuck itself is seized, this method provides maximum leverage. Re-attach the drill to the bit. Use one adjustable wrench to grip the drill’s chuck (the part that holds the bit). Use your locking pliers to grip the bit itself. Working in opposition, turn the pliers counter-clockwise while holding the chuck steady with the wrench. This focuses all the rotational force directly on the bit.
Method 6: The Last Resort (Sacrificial Method)
If the bit is completely immovable or has snapped off, you may need to sacrifice a small area of the wall. Using a small chisel and hammer, carefully chip away the wall material immediately surrounding the bit. Once you have exposed more of the bit’s shank, you should be able to get a solid grip with locking pliers to work it free. This method will require patching the wall afterward, but it’s a surefire way to resolve the problem.
Understanding Your Wall: A Guide to Material-Specific Challenges
The material you are drilling into significantly impacts why a bit gets stuck and the best way to remove it. Different wall compositions present unique obstacles. Understanding these nuances can help you diagnose the problem and choose the most effective extraction technique.
For example, drilling into drywall and hitting a wooden stud requires a different approach than drilling into concrete and hitting rebar. The table below outlines common scenarios and recommended actions for each wall type, helping you tackle the problem with precision.
| Wall Material | Common Obstruction | Recommended Action |
|---|---|---|
| Drywall | Wood Stud or Metal Fireblock | Use locking pliers to reverse the bit out. A stud finder would have prevented this. |
| Plaster & Lath | Wood Lath or Metal Mesh | Gentle tapping is key to avoid cracking the surrounding plaster. Lubrication is very effective here. |
| Concrete / Cinder Block | Rebar or Dense Aggregate | Requires high torque. The two-wrench or sacrificial method may be necessary. A hammer drill is essential. |
| Brick / Masonry | Hard Mortar Joint or Metal Tie | Debris buildup is a common cause. Clearing the flutes and using lubrication is the best first step. |
Prevention Is Better Than a Cure: How to Avoid Future Jams
Once you’ve successfully rescued your drill bit, you’ll want to ensure it never happens again. Proper preparation and technique are the keys to trouble-free drilling. Following these guidelines will save you time and frustration on future projects.
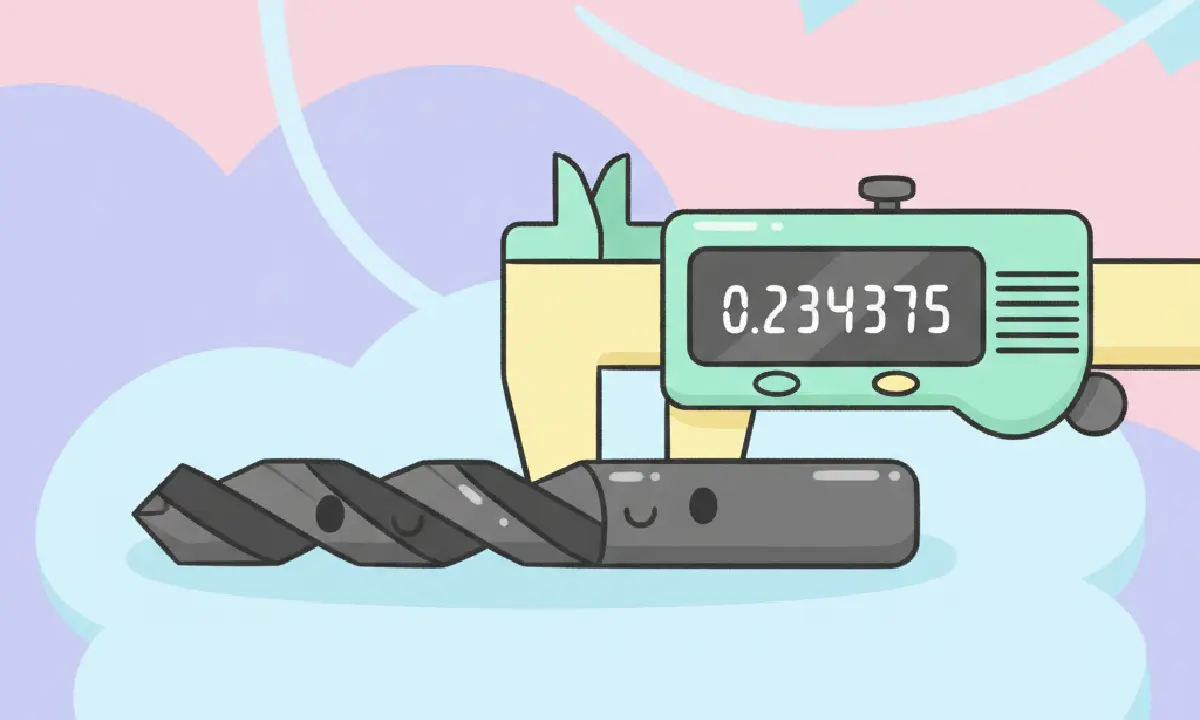
First and foremost, always use the correct drill bit for the material. Masonry bits are for concrete and brick, wood bits are for studs, and metal bits are for steel plates. Using the wrong type is the number one cause of stuck bits. It’s also vital to ensure you have the right size; if you realize you don’t have a 7/32 drill bit, finding a proper substitute is better than forcing the wrong size to work.
Employ the “peck drilling” technique, especially in deep holes. Drill for a few seconds, then pull the bit partially out of the hole to clear dust and debris from the flutes. This prevents clogging and reduces heat buildup. Finally, always use a stud finder before drilling into an unknown wall to identify pipes, wires, and studs ahead of time.
A Note on Snapped Drill Bits
In the worst-case scenario, the drill bit snaps, leaving a piece of metal embedded deep in the wall. If a portion is still exposed, you may be able to grip it with needle-nose pliers. If it’s flush with the surface, a screw extractor kit is the professional tool for the job. This involves drilling a small pilot hole into the broken bit itself and then using the extractor to bite into the bit and reverse it out.
After the Rescue: Repairing Wall Damage
Once the bit is free, you’ll be left with a hole that may be wider or more jagged than you intended. Thankfully, repairing this is a simple task. For small holes in drywall or plaster, a bit of lightweight spackle applied with a putty knife is all you need.
For larger holes, you may need a drywall patch kit. After the patching compound is dry, sand it smooth, apply a coat of primer, and then paint to match the rest of your wall. Making seamless repairs is a core skill for any DIY enthusiast, whether you’re fixing a small hole or tackling a larger project like a 29 3/4 interior door replacement.
Considering alternatives to drilling can also be a wise move, especially in rental properties. For instance, projects like installing a renter friendly shower door often use tension or adhesive systems to avoid drilling altogether, preventing these issues from the start.
Conclusion: Drill with Confidence
A drill bit stuck in the wall is a jarring but manageable interruption to your DIY projects. By understanding the causes, acting calmly, and using the right techniques, you can overcome this common challenge. Remember to start with the simplest methods and work your way up, always prioritizing safety.
With this knowledge, you can not only solve the immediate problem but also adopt practices that prevent it from happening in the future. Now, you can pick up your drill with renewed confidence, ready to tackle any project that comes your way, knowing you have the skills to handle any unexpected snag.