Downspout Extension Driveway Nightmares? The Ultimate Fix
That dark stain on your driveway isn’t just an eyesore. The puddle that forms every time it rains is a ticking time bomb for your property. When a gutter downspout dumps water directly onto a driveway, it creates a cascade of problems that range from annoying inconveniences to serious, costly structural damage.
Many homeowners underestimate the destructive power of concentrated water flow. It can undermine the integrity of your asphalt or concrete, lead to dangerous icy patches in winter, and even threaten your home’s foundation. Ignoring this issue is not an option if you want to protect your investment.
You'll Learn About
Why Your Driveway Is a Danger Zone for Downspout Runoff
Driveways, by design, are non-porous surfaces. Unlike a lawn that can absorb a significant amount of water, concrete and asphalt repel it. When your gutter system funnels gallons of rainwater from your roof directly onto this hard surface, the water has nowhere to go but to spread out, pool, and flow wherever gravity takes it—often towards the worst possible places.
This runoff can easily become a driveway downspout disaster, leading to premature cracking, heaving, and deterioration of the driveway itself. Even more alarming, the water can saturate the soil directly beside your home’s foundation, creating immense pressure and potentially leading to leaks or cracks in your basement walls.
Choosing Your Solution: Types of Driveway Downspout Extensions
Solving the problem of a downspout over your driveway requires choosing the right type of extension. The two main categories are above-ground quick fixes and permanent below-ground solutions. Each has its place, but one is clearly superior for a long-term, worry-free result.
Above-Ground Extensions: The Temporary Patch
Above-ground options are typically inexpensive and easy to install. These include flexible corrugated plastic pipes or roll-out sleeves that you attach to the base of your downspout. While they can divert water in a pinch, they come with significant drawbacks. They are often unsightly, create a tripping hazard, and can be easily crushed by vehicles or damaged by lawnmowers.
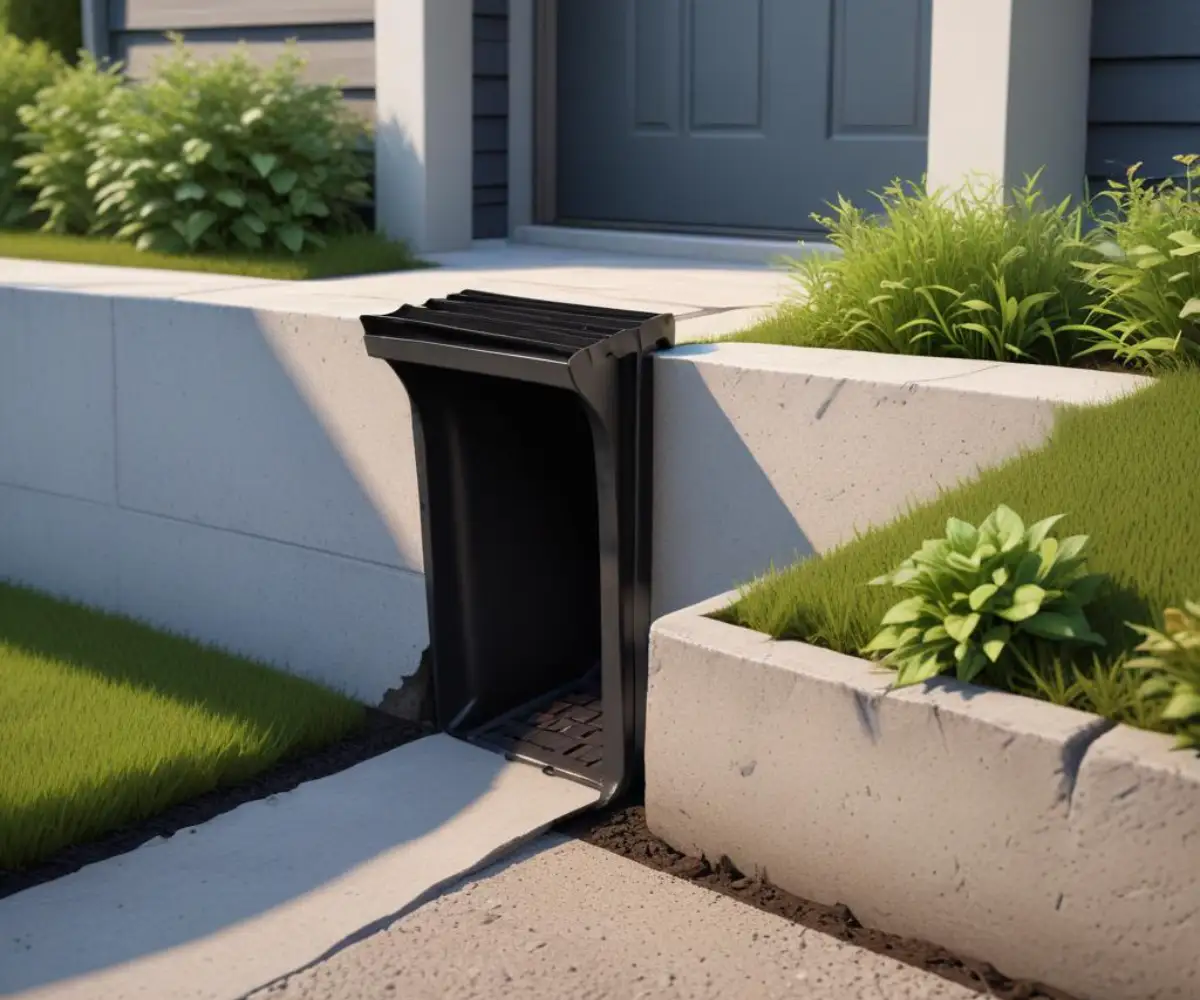
Below-Ground Extensions: The Permanent Solution
For a truly effective and aesthetically pleasing solution, burying the drain line is the only way to go. A buried downspout extension routes water through a durable pipe hidden beneath the ground and safely away from your driveway and foundation. This method eliminates tripping hazards, protects the pipe from damage, and preserves your home’s curb appeal.
The Ultimate Guide: Installing a Downspout Extension Under Your Driveway
Installing a drainage pipe under a driveway might seem daunting, but it’s a manageable project with the right plan and tools. This permanent fix will protect your property for decades to come. Follow these steps for a professional-quality installation.
Step 1: Planning and Preparation
Before you dig a single shovelful of dirt, you must call 811. This free service will contact local utility companies to mark the location of any buried lines, such as gas, water, and electric. Digging without this information is incredibly dangerous and could lead to a catastrophic accident. Once the area is marked, map out the straightest and most direct path for your pipe from the downspout, under the driveway, to a safe discharge point at least 10 feet away from any structure.
Step 2: Trenching on Both Sides
Using a narrow shovel or trenching tool, dig a trench from your downspout to the edge of your driveway. The trench should be about 6-8 inches wide and deep enough to ensure a slight downward slope. A slope of at least 1/8 inch per foot is crucial for gravity to carry the water away effectively. Dig a corresponding trench on the other side of the driveway where the pipe will emerge.
Step 3: Creating a Tunnel Under the Driveway
This is the most critical step. You need to create a tunnel under the driveway to connect your two trenches. One effective DIY method is using a pressure washer with a jet nozzle or a simple pipe with a garden hose to blast a tunnel through the soil. Carefully feed a sturdy PVC pipe, which will act as a sleeve, through the tunnel as you excavate. This ensures the tunnel doesn’t collapse and provides a smooth path for your drainage pipe.
Step 4: Assembling and Laying the Pipe
Once your tunnel and sleeve are in place, it’s time to lay the drainage pipe. Smooth-walled PVC or HDPE pipe is highly recommended over corrugated pipe for buried applications. The smooth interior of PVC resists clogs from leaves and debris and moves water more efficiently. Connect the sections of pipe through the sleeve under the driveway, ensuring all connections are secure and maintain a consistent downward slope.
Step 5: Making the Connections
At the house, use a downspout adapter to create a secure, leak-proof connection between your gutter’s downspout and the new underground pipe. At the discharge end, the best practice is to install a pop-up drain emitter. This fitting sits flush with your lawn and automatically opens from water pressure to release the water, then closes to prevent debris and pests from entering the pipe.
Step 6: Backfilling and Restoring Your Lawn
With the pipe fully installed and connected, carefully backfill the trenches with the soil you removed. It’s important to compact the soil gently around the pipe to prevent it from shifting. Once the trench is filled, replace any sod you removed and water the area to help it re-establish itself. Your permanent downspout extension is now complete and ready to protect your driveway.
Common and Costly Mistakes to Avoid
A poorly installed underground drain can be worse than no drain at all. Blockages and freezing can cause water to back up and saturate the ground near your foundation. Be sure to avoid these common installation errors.
The most frequent mistake is an improper slope. If the pipe is too flat or, even worse, has “bellies” or low spots, water will stagnate inside. This trapped water can freeze and crack the pipe in winter and will collect sediment that eventually leads to a complete blockage.
| Feature | Above-Ground Extensions | Below-Ground Extensions |
|---|---|---|
| Cost | Low ($20 – $50) | Moderate to High ($300 – $2,000+) |
| Installation Difficulty | Very Easy (DIY) | Moderate (DIY) to Difficult (Professional) |
| Durability | Low (Easily Damaged) | Very High (Protected Underground) |
| Aesthetics | Poor (Unsightly) | Excellent (Invisible) |
| Maintenance | Frequent Adjustment Needed | Low (Annual Checkup) |
The Hidden Danger: Hydrostatic Pressure Under Your Driveway
Beyond surface erosion, there’s a more sinister force at play when water saturates the soil around your driveway: hydrostatic pressure. This is the pressure exerted by water that has accumulated in the ground. When heavy clay soils become saturated, they expand and can exert immense upward force on the pavement above.
This pressure can cause asphalt and concrete to heave, bulge, and crack from below. A properly installed downspout extension that channels water far away is one of your best defenses. By keeping the soil base under and around your driveway dry and stable, you prevent the buildup of hydrostatic pressure that can lead to its premature failure.
Frequently Asked Questions
What is the best pipe to use under a driveway?
The best choice is a durable, crush-resistant pipe. High-density polyethylene (HDPE) dual-wall pipe, which is corrugated on the outside for strength and smooth on the inside for optimal flow, is an excellent option. Thick-walled Schedule 40 PVC is also a very strong and reliable choice for installations under driveways that will bear vehicle weight.
How deep should a downspout drain be buried?
A downspout drain line should be buried deep enough to protect it and to achieve the necessary slope. A depth of 10-12 inches is generally sufficient for lawn areas. Under a driveway, it should be deep enough to be protected by a solid base of compacted gravel, typically placing the top of the pipe at least 12 inches below the surface.
How much does it cost to bury a downspout extension under a driveway?
The cost can vary widely based on the length of the run, the type of driveway, and whether you DIY or hire a professional. DIY material costs can range from $150 to $500. Professional installation is more expensive, typically ranging from $1,000 to $4,000 or more, especially if it involves cutting and repairing concrete.
Protect Your Pavement, Protect Your Foundation
A downspout extension for your driveway is not a mere cosmetic upgrade; it is a critical piece of home maintenance. It’s a proactive measure to prevent driveway degradation, eliminate hazardous ice patches, and safeguard the structural integrity of your home’s foundation.
By investing the time and effort to install a permanent, underground drainage solution, you are not just solving a puddle problem. You are implementing a long-term strategy to manage rainwater runoff, protecting your property’s value and saving yourself from thousands of dollars in future repairs.